
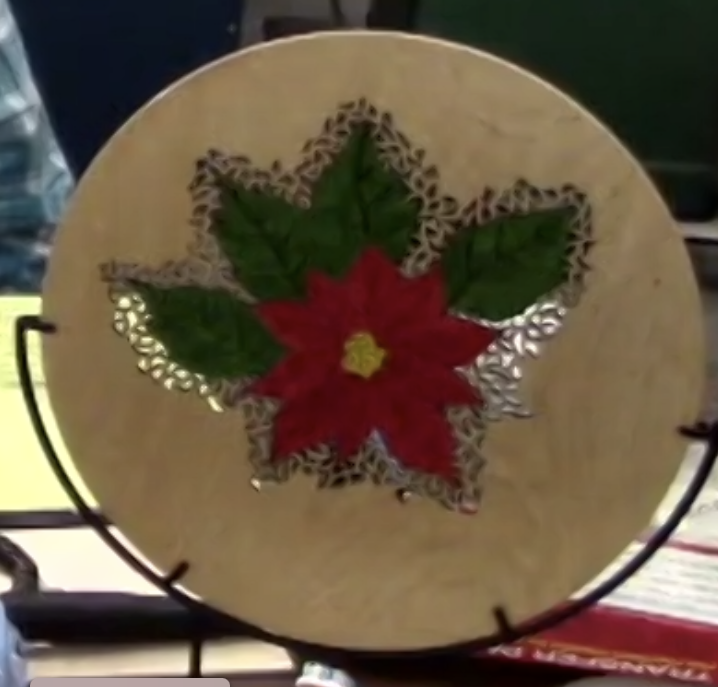
Turning a thin platter suitable for piercing plus piercing
Bruce and Trish are members of the Carolina Mountain Woodturners living in Columbus NC. They work as a team with Bruce turning thin vessels and Trish embellishing them with piercing, pyrography and/or texturing. Any wood that is to be pierced must be uniform in thickness and no more than 4mm in thickness. This creates a challenge since a thin platter will warp and flutter as it is turned, making it difficult to achieve uniform thickness. To prevent this, Bruce uses a platen pressed against the platter as he turned the final thickness.
For this demonstration, Bruce used a piece of kilned dried Sapele. The first step is to create a template to the size and thickness needed for your platter. This is used to establish the inner shape of the platter. The platter is then turned around and the back of the platter is shaped to maintain a 3-4 mm thickness according to the shape established from the front template.
Creating the template:
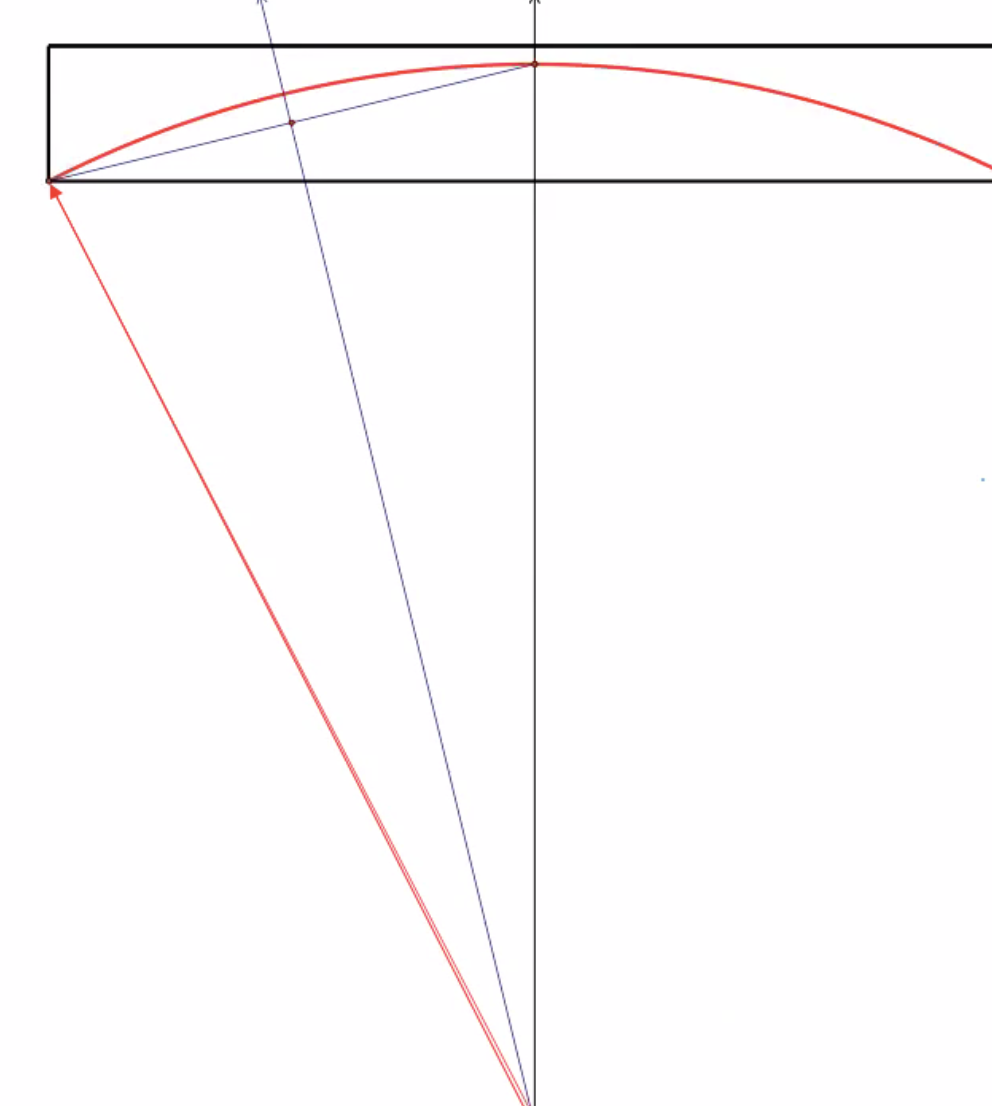
- Draw a full-sized pattern of the side profile of the wood you are using on paper/stiff cardboard/ this plywood.
- Set a compass more than half the width of your wood and draw an arc from each end of the line going across the middle. Connect the points where the arcs intersect – this is the exact center of your line. Make a perpendicular line at this mid-point.
- Mark the thickness of your platter on the center line (4-5 mm). Make sure you have at least 4 mm thickness left on your blank.
- Connect the point of desired thickness to the corners of you pattern
- Draw a perpendicular line at the center of this line segment to the center line of your wood and mark the point of intersection. This line will extend beyond the thickness of your pattern.
- Set a compass from the point of intersection on the center line to the edge of your board width
- Create an arc across the pattern going from one end of the wood profile to the other. Steps 2-7 are equivalent to finding the center of a circle from 3 points on the circumference.
- Cut out the arc segment. This becomes your profile template for the inner surface of your platter.
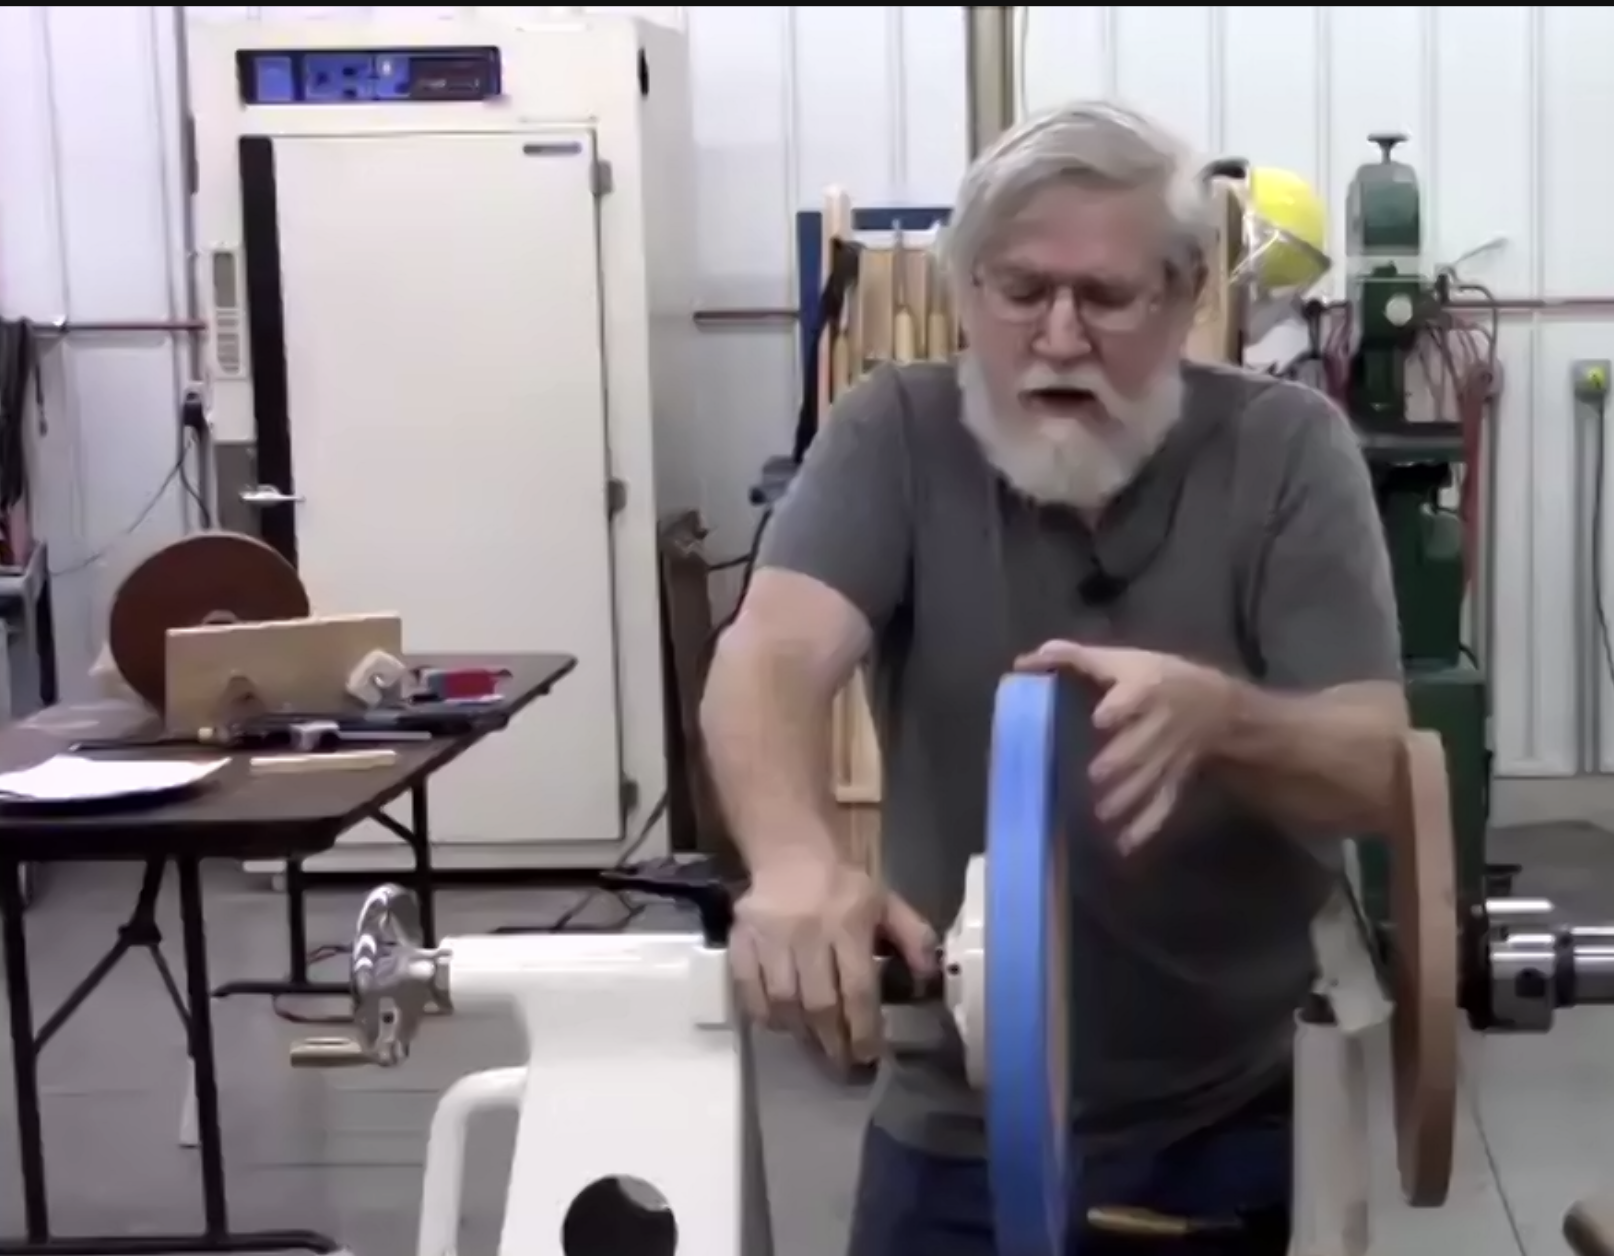
Creating a Platen: This will be used to press against the platter as the back is turned to help prevent warping and fluttering.
- Rough cut MDF to a circle larger than the diameter of the platter. MDF is used because it doesn’t warp. Two pieces of MDF can be glued face-to-face to provide a heavier platen which provides more stability.
- Mark the center, draw circle the size of the face plate and align a faceplate on the MDF and mark the screw holes.
- Drill pilot holes and sand flush.
- Insert and remove screws then add several drops of CA glue to each hole and allow to dry. This will stabilize the thread pattern in the MDF.
- Insert and remove screws again. This may raise a rim of MDF around the screw hole which needs to be sanded flush again.
- Screw faceplate onto the MDF.
- Mount the faceplate onto the lathe and turn the MDF round. Make sure the final diameter is larger than your platter.
- If necessary, true up face of the MDF. Cover face with blue tape if desired to provide a tighter contact with the platter as you are turning.
Waste Block: Waste block is glued onto the back of the flat stock for your platter. Use hard wood – not pine, plywood or MDF.
- Cut waste block ½” larger than the diameter of chick jaws (when closed).
- Drill a small hole through the center of your waste block that will fit a toothpick and a make a shallow center punch in the lower surface of the platter. Make sure both glue surfaces (waste block and platter) are smooth (180 grit).
- Place the toothpick through the hole in the waste block. Apply CA to glue surface of the waste block and place it on the lower surface of the platter blank, using the center punch for alignment. Add some CA at the edges if needed. Carefully remove toothpick. Allow sufficient time for CA to set before proceeding.
- Mount platter blank+waste block between centers, or between open jaws of chuck (facing the upper surface of the platter blank) and the pin of the tail stock in the hole of the waste block. Adjust platter position to minimize face wobble. Cut a tenon that will fit your chuck. Make it as small as possible for your chuck – this is the position of most stability
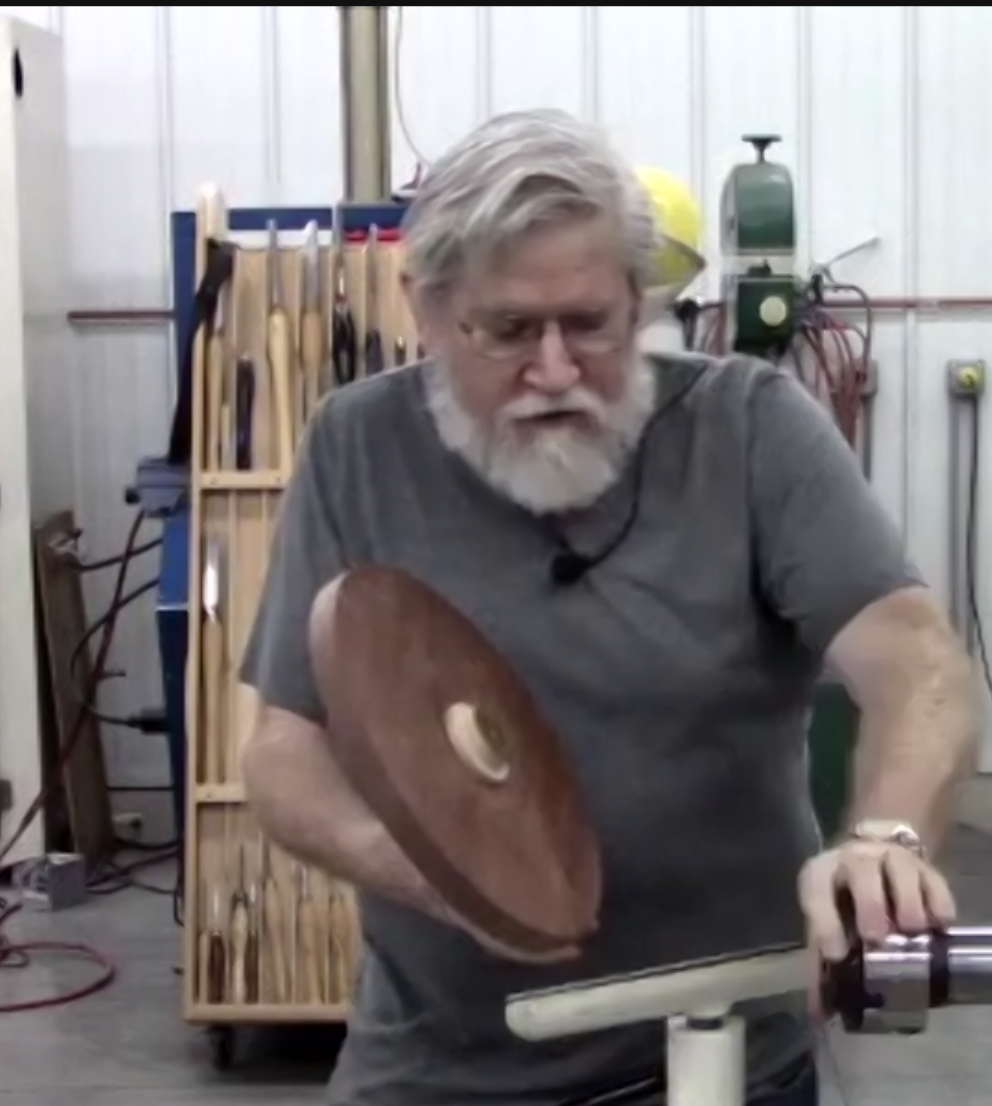
Turning the inside of the platter: This is where you will depend on your template. Trust it!!
- Mount your platter+waste block in 4-jawed chuck on your lathe. Adjust the position of the platter in the chuck for least face wobble.
- Round up the edge of the platter blank. Your blank should be the same diameter as the length of your template.
- If there is still face wobble in the platter blank, true up the outer third of the platter blank, removing as little wood as possible.
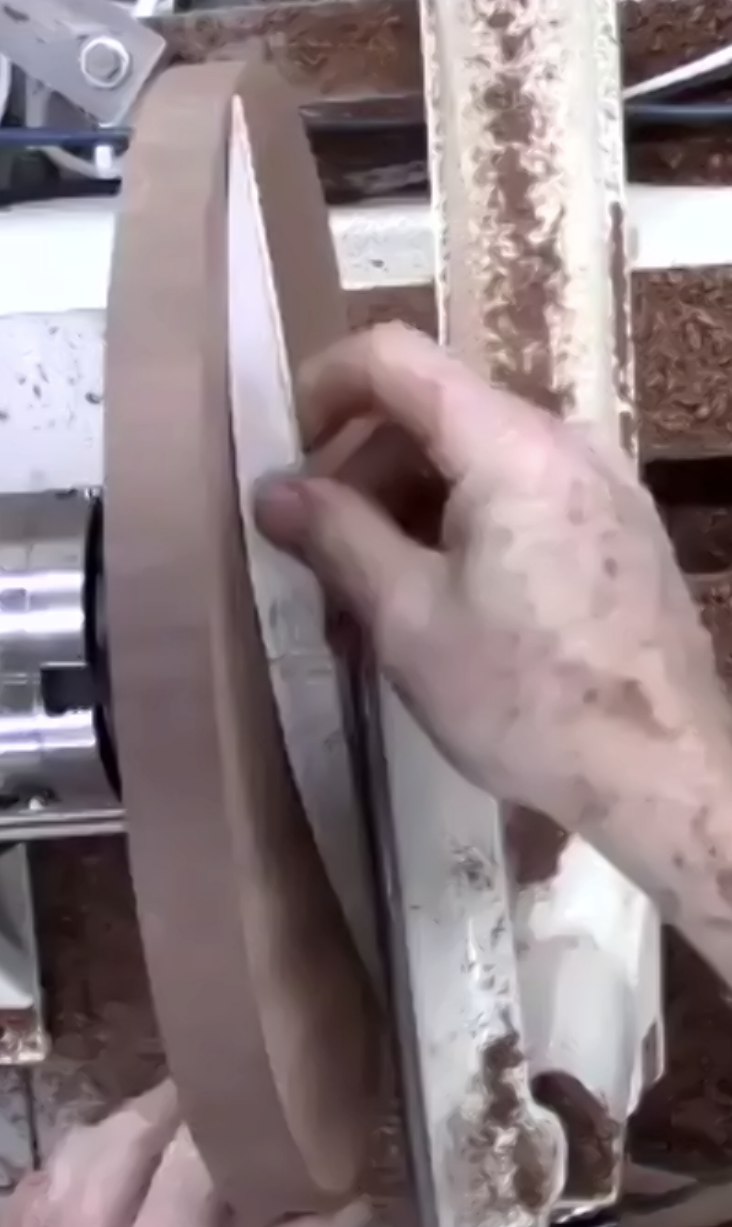
- Using the template as a guide, shape the outer surface, this will be the inside of the platter
- Begin near the center – its easiest to angle the tool rest slightly toward the center. Make shallow push cuts at first, then subsequently longer cuts. Be careful not to make too deep a cut at the center. Remember the blank is thin and you could create a funnel.
- Do not remove any wood from the outer/upper edge/circumference of the platter.
- Check the profile frequently using your template. Mark high spots and work on these areas without thinning the rest of the platter.
- Sand the surface when the desired shape is achieved.
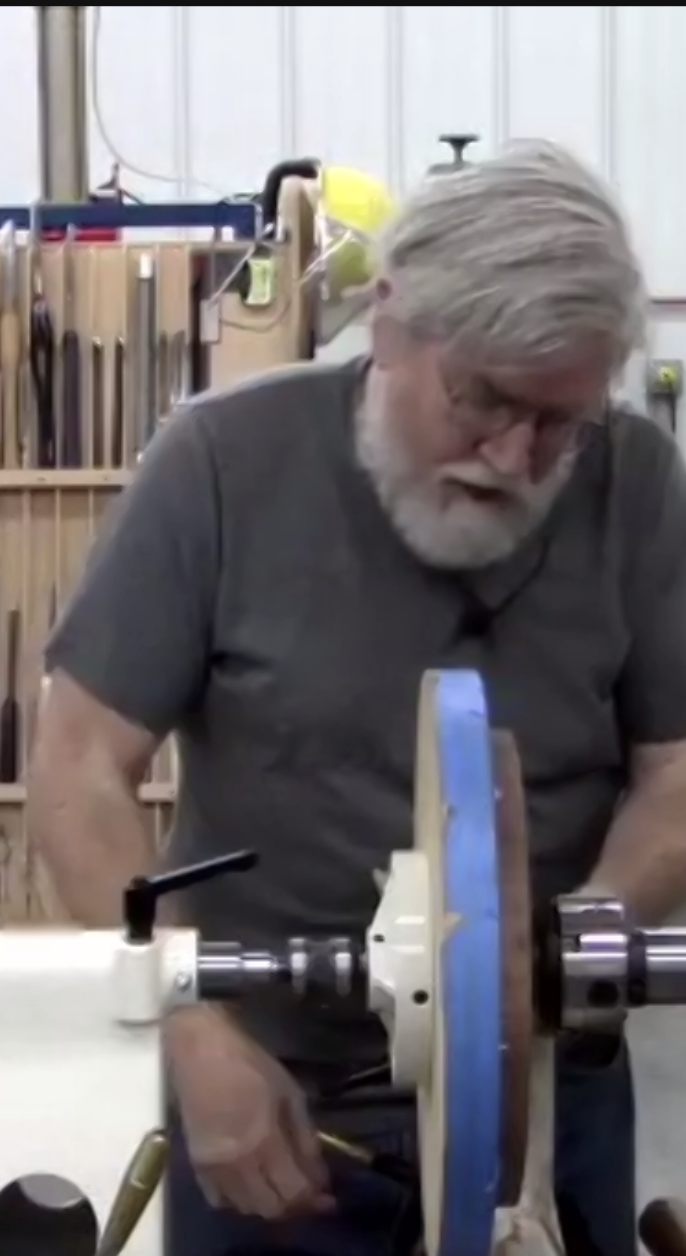
Turning the outside of the platter: In this step you will be using your platen to prevent the platter from wobbling/warping as it is thinned. A digital caliper is helpful for this step.
- Secure your platen in 4-jawed chuck. Mount chuck on either the headstock or on live center tail stock adaptor. If the platen has any face wobble, adjust its position in the chuck, or if necessary, reface the platen.
- If your platen is on the tail stock and your platter on the head stock, you will be able to check for the proper thickness as you turn without having to move the platter.
- If your platen is on your head stock, the platter blank will be secured between the platen and the tail stock using the waste block. In this position, you will have to remove the platter as you turn to check the thickness of the platter as you turn.
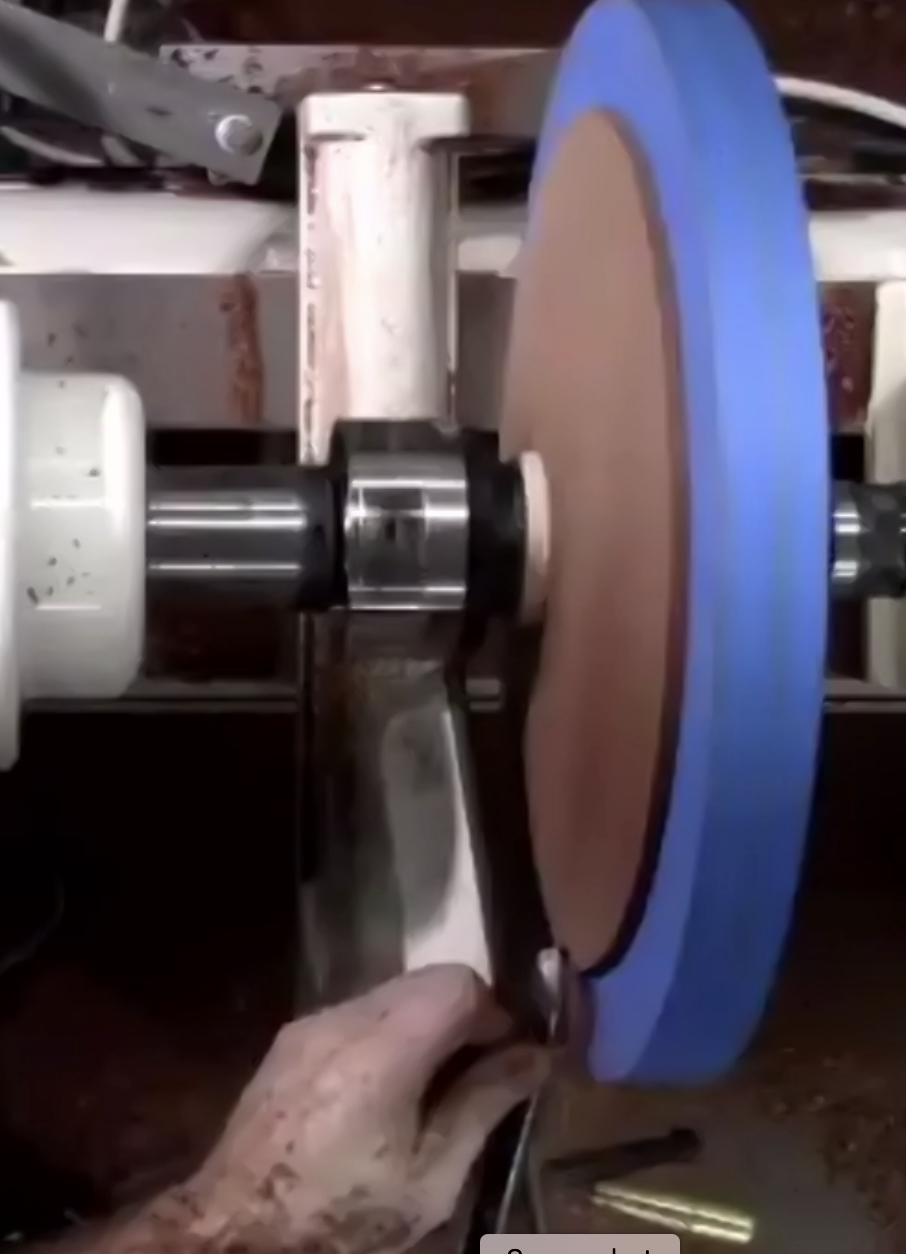
- Adjust tail stock to firmly secure the face of platen against the upper surface of the platter. Make sure it is secure enough so that the platter does not slip against the platen when adjusting speed or removing wood.
- Place a matching set on index marks on the upper half of the outer edge of the platter and the adjacent surface of the platen. These marks will be used to realign the platter after each thickness measurement.
- Begin thinning the back of the platter – the goal is to follow the curve you made on the front with your template. You will want to first get to a uniform thickness of ~6mm and then continue to thin to your final thickness once you have a uniform shape.
- Begin thinning using a pull cut and follow the shape on the inside edge. Make small cuts and measure frequently.
- If your platen is on your tail stock, you will have to remove the platter from the tail stock to check you thickness using a caliper. If the platen is on the tail stock, you will be able to measure without removing the platter from the lathe. After each thickness measurement, re-align the index marks on the platter and platen.
- As you measure the thickness of your platter, mark the high spots with a pencil and note the thickness in pencil. Thin at the highest spots first using short cuts and longer cuts as you smooth the thickest parts into the thinner parts.
- Once you get to a uniform thickness of ~ 6mm, it is easier to thin to your final thickness with longer smoother pull/shear scrape cuts.
- Sand to desired grit.
Removing the waste block
To remove the waste block, you will need to reverse chuck the platter. Bruce used a special reverse chuck with a shallow curve and covered with neoprene to protect the surface of his platter.
- Use a detail gouge or small bowl gouge to reduce waste block diameter.
- If the platter is to be pierced through the center area, continue the curve of the back side of the platter as you turn away the waste block.
- Reduce the speed as the waste block diameter is reduced. Also reduce tool pressure. Try to cut toward the head stock rather than cutting toward the center of rotation to reduce lateral pressure on the waste block-platter glue joint.
- When the waste block diameter is approximately ½”, you should be able to snap off the waste block. If it doesn’t come off easily, use a flexible, thin kerf saw to remove it.
- Sand to desired grit. If the piercing is to include the center of the platter, you may need to do some additional sanding to achieve uniform thickness of the platter.
Piercing and embellishing techniques: – these are Trish’s areas of expertise.
- For piercing, you will need to use ear protection, a face mask – because of smoke and soot created during piercing and Kevlar gloves to protect your non-tool hand (in case the tool slips)
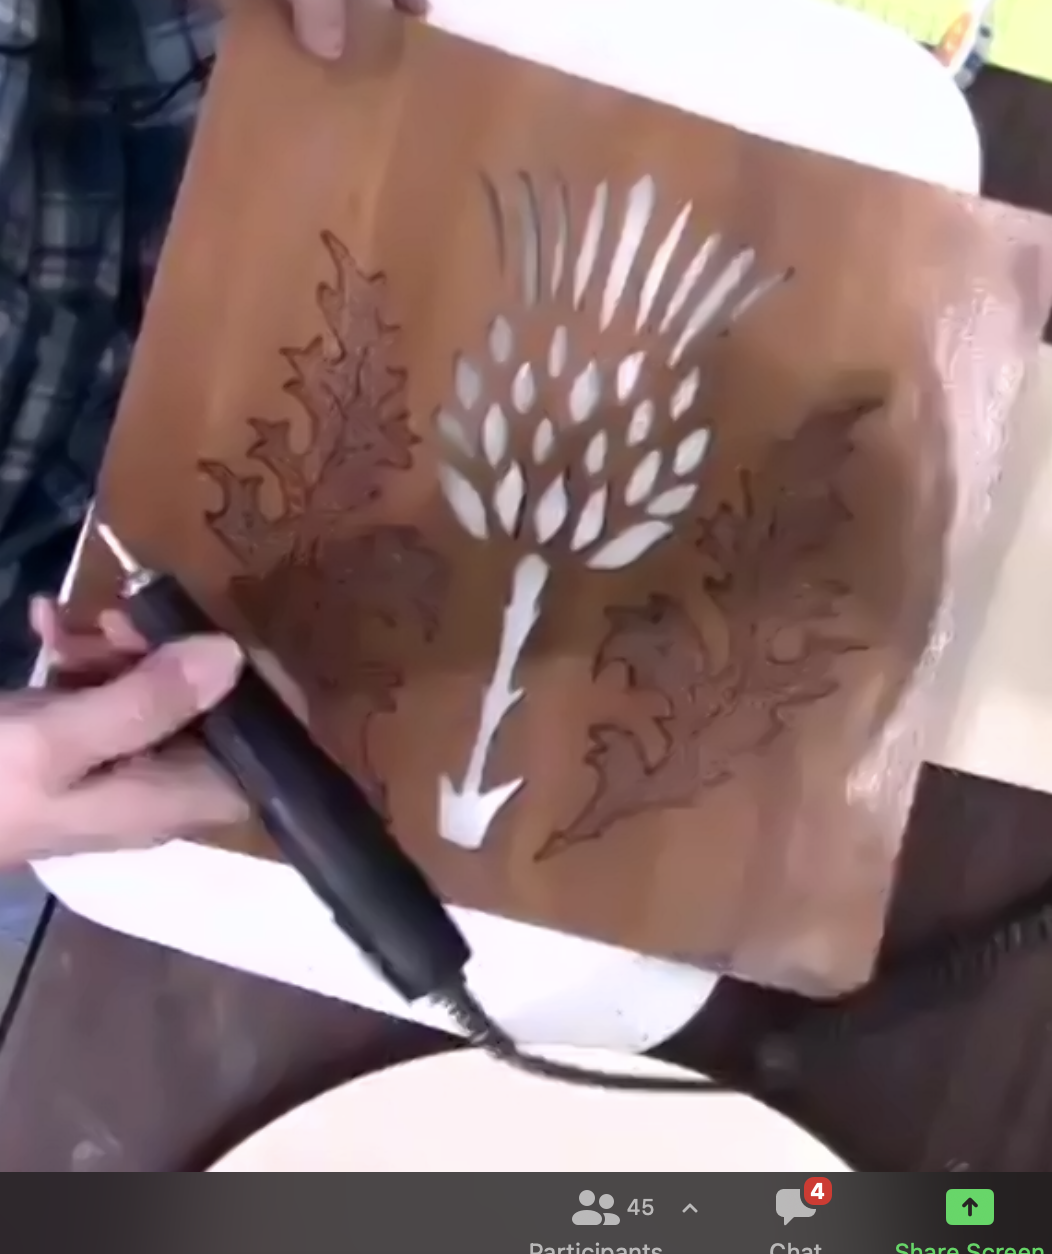
- Piercing can enhance flat platters as well as 3D turnings, hollow-forms as well as on borders of vases or platters as long as you have a uniform thickness of 2-4 mm in the areas to be pierced
- Piercing can be done using a design or randomly and in combination with pyrography and/or texturing. It’s difficult to go in a straight line since the tool will want to follow the grain line of the wood.
- Piercing requires a high RPM motor – ~350,000 RPMS powered by an air compressor set at ~38-40 PSI. Follow the manufacturer’s specifications.
- A micromotor will only go ~ 40,000 RPM. At slower speeds your piercing tool will tend to follow the grain of the wood especially with ash or oak. Micromotors are better used for texturing.
- Ideal woods to pierce are fined grained woods like maple, Bradford pear, sapele or walnut. Purple heart is not recommended since it is very hard.
- Piercing requires dental drill bits. Trish demonstrated the NSK presto – the handpiece that was shaped like a pen. Other shapes are available with a bent angle.
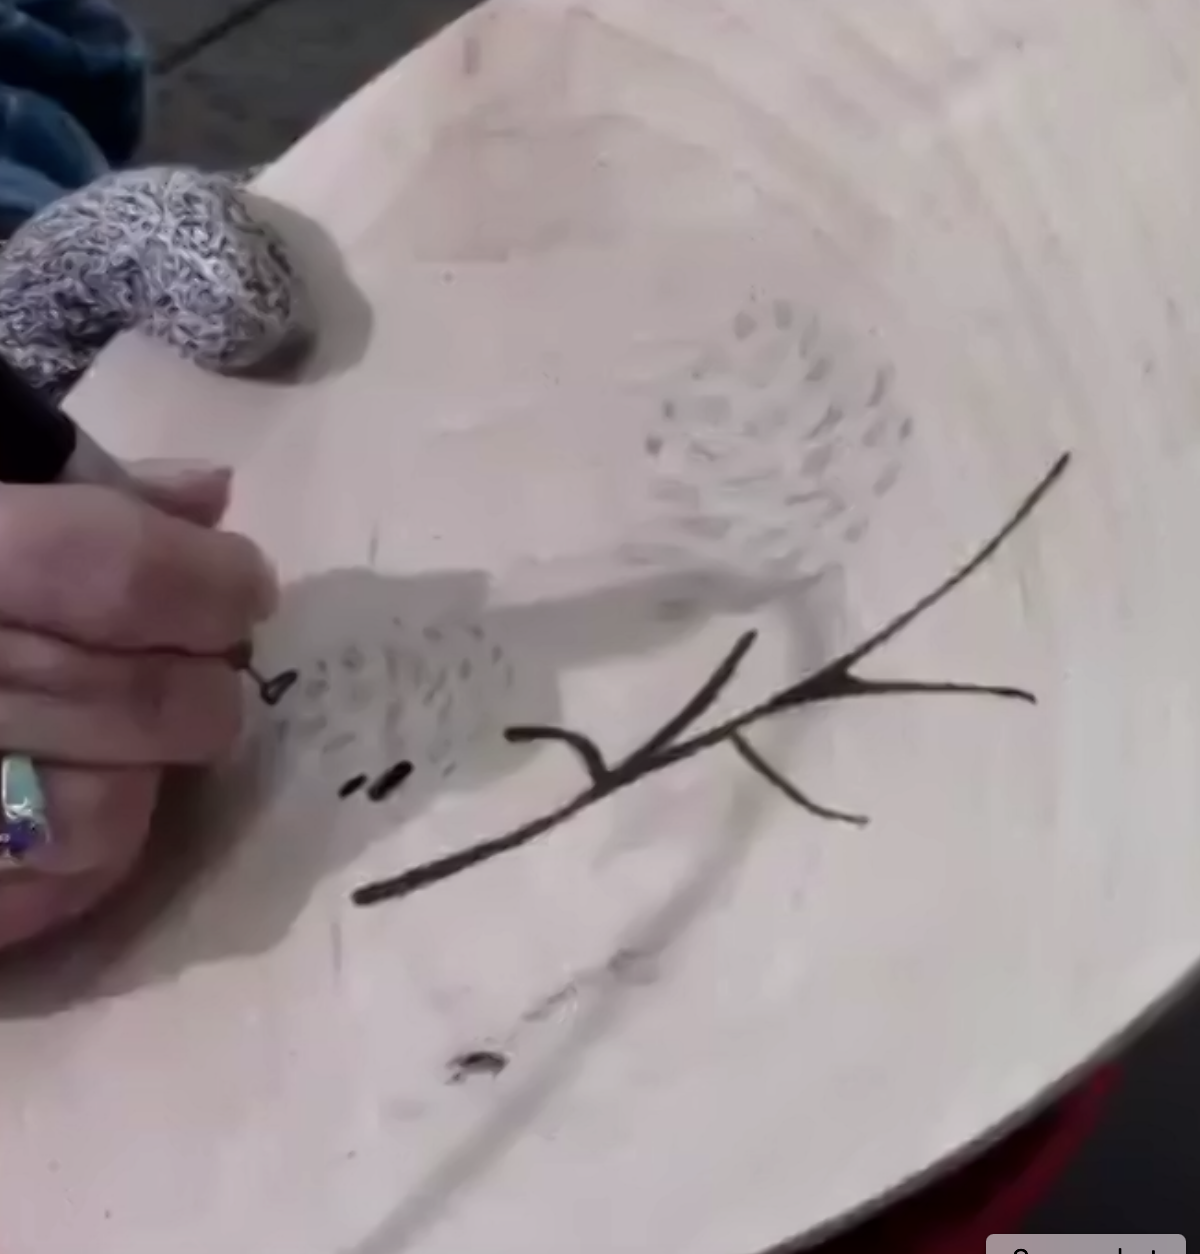
- In general, you push the tool straight in and move the pen in a clockwise direction. Multiple shallow cuts are made until the wood is pierced. Don’t try to hog out the material in a single pass. Any fuzzy material left can be removed by going in the counter clockwise direction. Note that piercing leaves burn marks within the pierced area. You can also use small rounded up pieces of sandpaper in the pierced holes or sanding disc.
- Sequence of embellishing:
- Pyrography,
- Piercing
- Color – Trish uses Silks acrylic glazes by ColourArte or acrylic paints

Some Resources:
PSI woodworking LTCA 18 live tailstock chuck adapter – 1”x 8tpi thread with #2 Morse Taper Mount
Treelineusa.com/NSK-presto-II-kit: contains air turbine carver handpiece plus a pressure regulator – ~$500
Dental bits – can get on e-bay