
“No pressure on the wood.”
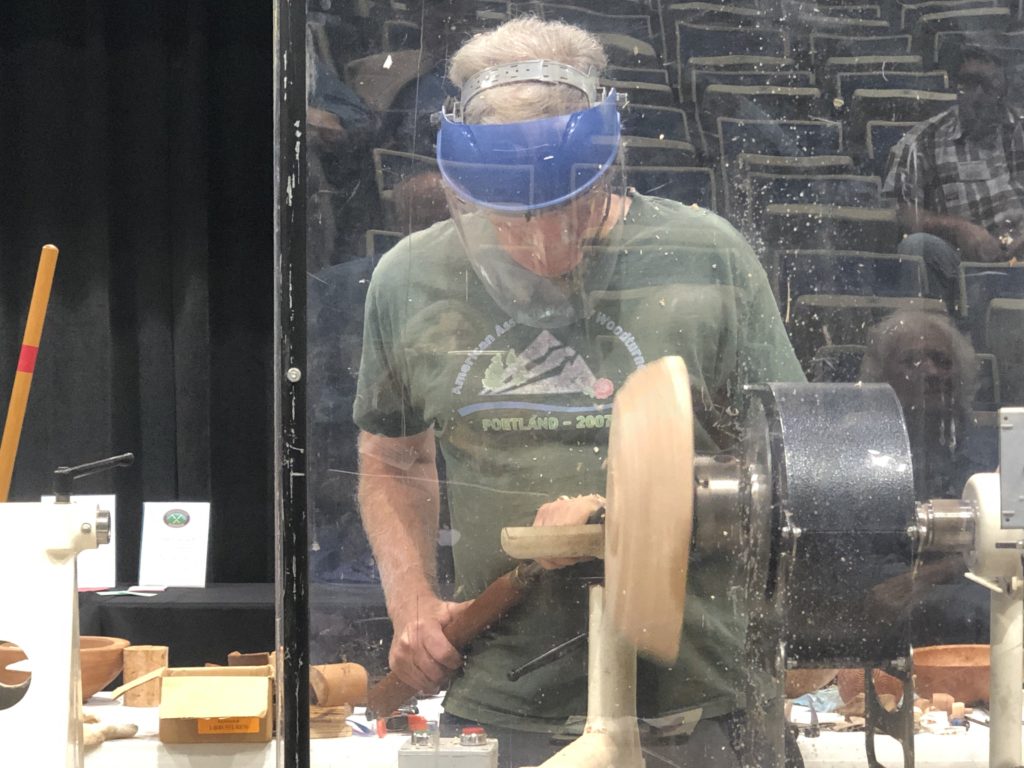
Carolina Mountain Woodturners was very fortunate to have Dale Larson demonstrate on Saturday, October 19, 2019 during our monthly meeting. The morning and afternoon sessions included four different turnings: a green wood bowl, a bowl from dried wood, a sphere, and finally an oval platter.
He began by stressing that there are a hundred ways to turn a bowl. He demonstrates just one way. He also stressed the importance of using good tools, and the importance of safety in your own shop.
Next, Dale talked about how to cut bowls out of trees. As he ran through a slideshow of photos showing his dismemberment of a tree, he talked about the growth of the tree, and how he protects the most valuable parts of the tree as it is being taken down. He keeps crotches intact, gets rid of the small branches, removes the bark, and cuts the wood. Straight grain is not as valuable. All of these remarks were to emphasize the importance of paying attention to where the bowl is extracted from the tree.
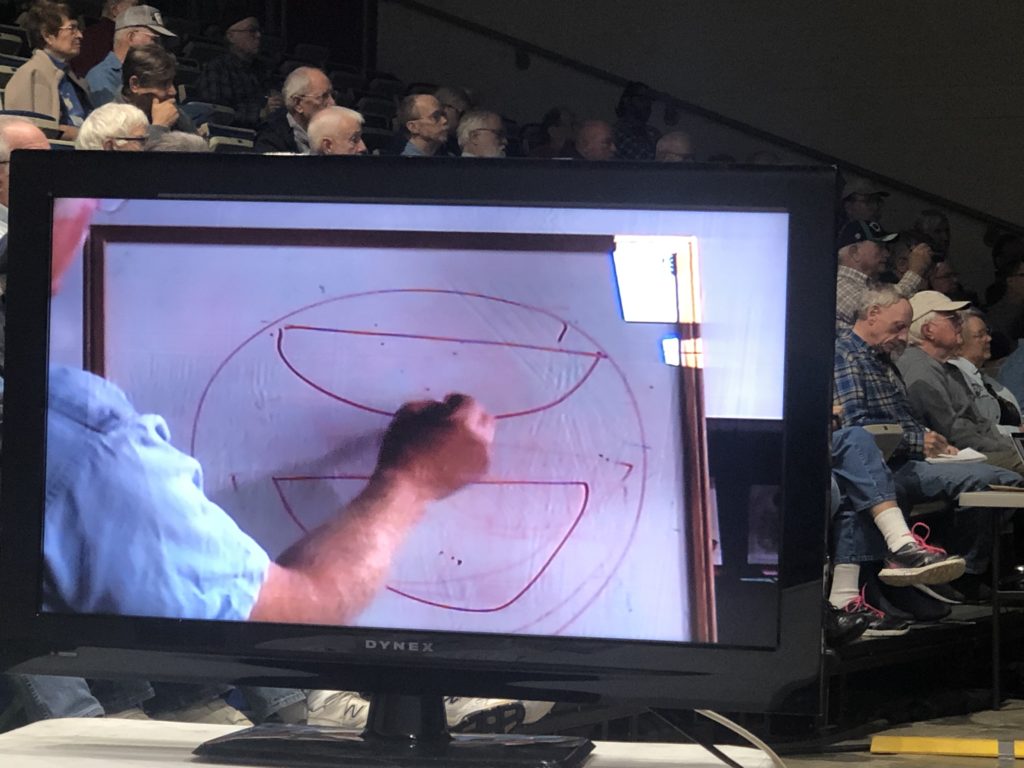
He then drew on the white board four different patterns that can be taken from the tree. Taking a bowl from the lower left will not dry round and the pattern is not as pretty. His preference is to take the bowl blank from the top of the log. How you take the bowl out of the burl completely changes the burl.
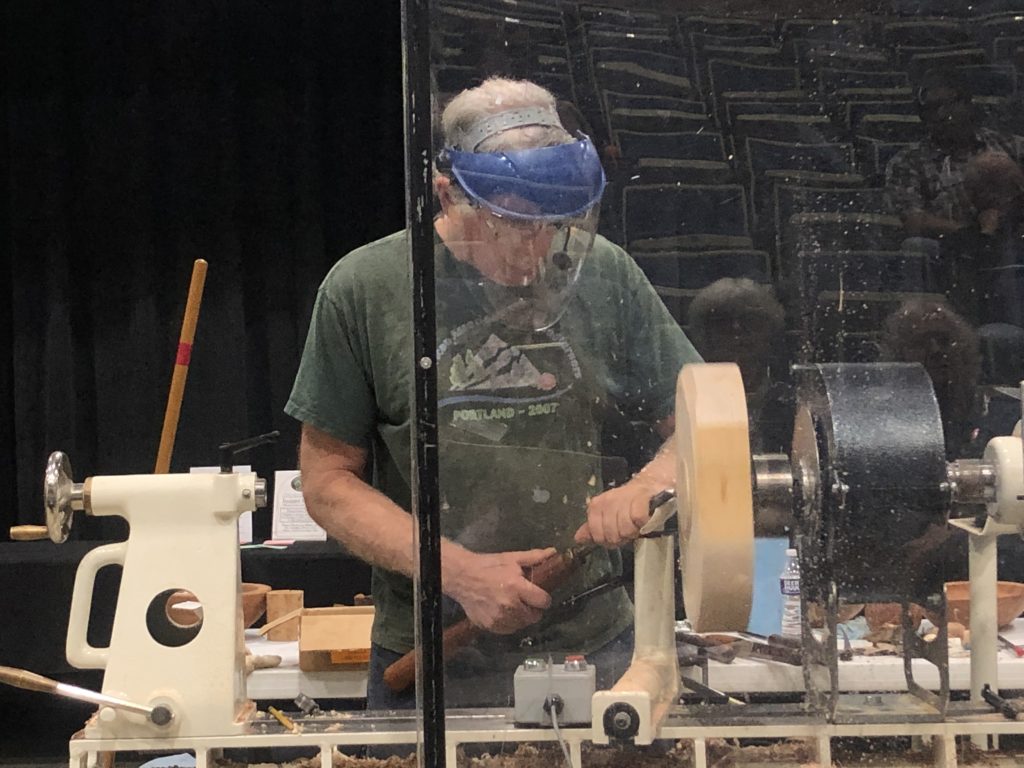
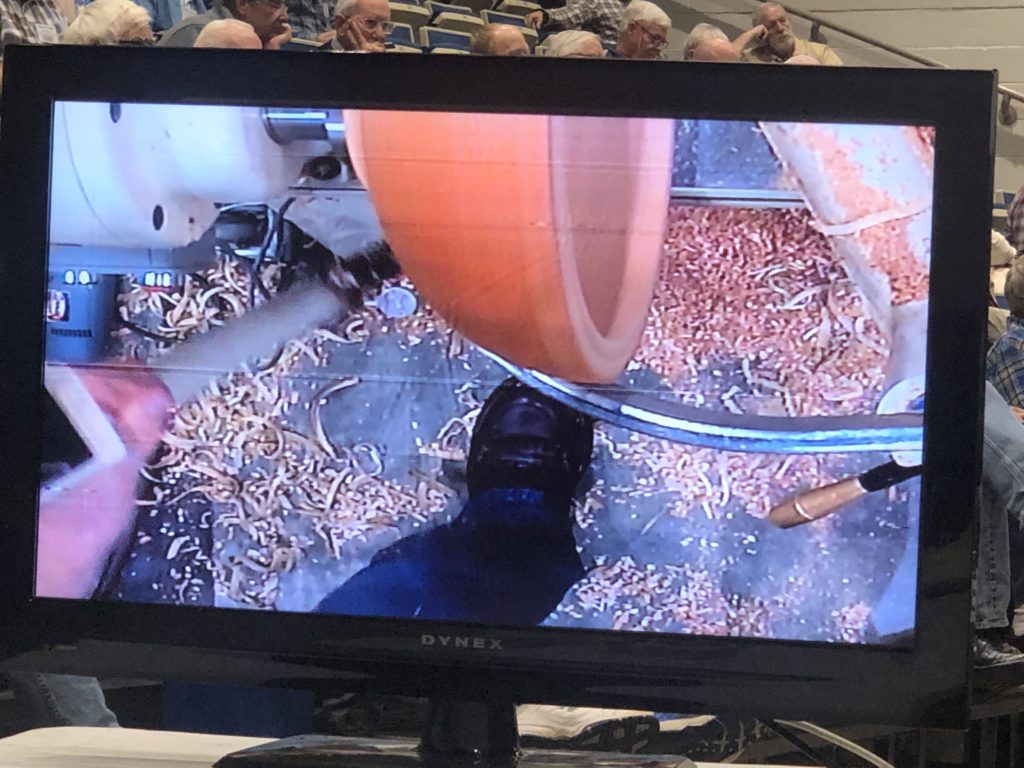
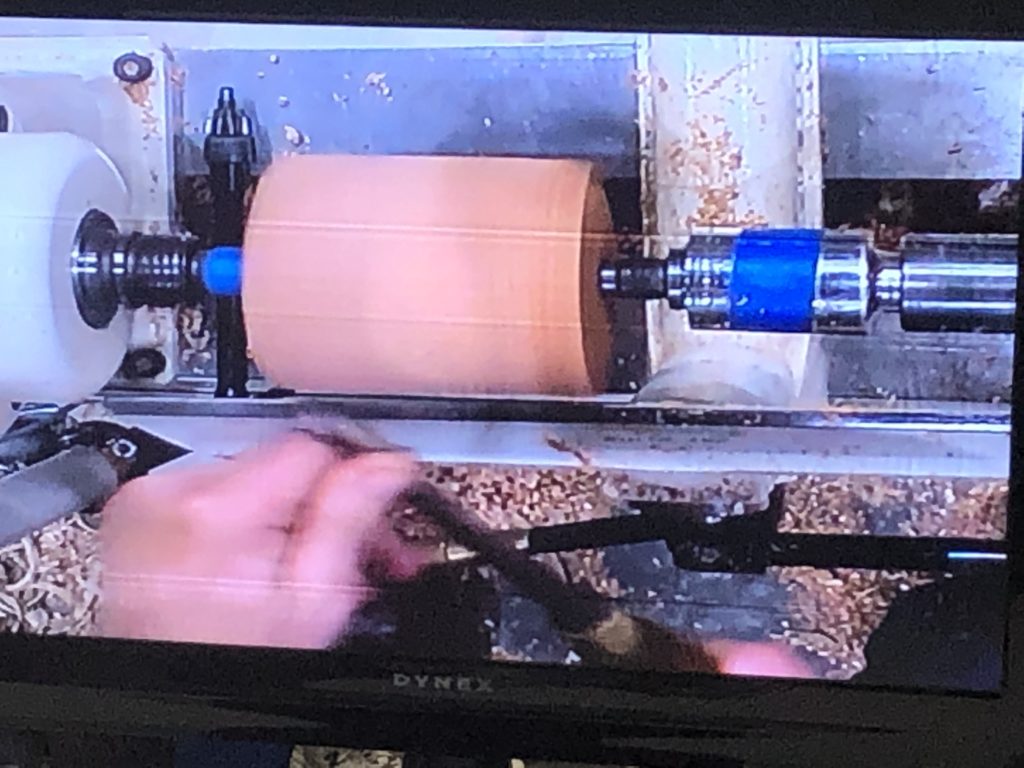
Following the slide show and informative talk on harvesting wood from the trees, Dale began turning green wood. He began by turning a green maple bowl, again emphasizing good tools and using good quality metal ( HSS). He talked about softening the edges of the wood. A 90 degree edge will dry out faster and will crack. He favors a OneWay Stronghold chuck, and prepared the tenon using what he called a “less than 90 tool” that allowed him to avoid cutting on two surfaces. This can help prevent getting a catch.
As he mounted the bowl on the lathe, he talked about removing the point from the live spur. This allows him to move the wood without creating a divot that would prevent him from recentering the wood. As he did this he continued to talk about the importance of considering the grain direction.
As he turned a uniform curve on the outside of the bowl, he talked about how the sugars in the wood have started to ferment at this point. While turning a foot on the bowl, he mentioned that he typically does not put a foot on a burl as it would waste wood. In straight grain wood, he puts a foot on the bowl in a size that relates to the overall size of the bowl.
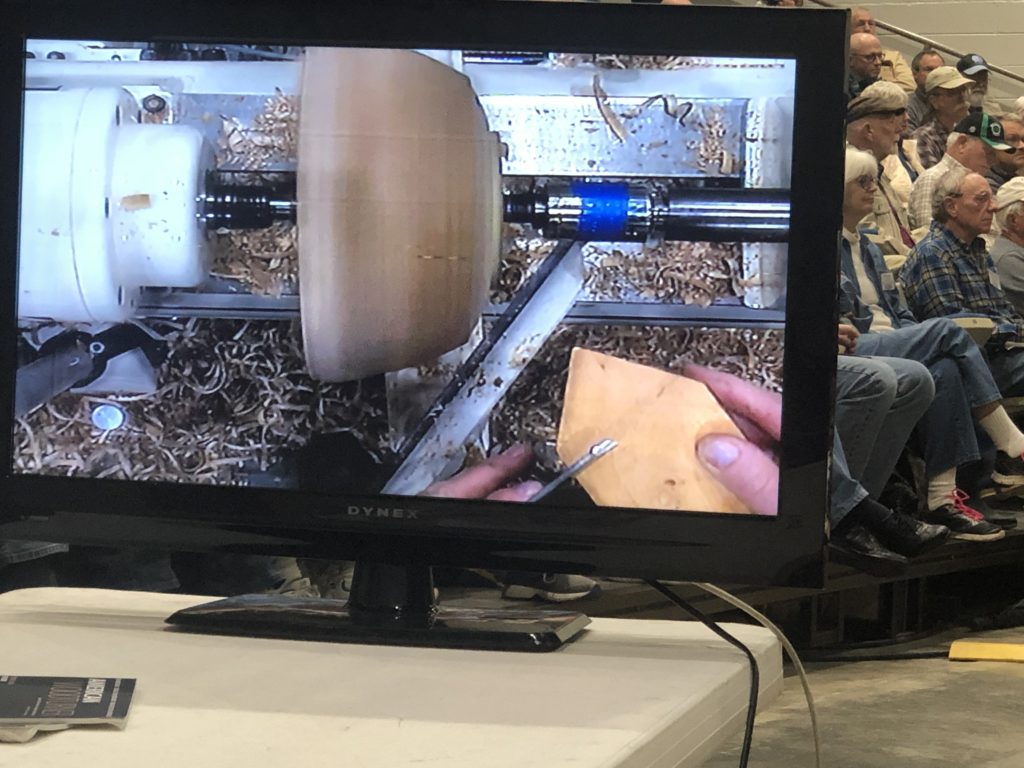
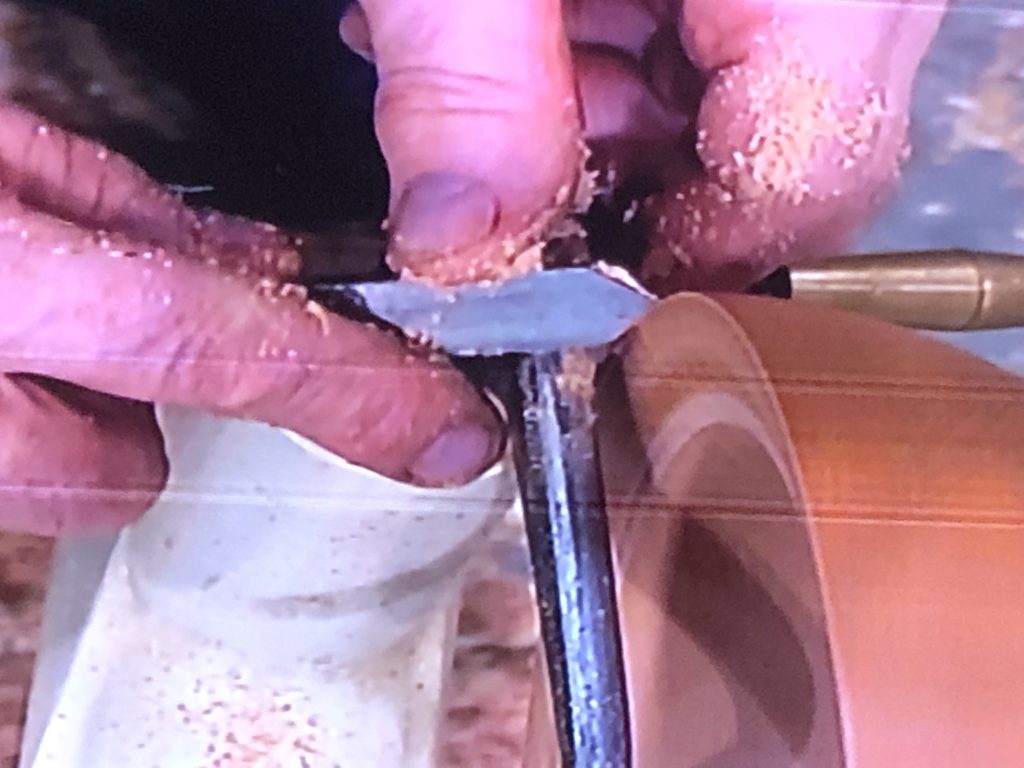
In Dale’s own shop, he normally uses a Coring system to save the wood. He demonstrated a way to remove a central cone of wood using a parting tool, but urged caution with this method. He also showed us how he grinds off the back corner of a bowl gouge to keep it from bruising the wood. As he shifted the tool rest during his turning he explained that the closer you can keep the cutting edge to your tool rest, the more control you have.
As he turned, he also advised not to leave the bottom thicker than the walls or it will crack. Once he roughed out the bowl he took a pencil and dated the bowl – and wrote who/where he obtained the wood from as well as the type of wood. This way, when the wood is ready to be turned again, according to its drying time, he knows the specifics of the wood. He put paste wax on the end grain – or Anchorseal – but explained that Anchorseal can seep into the wood, so paste wax is a better choice. If he has a small crack, he may use a small amount of CA glue and put the bowl in a paper bag with dry chips,replacing the chips weekly, but he emphasized that he does not turn cracked wood. He added that slow drying can also be an issue, making it important to check on drying wood.
Some other tips Dale covered as he turned – if he has a knot, he uses super glue. For mildew prevention he uses a mix of 50/50 water/bleach – spray if mold is detected. This means that the drying is too slow. He knows the drying rate in his area so does not usually need a moisture meter but suggested getting one as they are not that expensive. He dries to roughly 7%. He has microwaved small pieces but not bowls.
After lunch, Dale turned a dry blank using a face plate and screws the same size of the hole in the faceplate. He cut from the bottom of the piece out toward the rim, but did not cut completely out to the rim of the bowl as this will cause the wood at the rim to chip out. Instead, come from the outside edge in to the piece. He determined how big the foot will be depending on whether the piece is functional or artistic. His rule of thumb is the wider, flatter the bowl, the bigger the foot. Tall bowls will have a smaller foot.
As he turned, he demonstrated how he slows down, keeping the tool against his thigh, not moving his arms or hand, just moving to his right foot, leaning in, slow down tool movement through the wood, slowing down when he gets a small bounce – not quite round – which would indicate that the piece is not quite round. “No pressure on the wood.”
He then used a scraper to help remove any tear out – but added that it depends on the wood type – must be hardwood. He oiled the wood – using Mahoney’s walnut oil. Then used the scraper again, no pressure on the wood, just take off the high spots, then more oil, and just one more cut.
After he was finished with the gouge, he took out a cabinet / card scraper on the outside of the bowl, 45 degrees to the wood, no pressure, reversed the lathe – again no pressure into the wood, and again this was done to remove any obvious tear out.
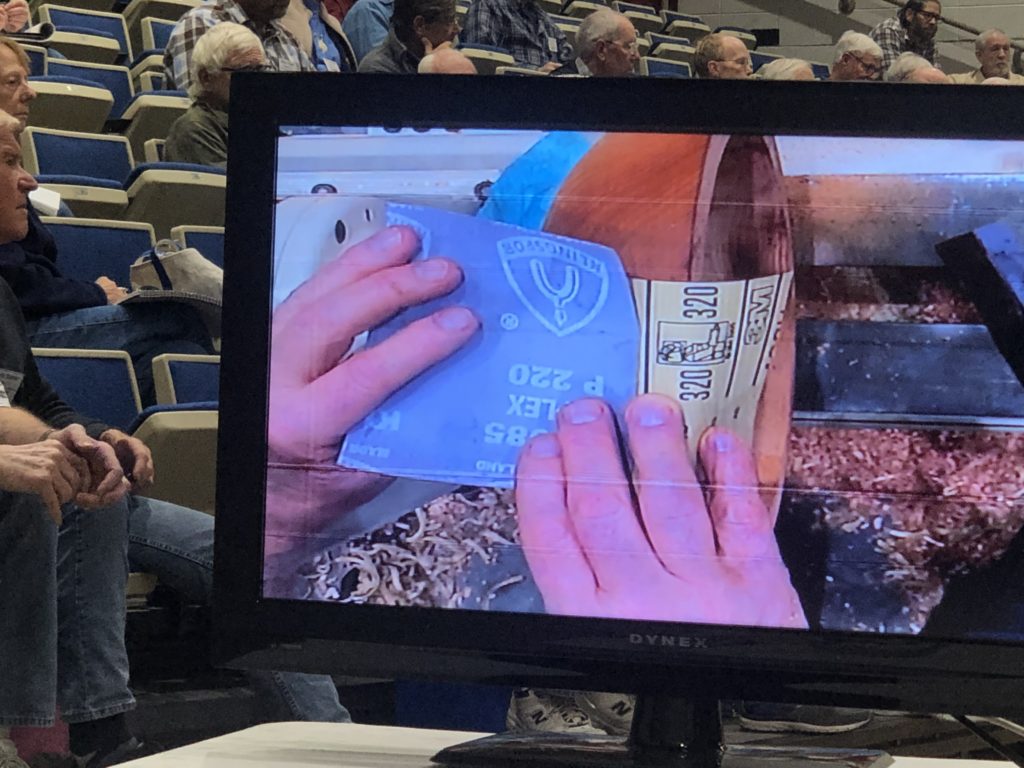
As he sanded, he talked about the various kinds of sandpaper, discussing the differences between them. He suggested avoiding big box store sandpapers as they can be made with glue bond which can melt and go into your wood. Grits from Europe are not the same as US/Canada from 220 on up. Europen 320 is much coarser than US. 3m silicon carbide – looks like shards of glass under a microscope.
Again, Dale mentioned that it is better to taper the bowl rim – don’t leave it flat. He used the 3/8 gouge to taper the wood down – cut slowly, adding oil the rim, rounding the edge so it is not sharp.
He then moved to the inside of the bowl. He does it in thirds – first third then second and then the bottom, otherwise the top warps. He showed us how he rounded off the back edge of tool to keep it from bruising the wood. He put his thumb on the tool to keep it from bouncing. And he used a diamond hone to touch up the edge of his gouge. The last cut he went slower, and stopped frequently to use the calipers to check – 5/8 on rim ½ inch wall thickness. He oiled the first third, using the half round scraper with a negative rake – again, no pressure into the wood, taking off the high spots.
After he finished the first third, he said he never goes back to the rim because by now the bowl has changed shape slightly. He changed his gouge to his ⅝ which is blunter than ½ – can’t get around the inner curve of the bowl with the ½. He suggested to slow down your tool if your tool is making a lot of noise.
As Dale turned the inside of the bowl, he stressed moving the tool rest so that the gouge is supported by the fulcrum. He used his hands to feel the high spots. As he sanded, he emphasized that tear out will generally repeat at 180 degrees.
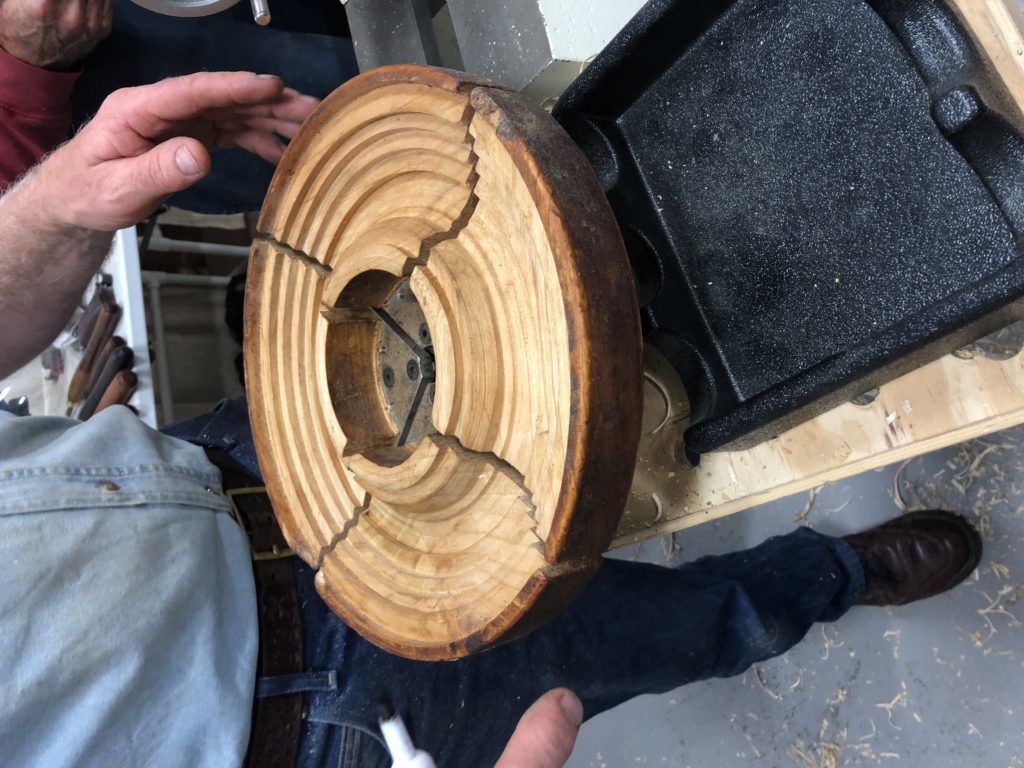
To finish the bowl, he used a reverse stronghold chuck. He referenced an article that he wrote which can be found on the AAW website and then going to the September 2015 Woodturning Fundamentals Issue that shows how to make the jaws to hold the bowl. He suggested using the tailstock for support as long as you can.
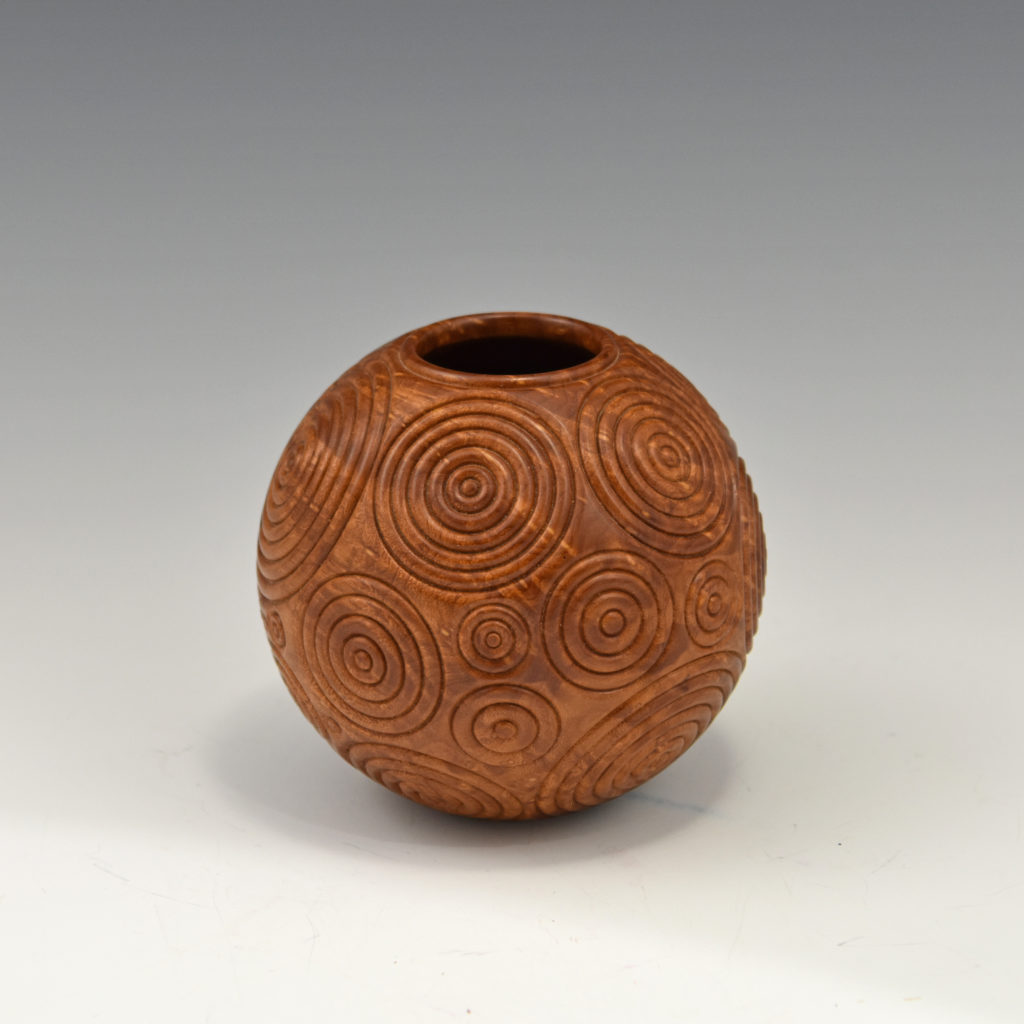
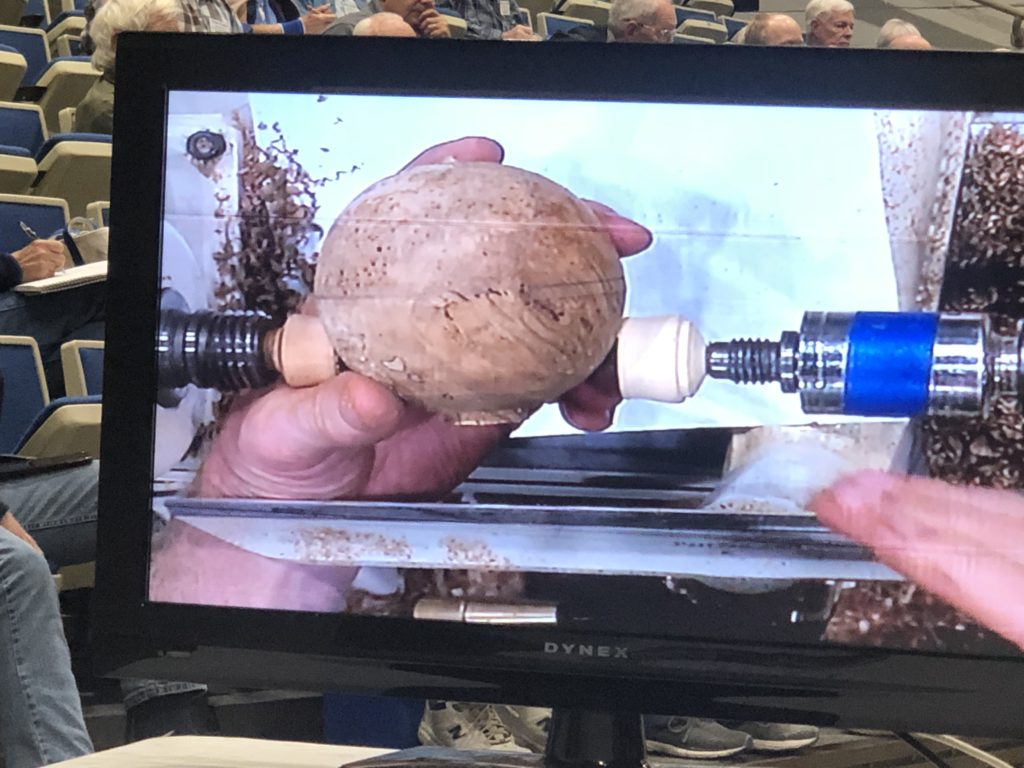
After completing the bowl, Dale demonstrated making a sphere. He turned the blank until the diameter was equal to the length. He then marked the center with a pencil, stressing that if it is truly round, and if he did everything perfect, the pencil mark will remain in the middle. Always move away from the center line. He then placed the sphere between wooden cup chucks, making sure the line is lined up with the chucks, measuring it from the tool rest. As he turns, he makes sure the solid is round. He is essentially removing what appears to be blurry in the shadow. He switched to the gouge for sheer scraping. He then made another pencil line parallel to the bed, and repeated this until the sphere is done. He referenced Kip Christiansen’s article in an AAW journal from last year. Although he did not demonstrate this, he said that if one elects to hollow the sphere, put it in a jam chuck and hollow it like you would a hollow form. Grab the sphere just below the center. He had made a special chuck to seat the sphere and created random circles in the sphere.
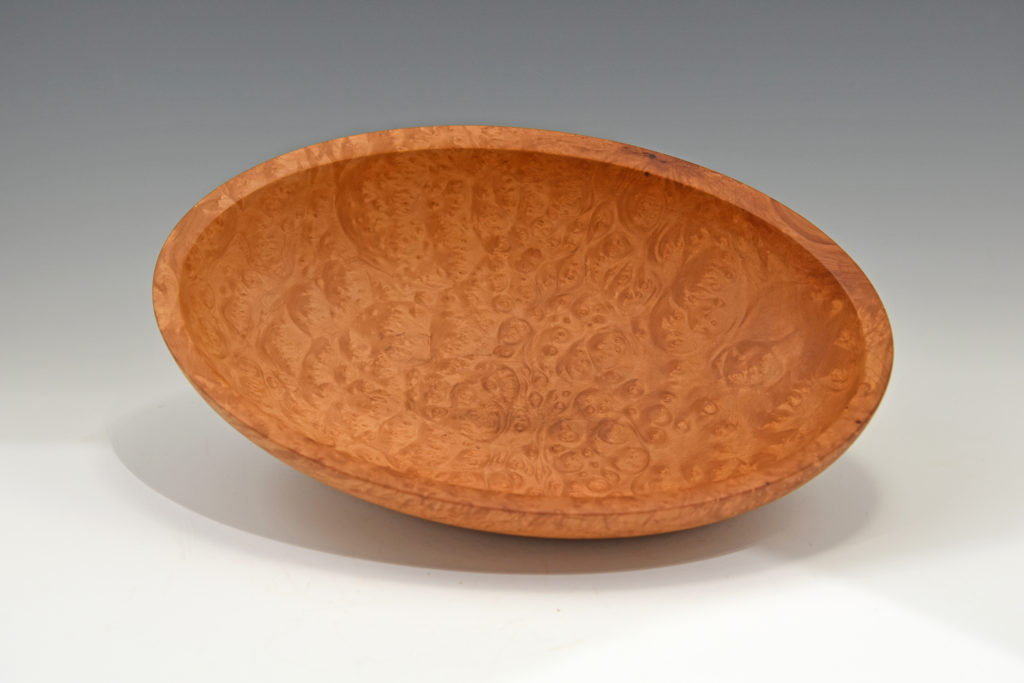
Finally, at the end of the day, Dale, with help from John Hill, attached the special chuck to turn an oval platter. It might be best to consult the article at this link in order to see how this was done. https://www.woodworkersemporium.com/oval-turning-by-dale-larson/
He showed us an oval platter turned from a madrone burl that was truly spectacular. The oval chuck is an expensive addition to your tool inventory but might very well be worth it!
The club would like to thank Dale for an informative demonstration.
To contact Dale Larson please use the following email address: [email protected]
To renew your membership please click on the following link: www.carolinamountainwoodturners.org
Article respectfully submitted by Anne Ogg, and edited by Mike Seltzer