
By Jo Miller
Making Segmented Rims and Inserts for bowls, vases and platters
There are many advantages of making segmented rims:
- You can use up scraps of wood you have or take advantage of the cut off bins at Cormark to get exotic woods at a per pound price.
- You can make unique pieces by using different or exotic woods on a plain wood bowl, vase or platter
- By putting a segmented rim on an end-grain vessels, you can create a stronger rim
In creating any segmented piece, it is best to use dry woods. If not, the segmented rim may break off during the drying process.
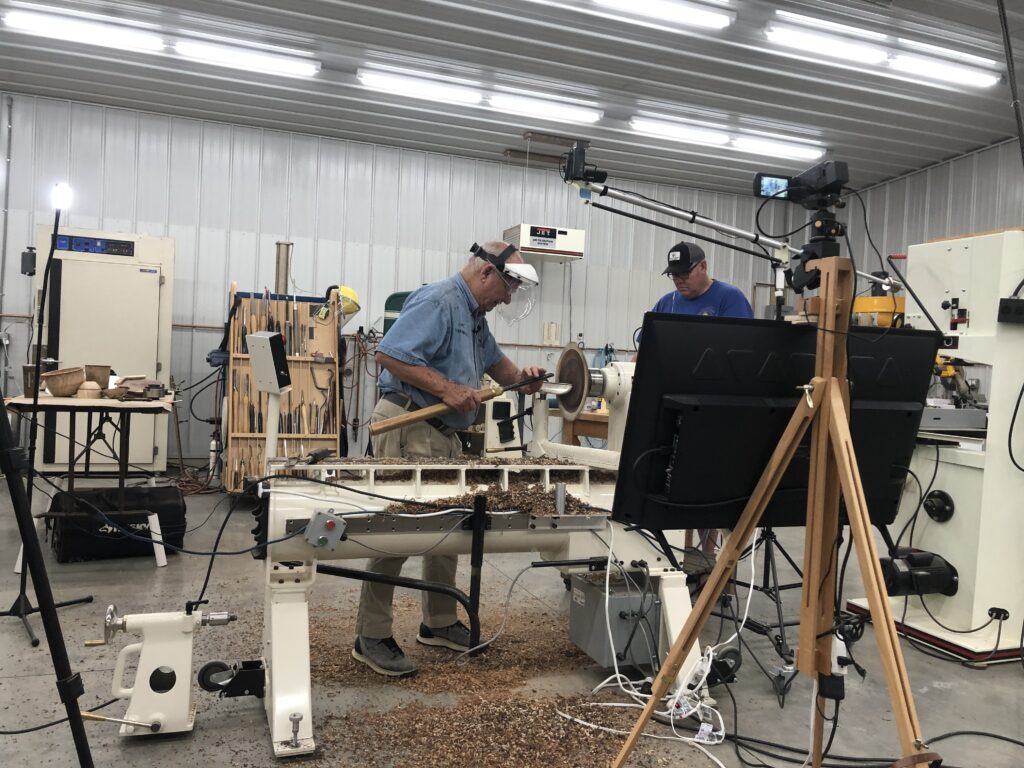
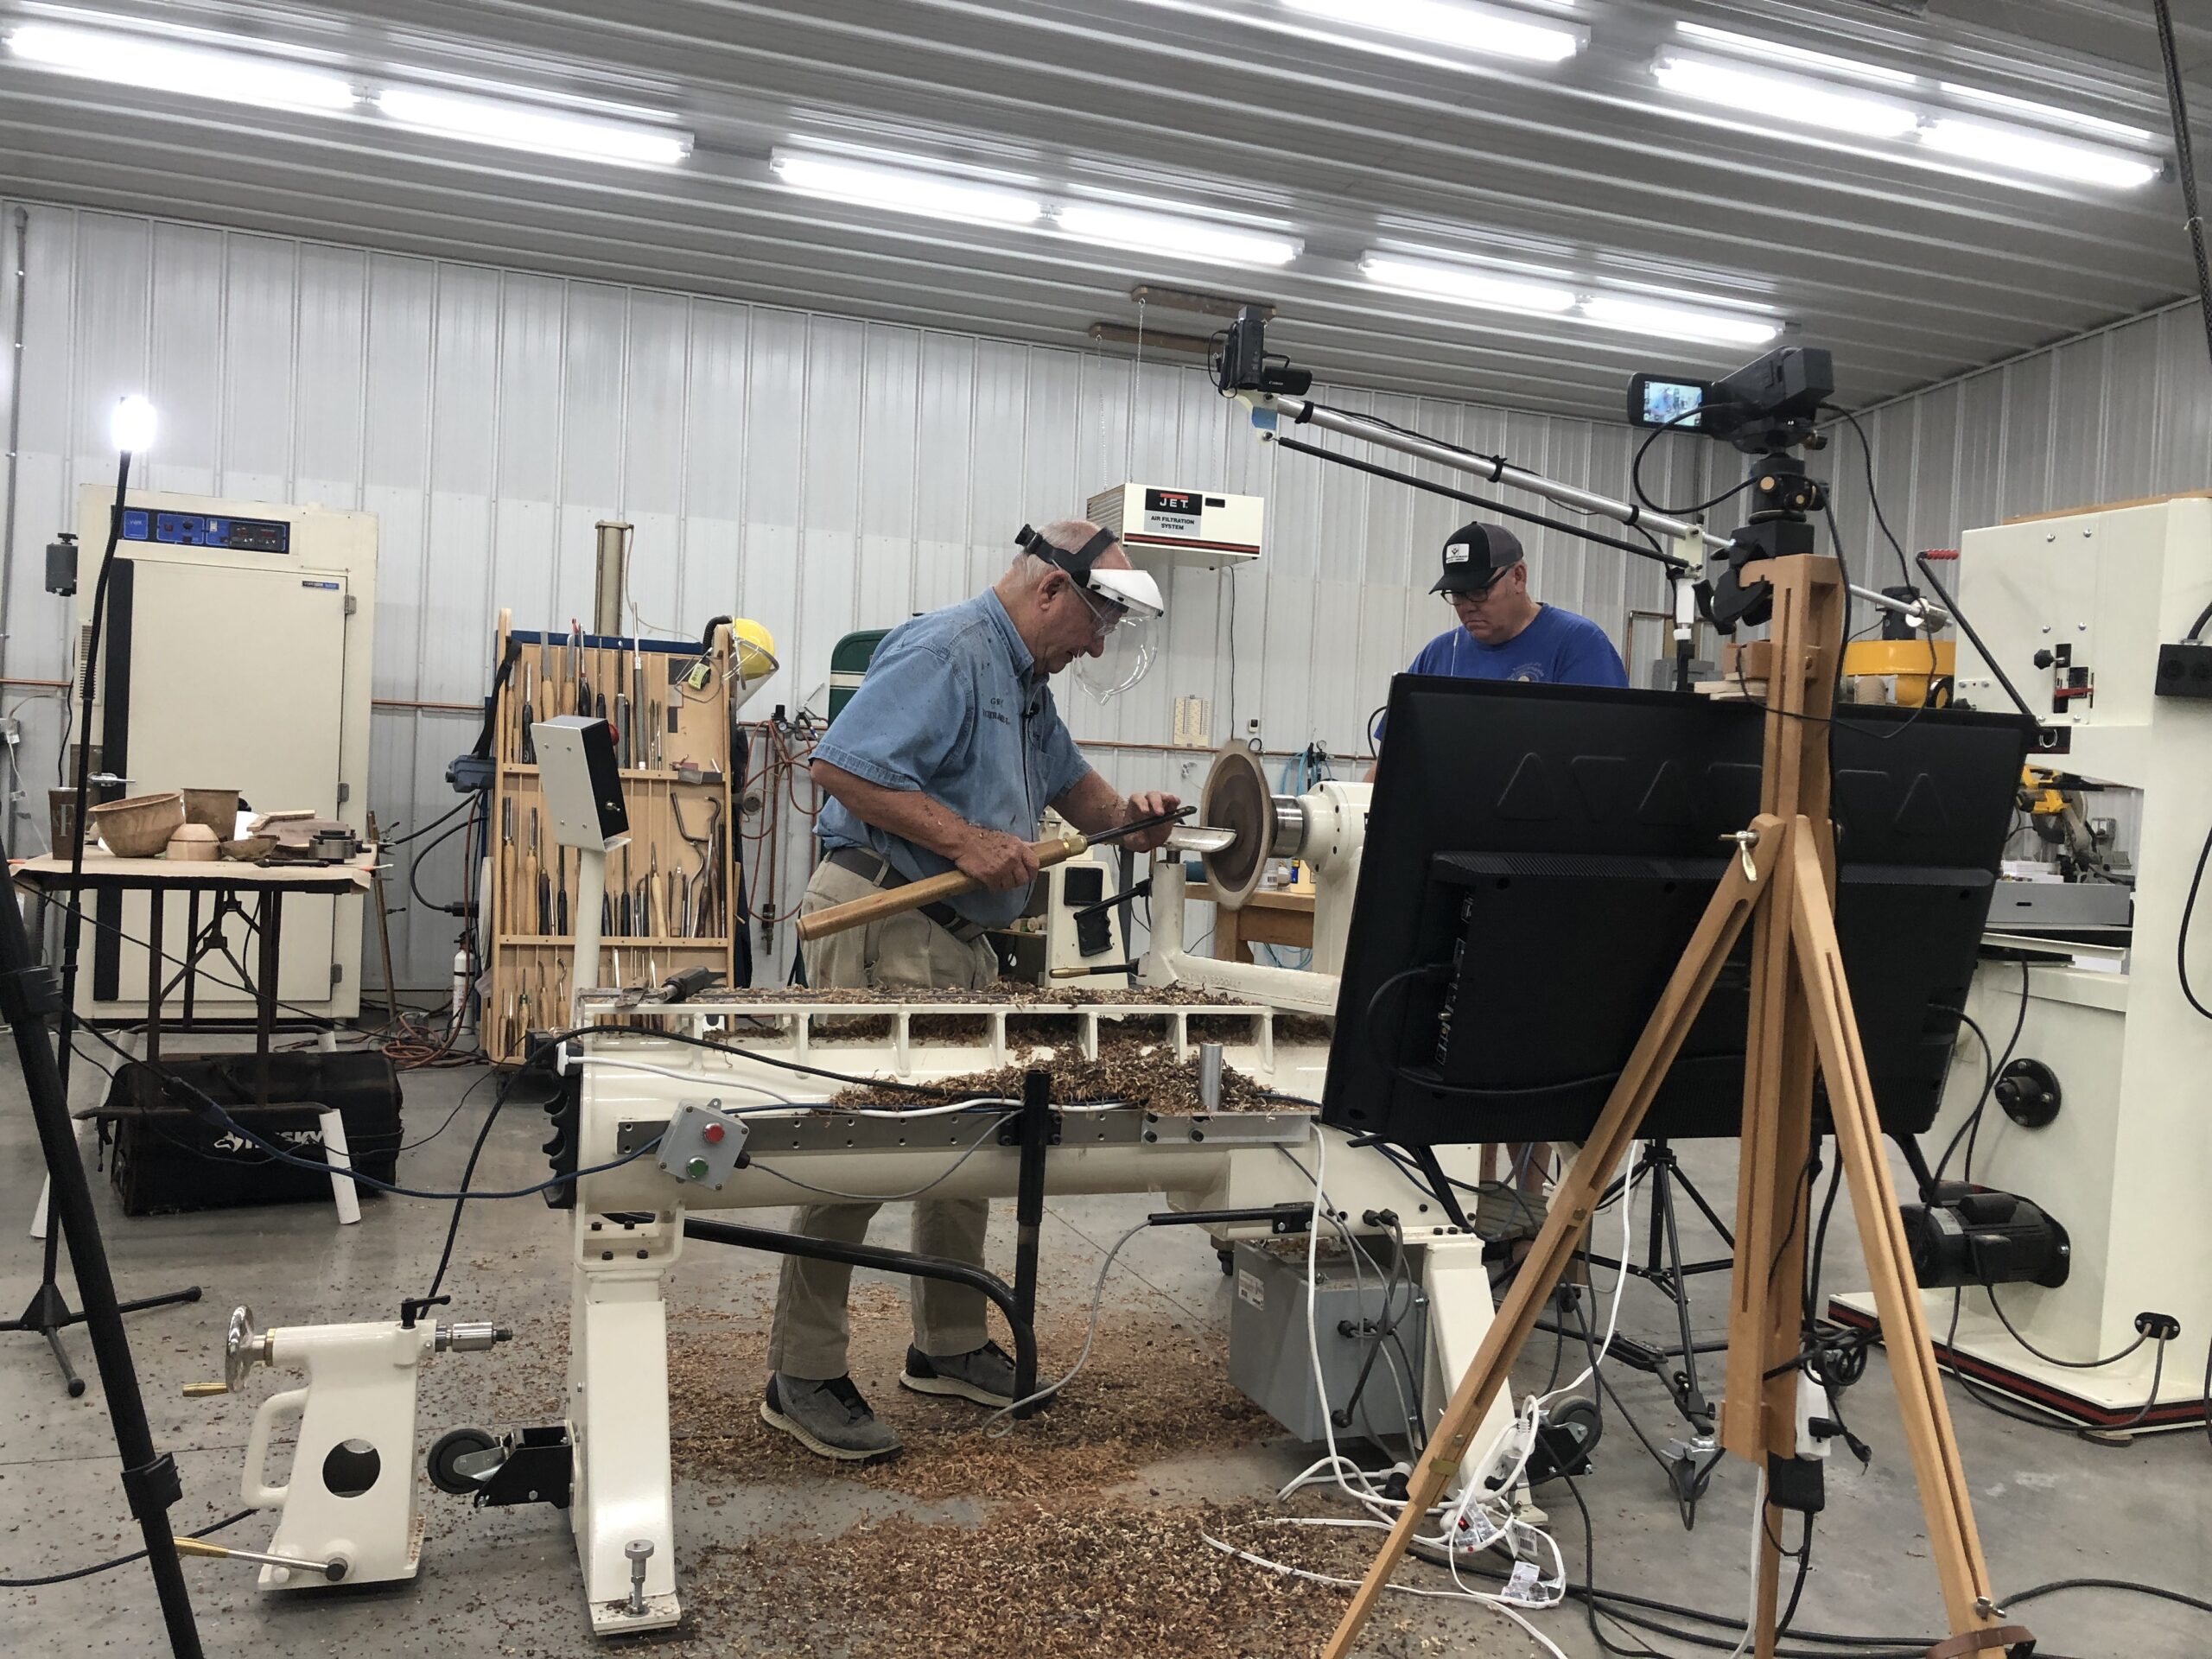
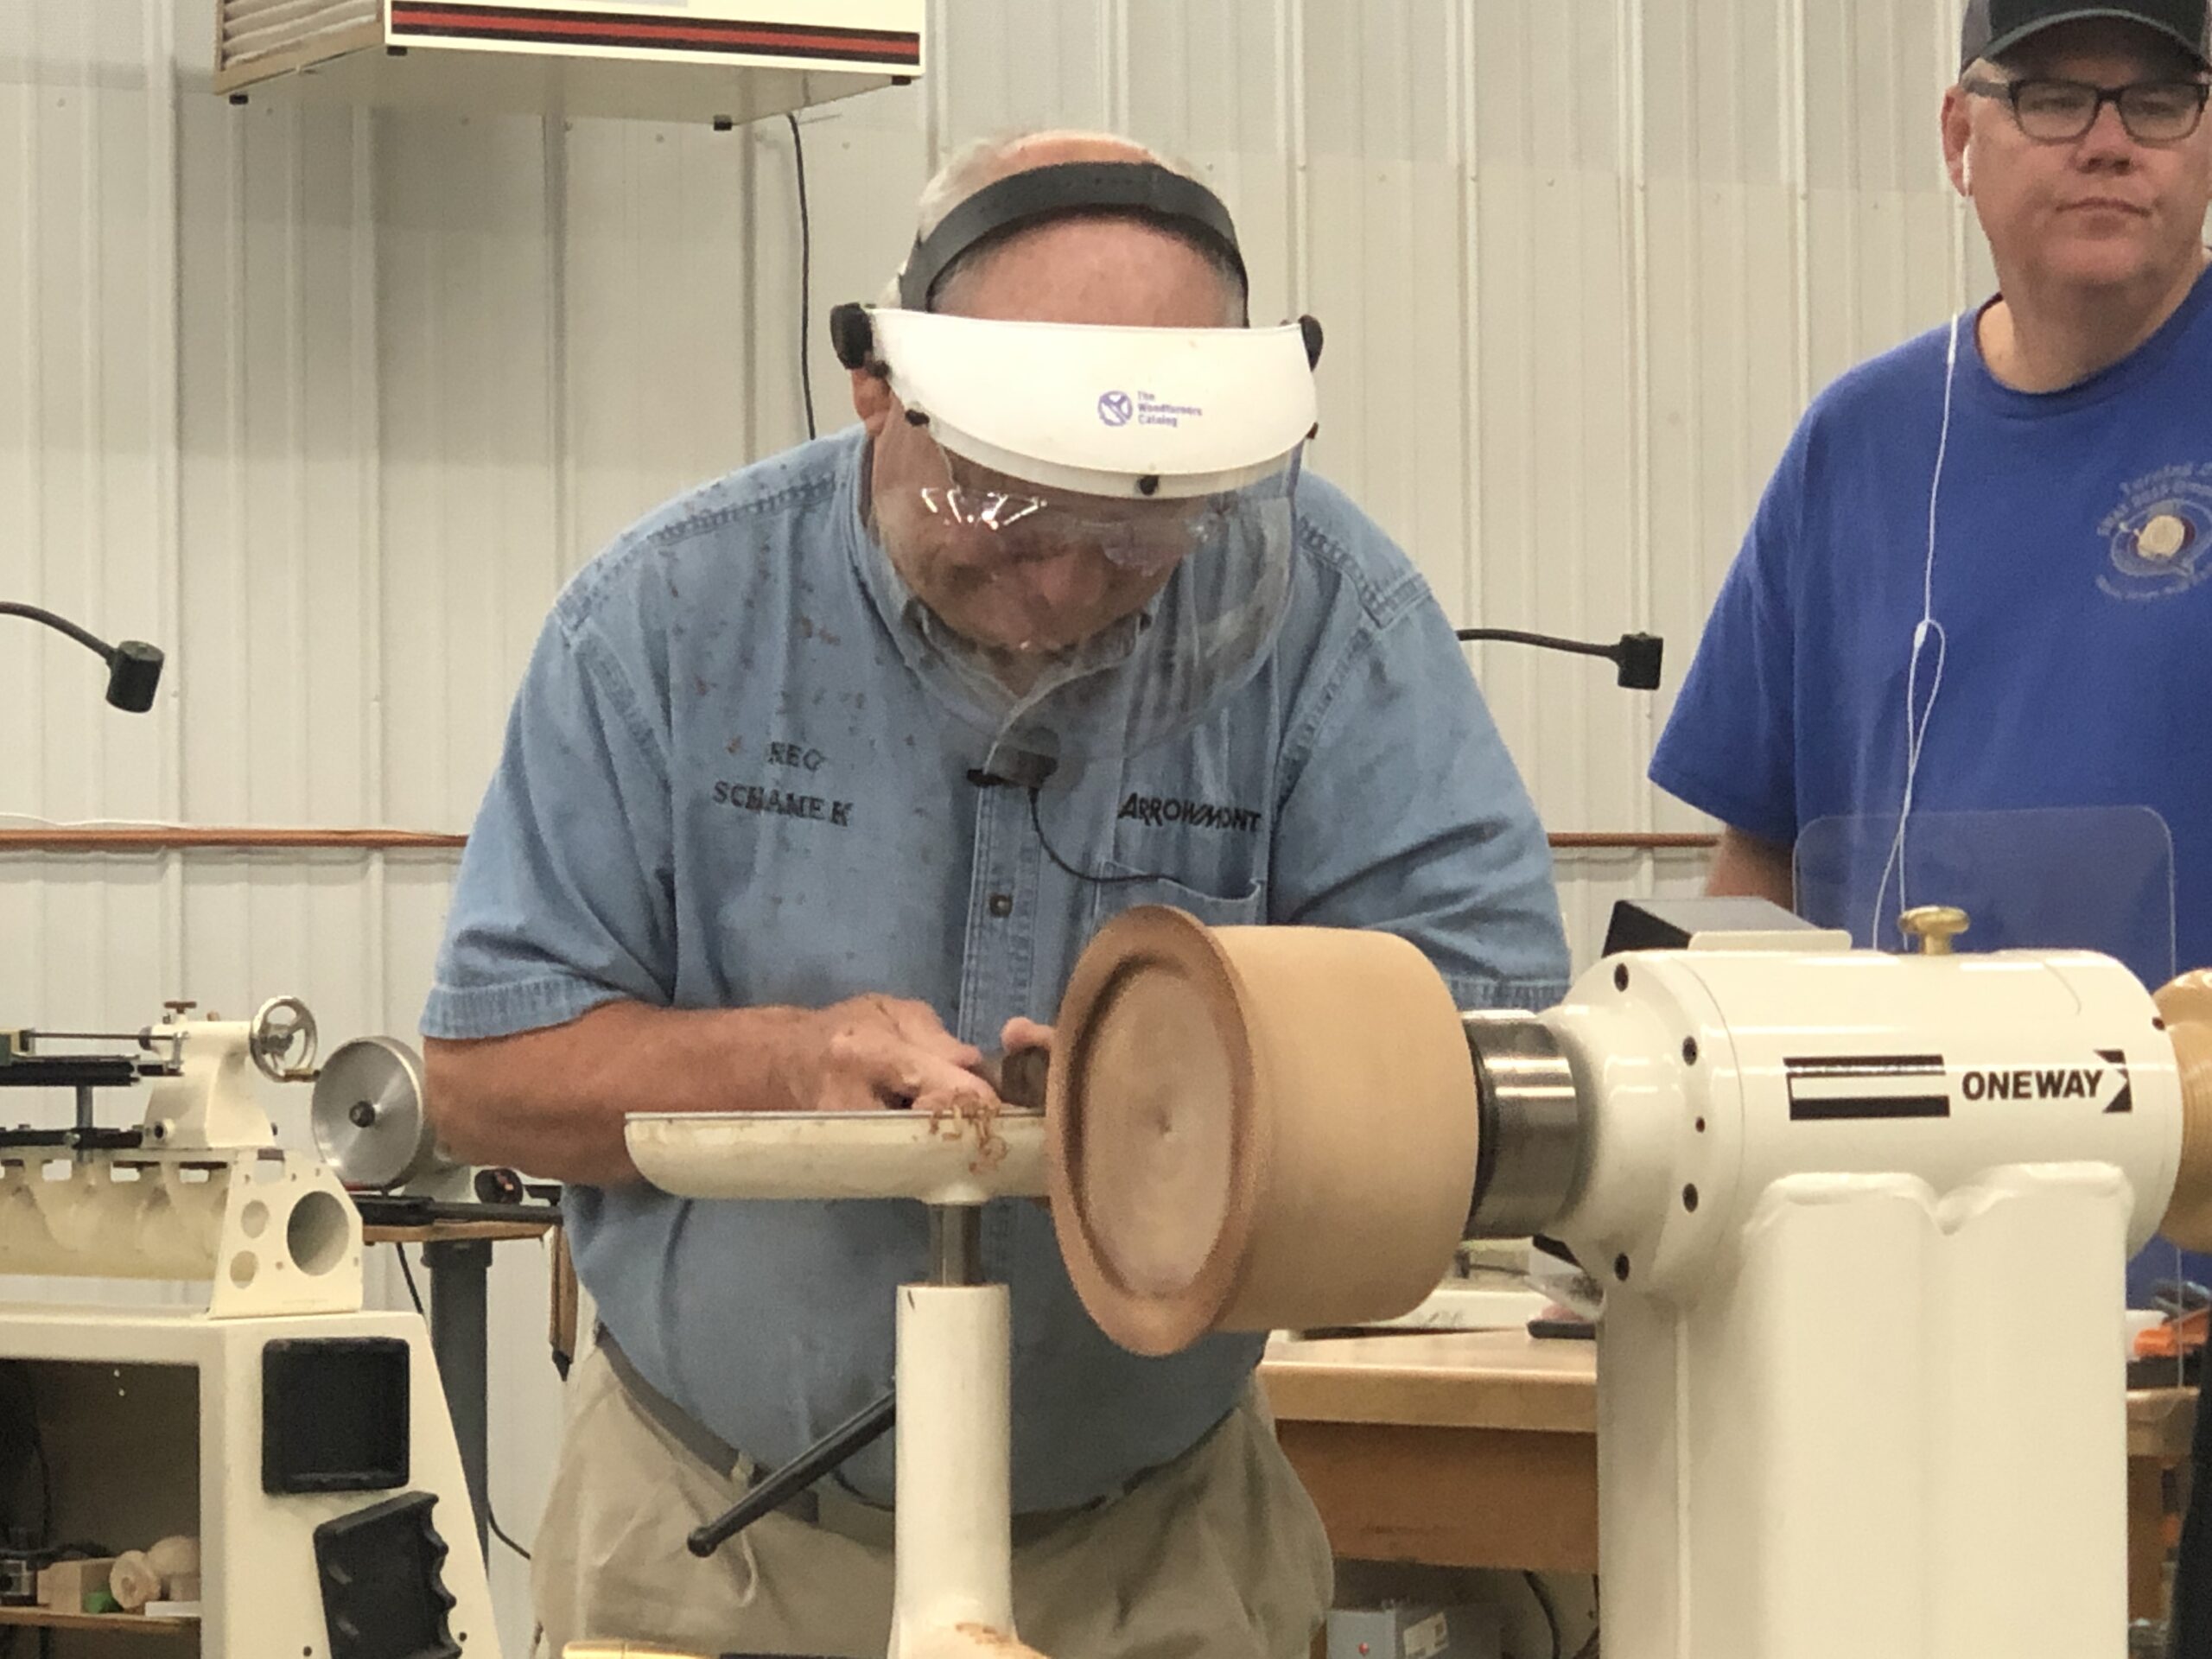
For turning segmented pieces, it is especially important to use a face shield in case a segmented piece is knocked off the base.
Greg described 3 different techniques for creating his segmented rims
Using 2 contrasting woods:
This is the basic technique used for all the pieces:
Create the basic shape – bowl, platter or vase by rounding the piece and creating a tenon
Once in the chuck, flatten the surface – check by placing a gouge or ruler against the surface
Use the indexer on your lathe to make scribe lines on your piece:
Use a 1 inch dowel with a flat board on top to create a level surface for you carpenters pencil when creating the scribe lines. This will keep the pencil from tilting while scribing.
Set your tool rest and pencil so that it is at the center of your piece
Decide how many segments you want to use: ex for 8 segments, set your indexer at 48, 24, 12 and 6 and make a line across your piece through the center.
To cut your segments, measure how deep you want your segments to go into the base for a good fit plus any extra you may want on the outside of the vessel. For example, Greg demonstrated having a rim that created a “lip” on his bowl. You will need your segments to be at least this width before cutting. Mark a circle within your vessel to assist in placing the segmented pieces.
Determine the length of your segments and Cut your angles on the segments using a table saw, band saw with a thin blade or a miter saw. For an 8 segment rim, use 22.5 degree angle i.e. 360/8. Use the circumference of your vessel/8 for the length. Cut 7 segments first, don’t cut the last piece until the end in case you need to make adjustments on the last piece. Lightly sand the cut ends of each segment
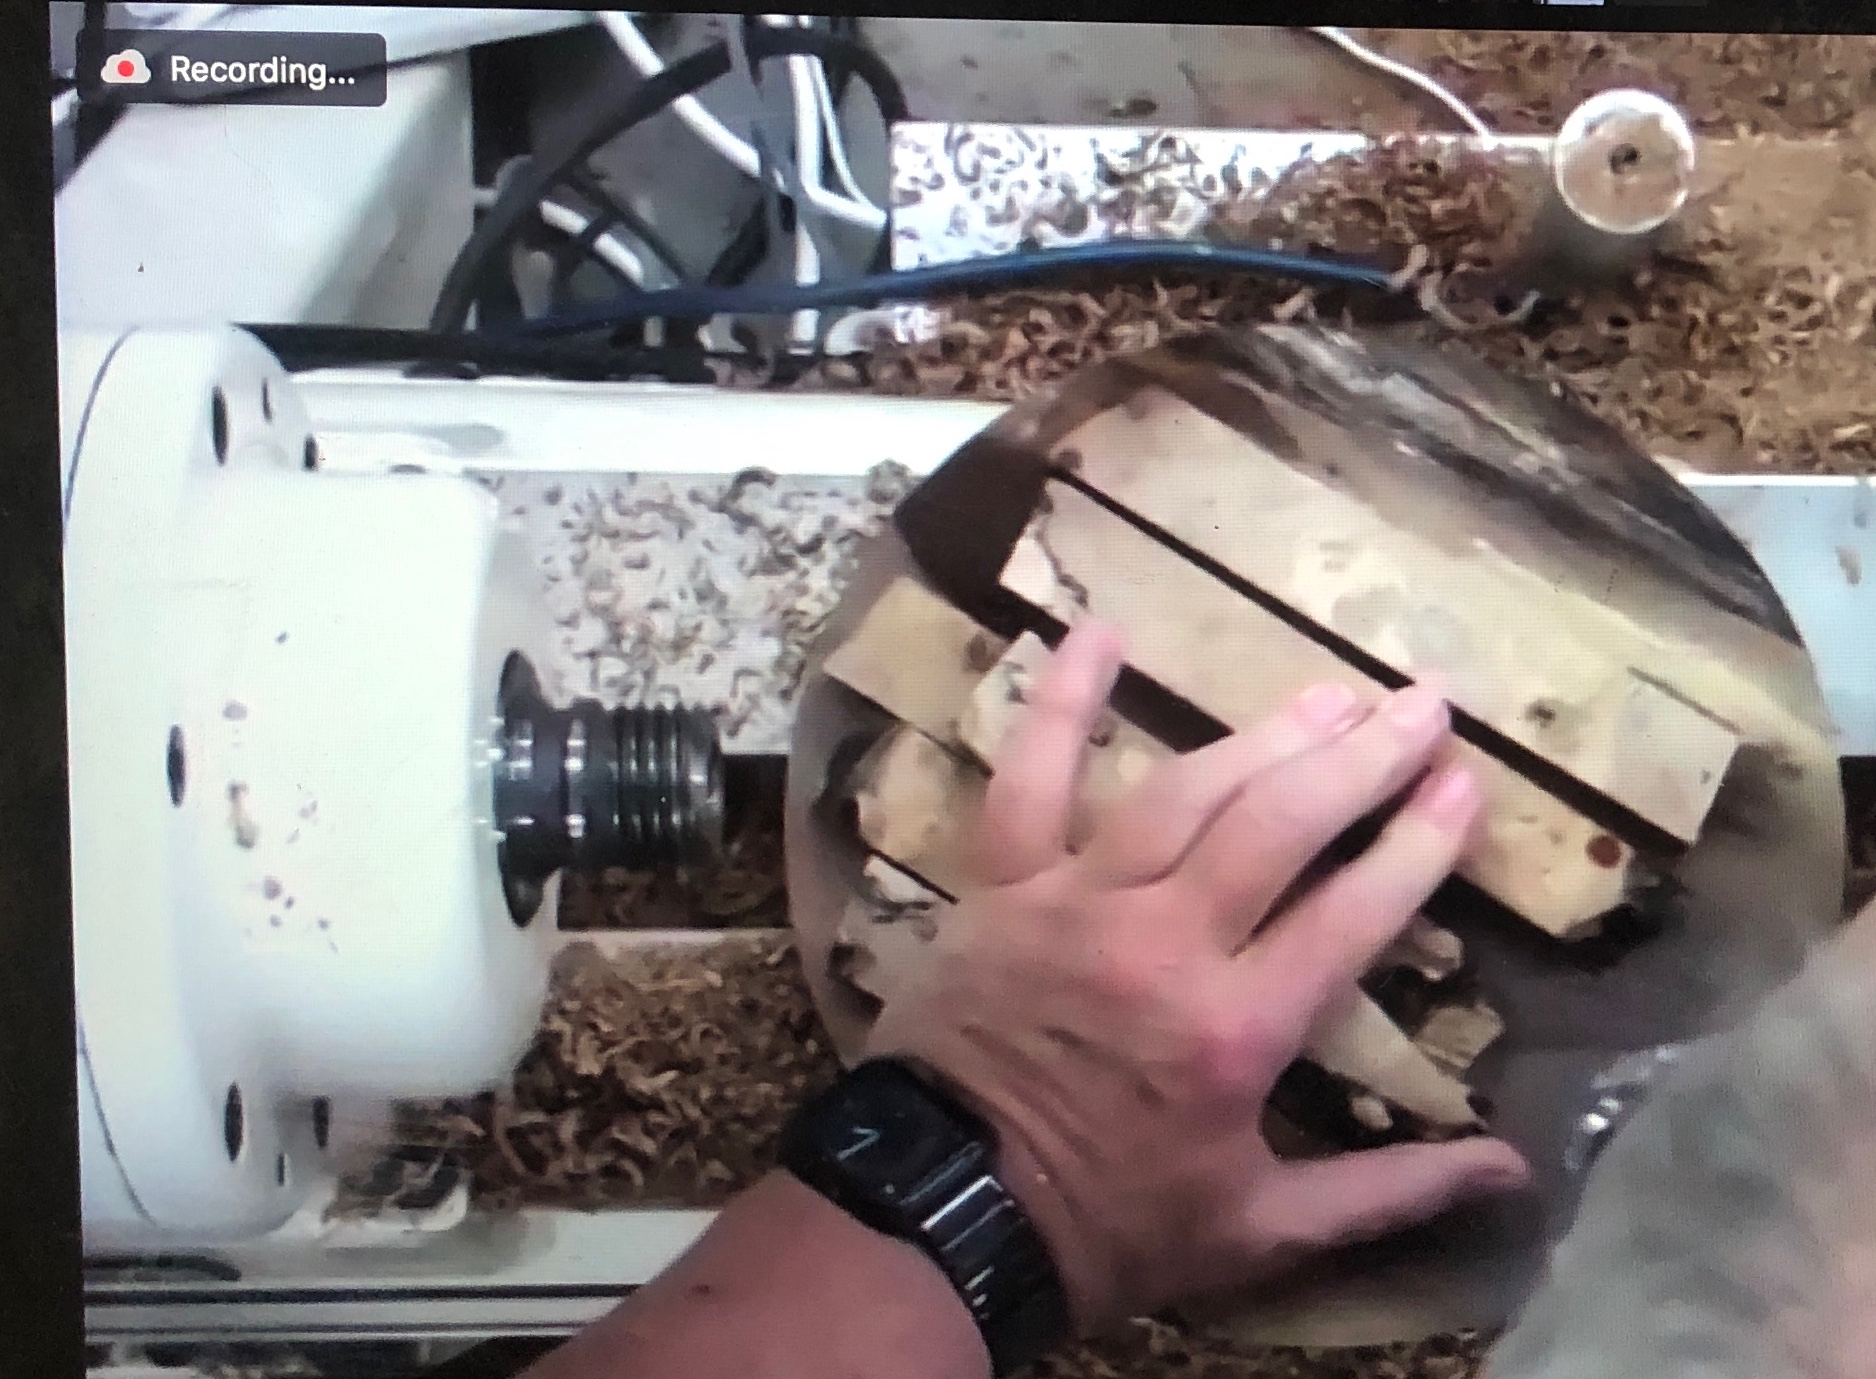
Remove chuck from the lathe – it’s easier to glue your pieces on the vessel when its flat:
Put glue (Tightbond II) on flat on the base of the vessel and line up your first segment against the pencil mark on the vessel. Add the second segment such that it is tight against the first segment. It is important that the side-to-side segments are tight together – it is not important that the outside edges are even since these will be turned even later.
Use a dot of thin CA glue at the inside edge seam to secure the segments in place. Continue in this fashion around the piece. Check the last piece and adjust the fit as needed. Let the segmented pieces dry overnight.
To finish the piece, put back on the lathe and round the segmented pieces using a light tough. These can be wider than the bowl as a design feature if desired.
Flatted the top surface on the insert and cut into the segmented rim to make sure it’s smooth at the joint points
Shape the inside using a swing cut – Starting at 3:00 your gouge at the outside end and moving to 45 degrees at the center or start at the inside and cut to rim edge
Finish shaping the outside of the vessel
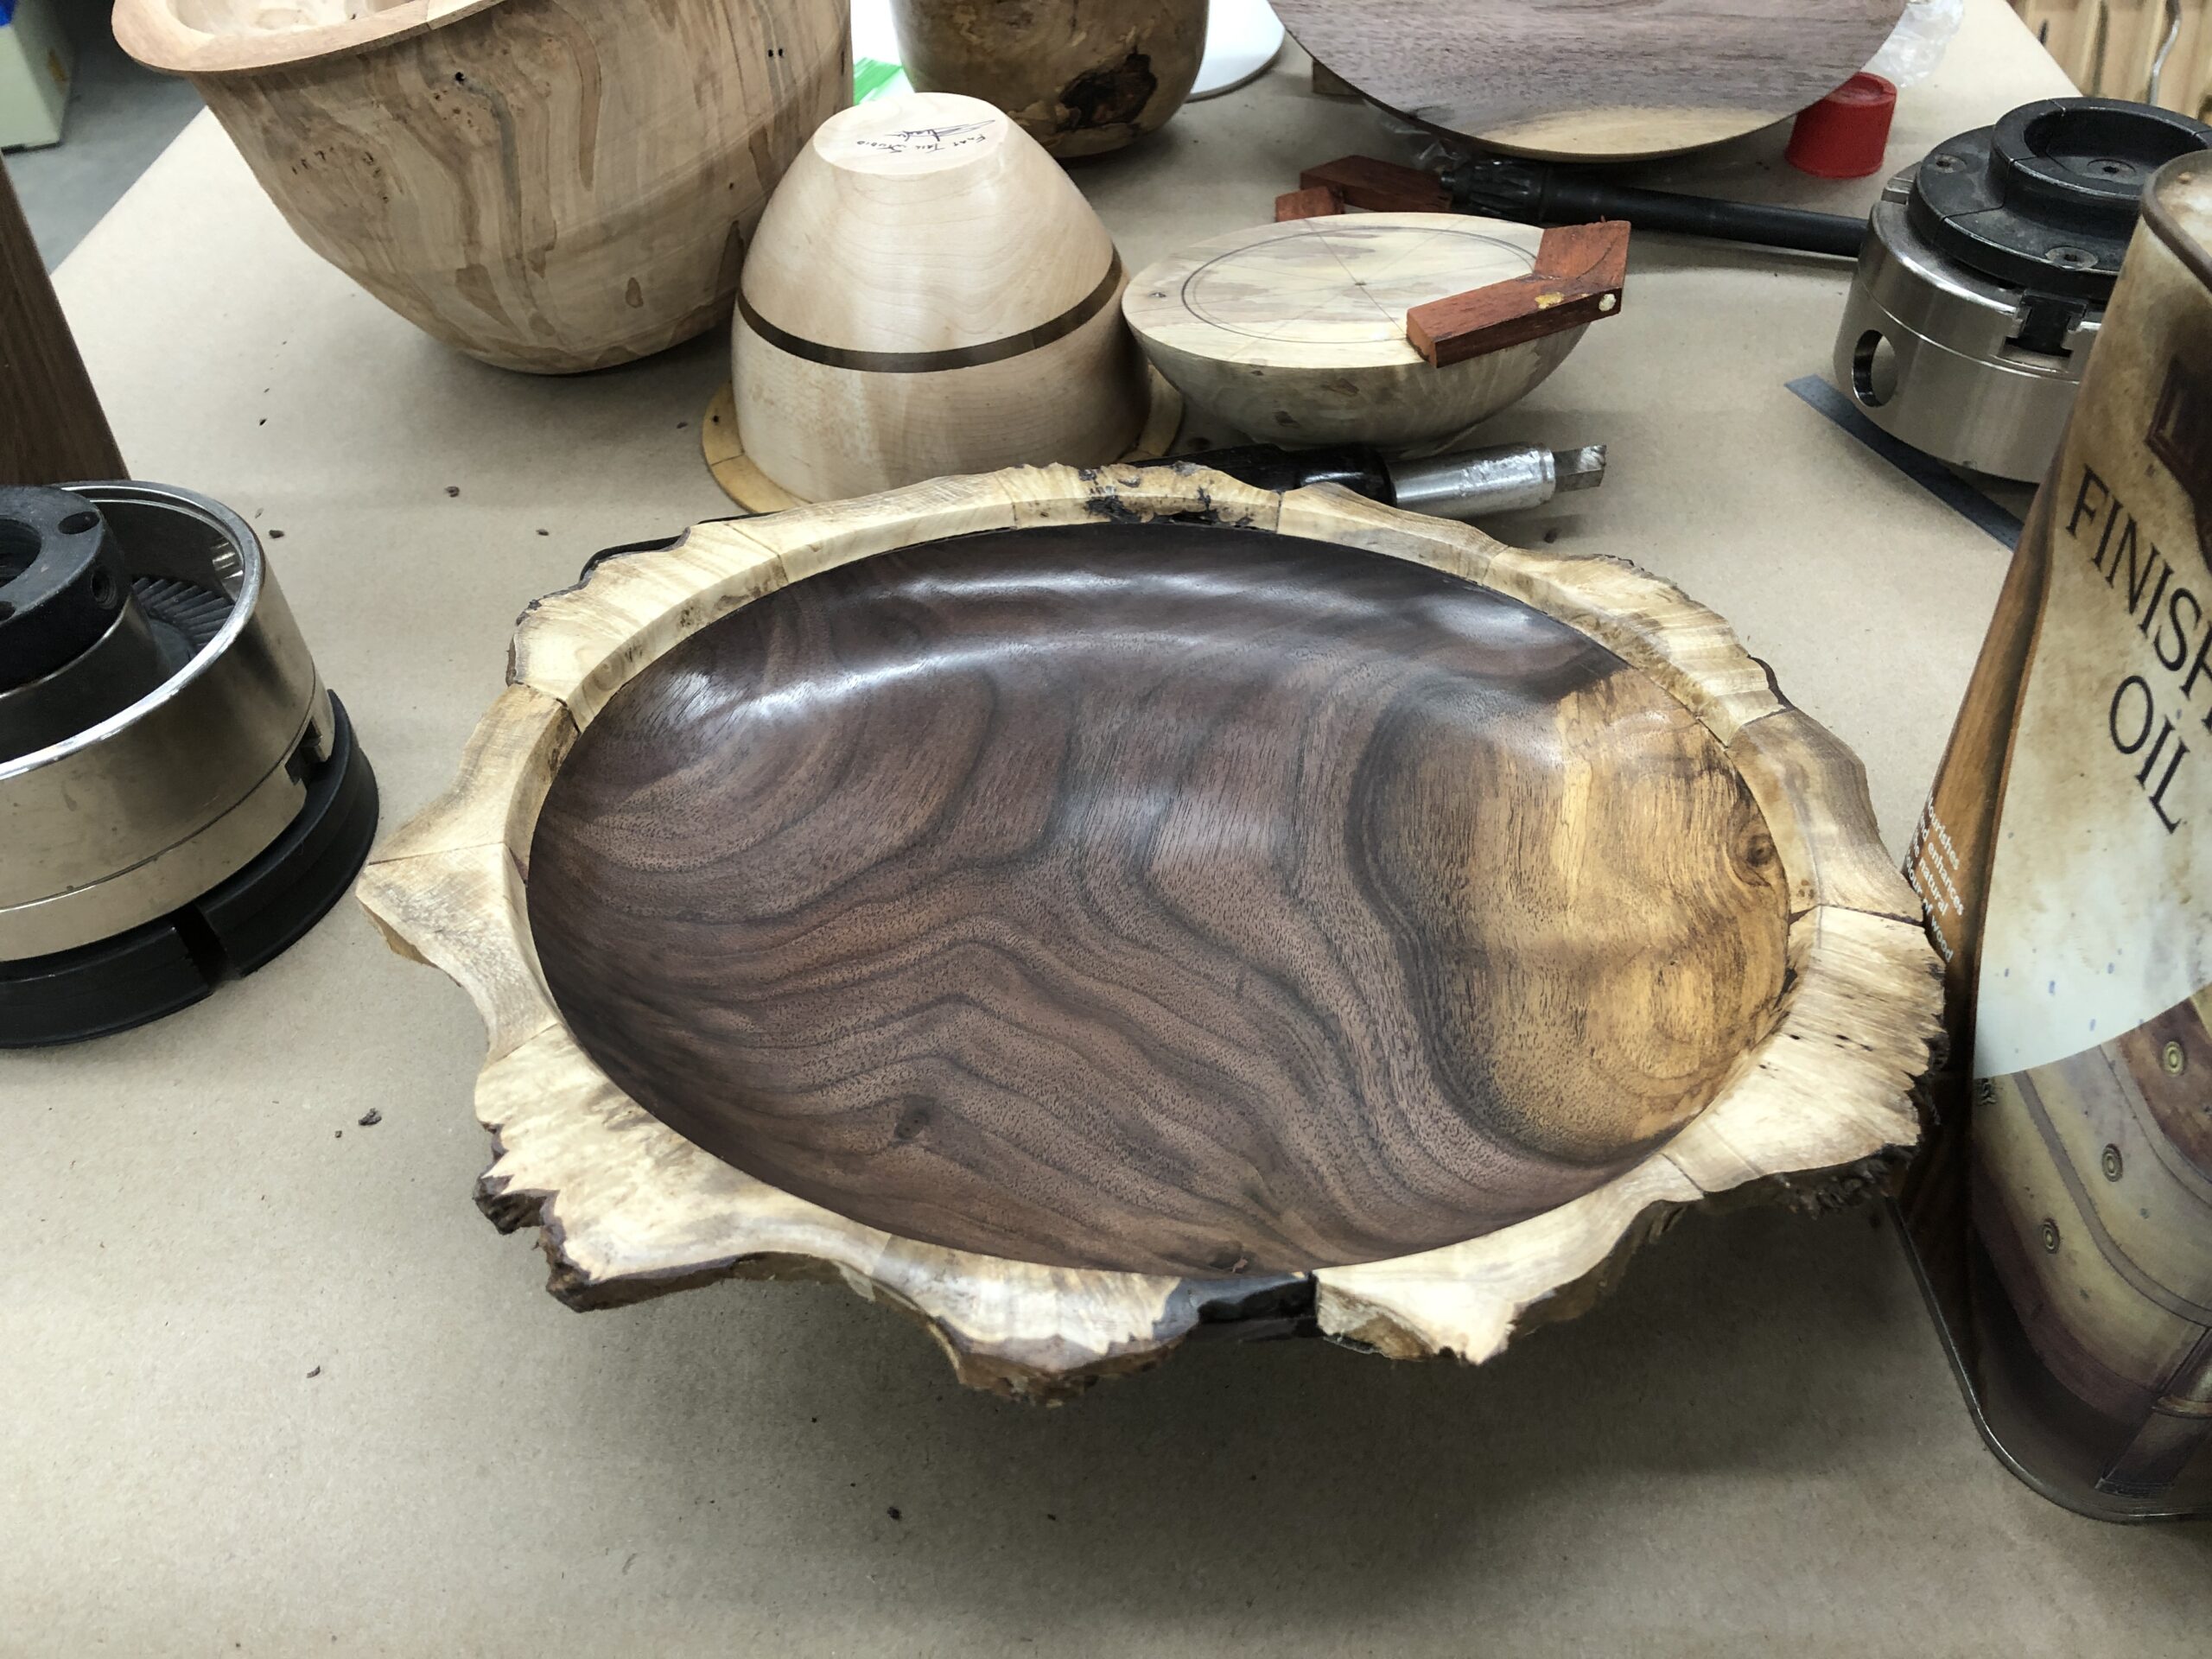
Using scrap burl or figured wood as a rim
This is a good way to use up interesting pieces of scrap wood which are of irregular sizes.
When cutting up burl scraps, you can get either “birds eyes” by cutting vertically across the burl or “lines” by cutting vertically across the burl
To flatten irregular pieces you can use a planer or this technique
Line up pieces of wood on a flat piece of scrap wood with a tenon. These can go in any direction
Glue using a dot of thin CA on each end of the pieces or use hot glue
Put base wood on the chuck and using fine cuts, smooth the top edges of the segments
Remove the pieces using a screwdriver or chisel.
Sand the top if needed to about 80 grit
The cut your 22.5 degree angles and lengths as above.
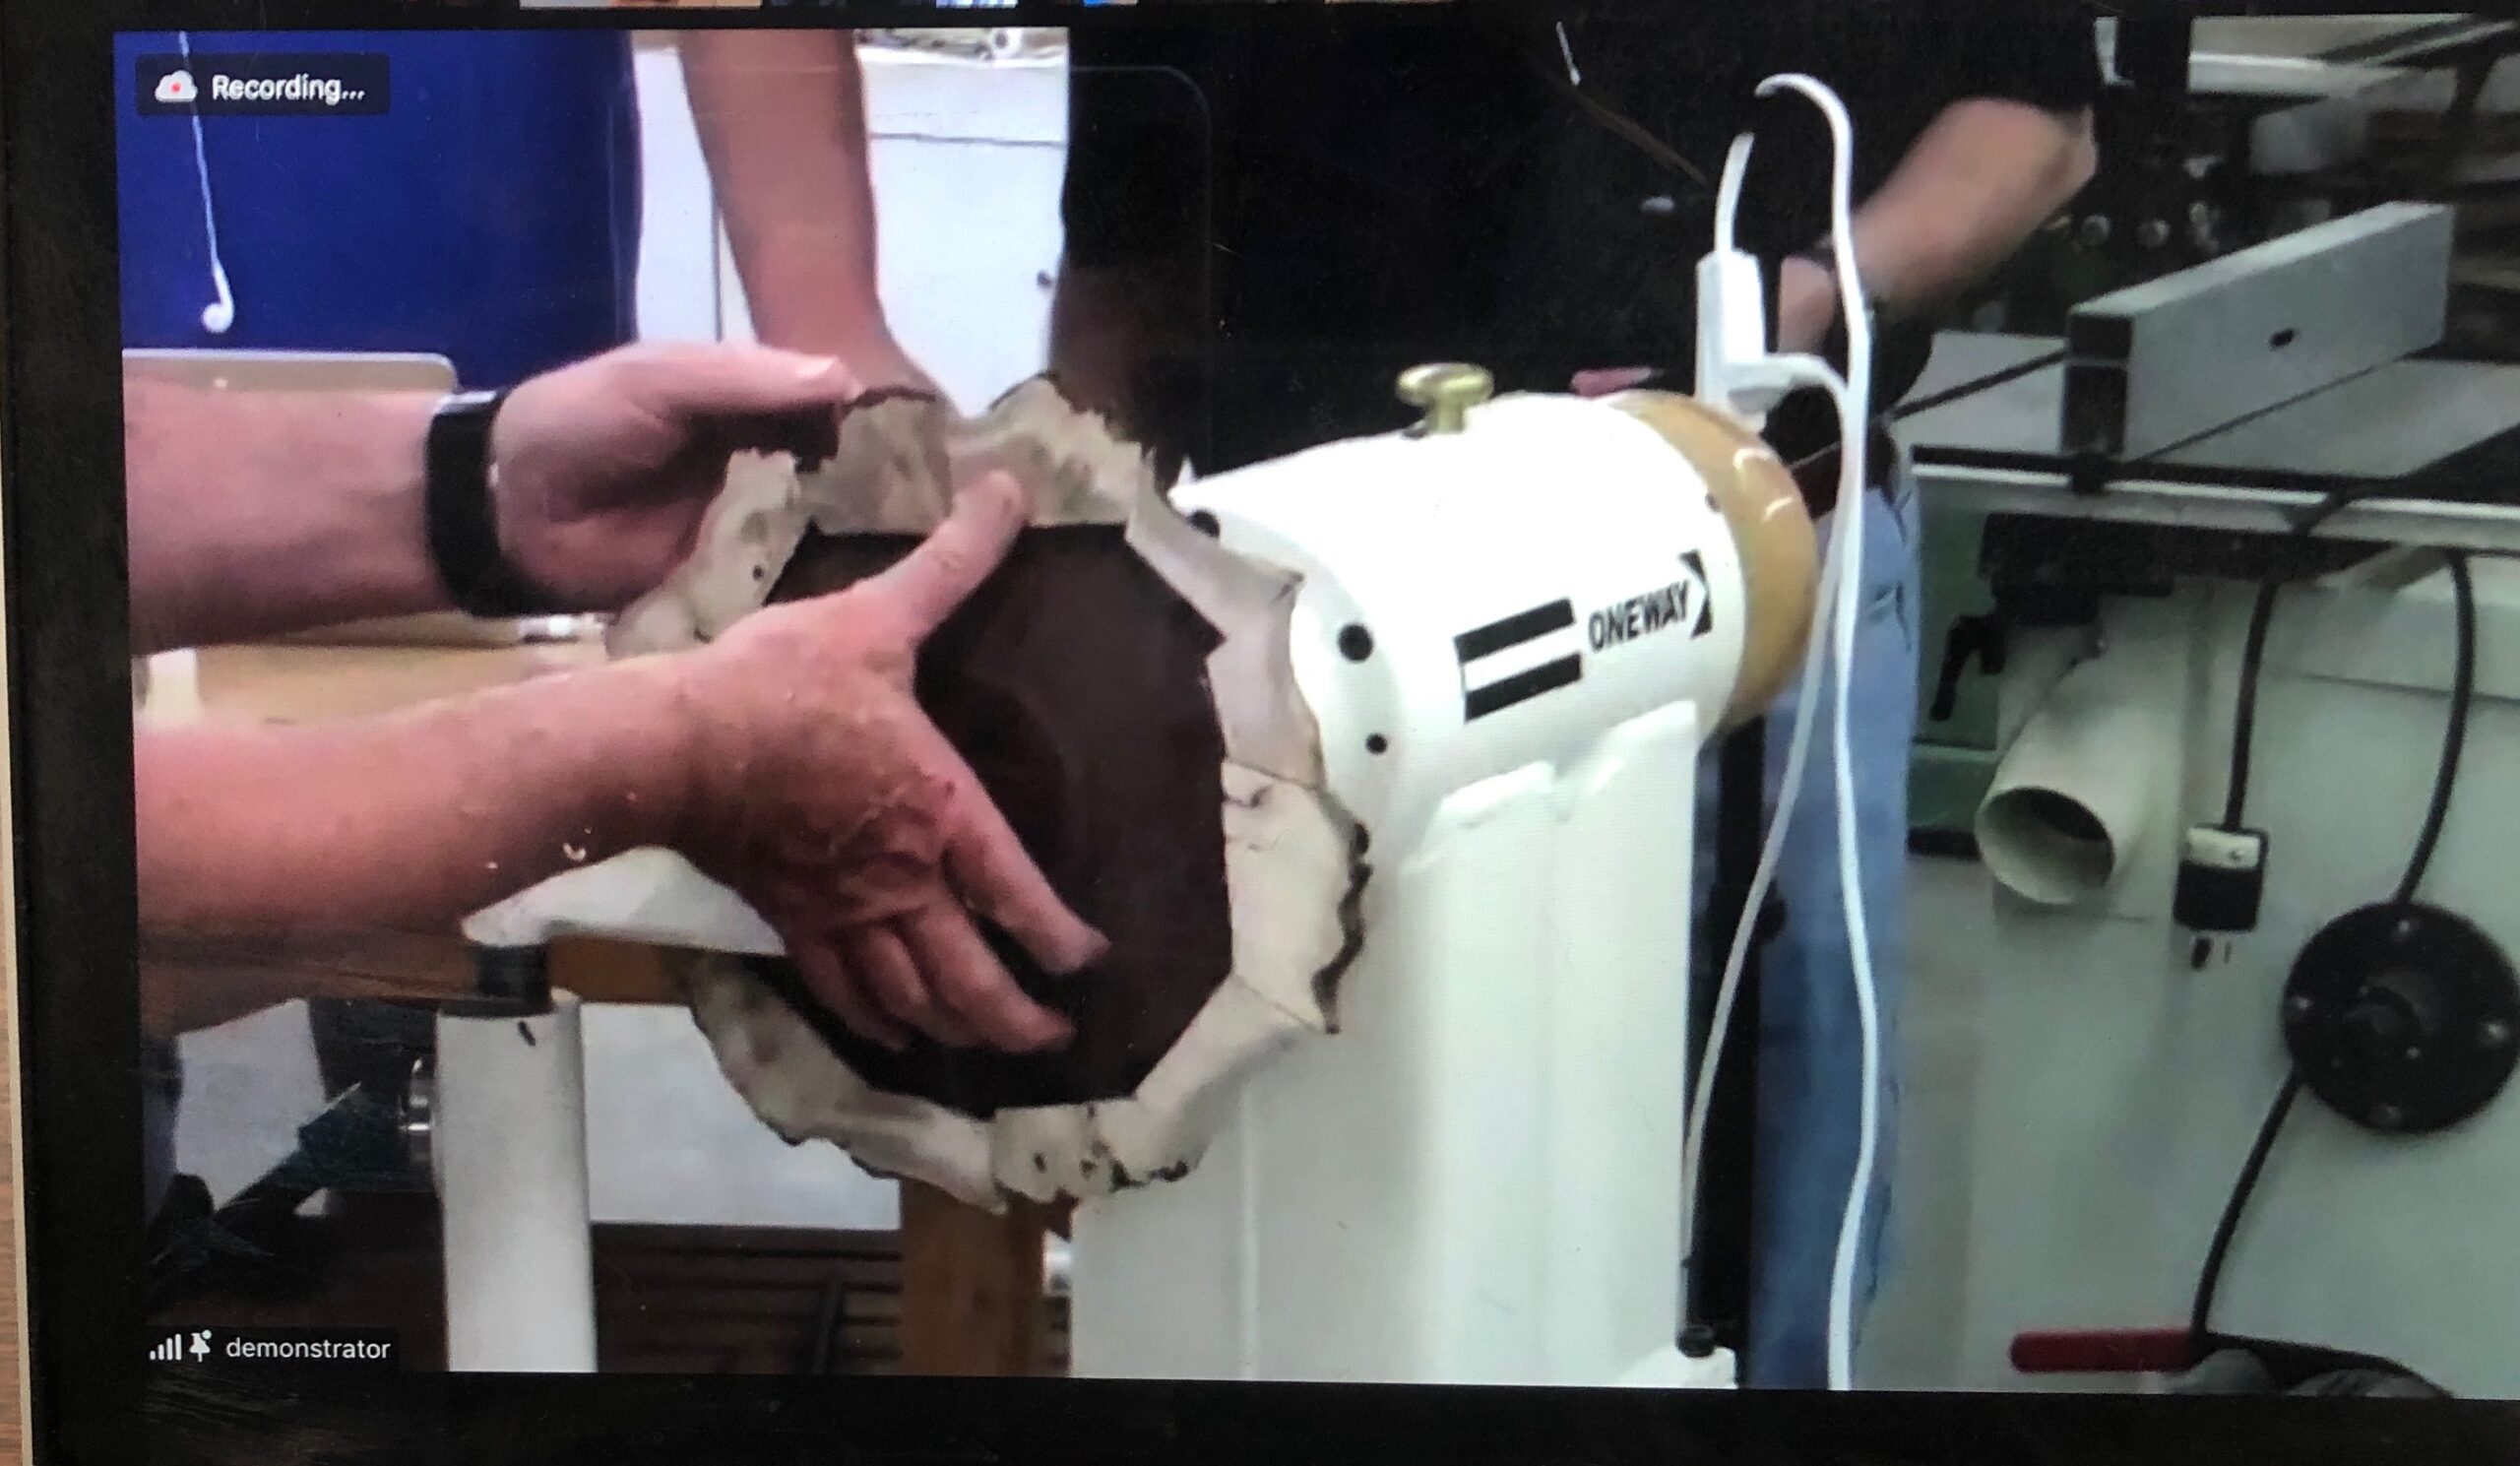
Platter with a bark edge insert or an uneven natural edge insert.
To prepare the platter, create a reverse tenon to put into an expansion chuck
Shape the bottom
Reverse and put into the expansion chuck
Flatten surface for the segmented pieces
To create the uneven natural edge insert:
Mark the center point of the platter
Place the piece to use in the rim along the edge of the platter and mark from the center through the ends of the segment. Make sure it is wide enough to stick out from the edge of the platter. Remove bark from the edges if desired or if uneven. The segments do not have to be the same in dimensions. Cut line marks on the band saw. Lightly sand the edges
Mark line on the base around the insert piece and glue in the piece between lines with Tightbond II and secure with a dab of CA glue as above.
Take the second piece and do the first cut to match the first segment. Estimate the angle needed for the other end. Cut, sand and glue in place as before. Make sure the inside joints are tight
Continue to glue all pieces around the edge as above – estimating the needed angles to fit the pieces in
Shape the inside of the platter – remember the bottom will be thicker because of the reverse tenon
Fine cut rim to flatten surface
Sand or grind off bark and smooth edges as desired using a flame shaped carving bit
To fix any poorly fitted segments, put masking tape on the underside of the segment then add a filler (copper, shavings, etc) into the uneven spot and add CA glue to fill the uneven section. To prevent CA from staining wood, you can put paste wax around the edge before filling the void.
Sand off the CA glue and filling to smooth finish
Finish as desired. Greg uses Liberon oil and then finishes with a Beal method – Use the brown at 150 RPMS. White (EEE) at 300 RPMS, and Carnuba wax at high speed -by melting the wax on the wheel first, then driving the wax into the wood. Use a light application of each on your wheel. You can get a set of 10 inch disc wheels for this on Amazon for ~$29. Greg puts these on an extension.