
by Jo Miller
The Round Bottom Bowl
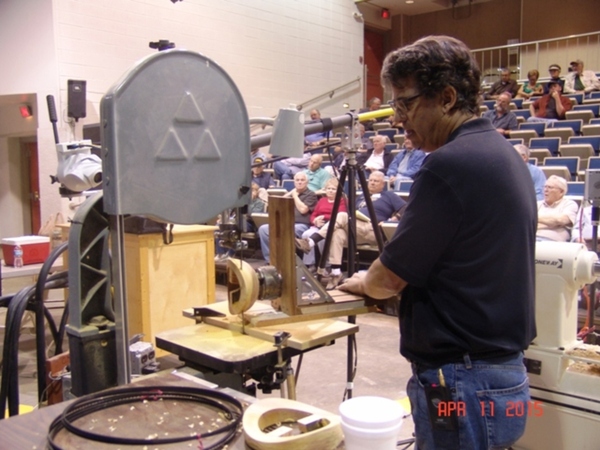
John comes to us from California and is well known for his wave bowls. These will be demonstrated at the end of February through the AAW IRD.
In designing a round bottom bowl – the shape is very important so that the design will be highlighted. The most important part of the bowl shape is the top 1/3-1/2 of the bowl. It is important to have the round curve move in toward the top. The bowl can be of any size but the apex of the bowl – the widest part – should break at ~1/3 down. The bottom of the bowl should follow the shape of a hanging chain. Because the bowl is round, the rim should slope inward to make ~ 90 degree angle. This can be rounded over to soften the look.
Turning the bowl:
For this demonstration, John used a 5 ½-6 inch blank mounted on a screw chuck. Using a screw chuck makes it easier to round off the bottom – if you start between centers, the tail-stock gets in the way, making the swing cuts more difficult. If you want to begin between centers, a stubby drive center could be used to extend the wood from the head-stock. John begins with taking off the corners using a 60 degree beveled gouge. He suggests that the first cuts go out to establish the inward curve and turn into the grain of the blank using a push cut. This cut is not initially on the bevel. Then use a long sweep to begin your turn at the apex of the bowl and to get on the bevel for your cut.
Once the top 1/3 of the bowl is established, form the tenon. Its important to have a flat surface for the bottom of the chuck jaws and a sharp edge. Form a dove tail if needed for your chuck. Establish a second “shelf” above the tenon. This will allow you to visualize where the bottom of the bowl will be. Once the tenon is formed, shape the bottom up to the apex of the bowl (1/3rdpoint) and then move toward the top edge to finish the top curve. Use a flat edge (ruler) to decide where the inflection point should be and adjust the top curve as needed. Take small cuts while correcting the shaping of the bowl. Using a light colored paper under the bowl helps see the shape better. John also uses a glue stick to bend around the edge of the bowl to check for any rough spots.
Hollowing the bowl:
Begin by flattening up the top of the bowl. Because the curve of the bowl, you will need to have a very wide sweep of the gouge to follow the curve. As you begin, push the gouge toward the edge of the bowl. This will begin hollowing out the top 1/3 of the bowl that has an inward curve. You should continue pushing toward the edge, followed by a sweep until you have the wall thickness you want. This will leave wood in the center of the bowl. A gouge with a 45 degree bevel could be used at the top 1/3rd–. This will reduce the amount of swing needed for the initial curve – but eventually the gouge will begin to hit the side of the bowl requiring you to change to a gouge with a 60 degree bevel so that you can get closer to the bottom of the bowl. At the bottom, you will need to use a scrapper or a gouge with a very shallow bevel (75-80 degrees). Because of the shape of the bowl, the shavings will not fall out – blow them out as you go. Sand your bowl once it is hollowed to an even thickness throughout.
Rounding off the bottom:
Jam-chuck your bowl. If the bowl is small enough, you can open up your chuck jaws to grip the inside rim of the bowl. To prevent damage, use a wide (1/2 inch) rubber band around the edge of the jaws. Be careful not to over tighten. For a larger bowl, use a jam-chuck with a flat or slightly concave surface so the bowl doesnt rock. Cover the edges of the jam-chuck with a piece of foam or suede . Follow the curve of the bowl and visualize the curve going into the “shelf” left above the tenon. Use the glue stick to check the curve and smooth our any rough spots. Reduce the tenon to as small as possible. The very bottom of the bowl will have a very small flat surface to make it look round on a flat surface–use a ruler to judge how the bowl will look against something flat as you are making final cuts. John uses green wood for his bowls. After turned to an even thickness, he lets them sit on a table to completely dry and thus warp. If you don’t want the bowl to sit crooked, put the bowl in Cole Jaws, and sand a small flat spot on the bottom using a sanding block positioned between the tail stock and the bowl and slow speed on your lathe.
John signs his bowls on the small flat surface at the bottom. Finish the bowl as you like.