
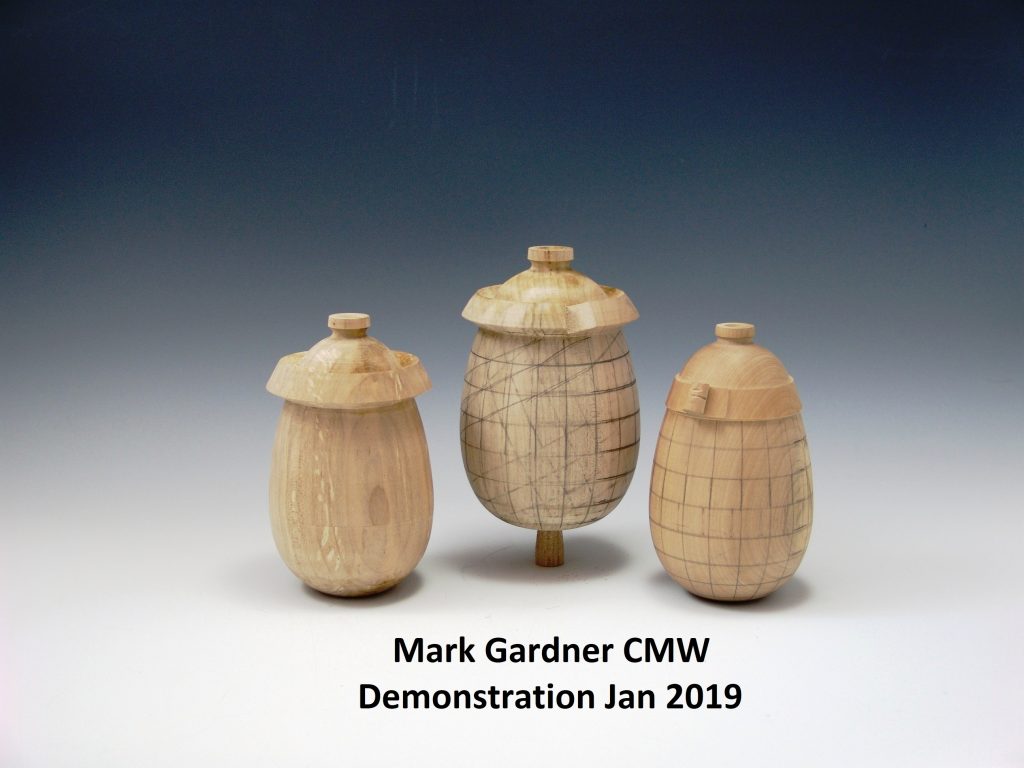
Mark Gardner Demonstrates for CMW – Jan.19,2019

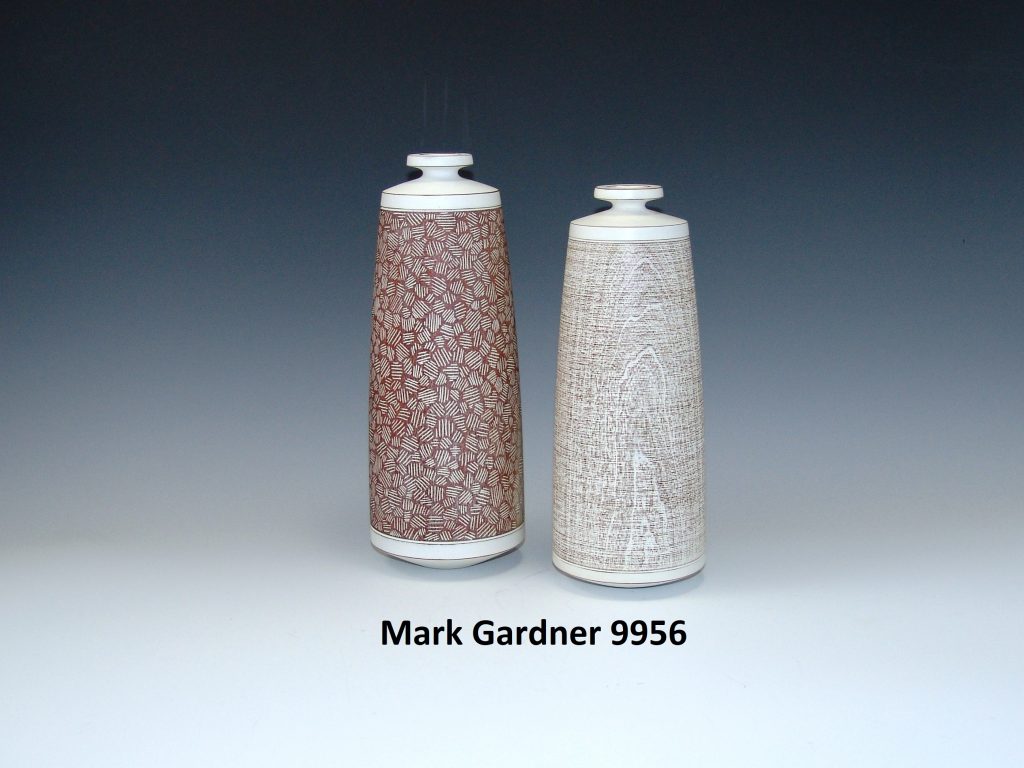
Today our demonstrator was Mark Gardner from Saluda, NC. Mark started with a power point presentation showing the evolution of his work. He is well known for a split hollow form technique but he also does production bowls with various kinds of embellishment. Today he showed us how he makes a handled hollow form vase and then discussed his embellishing techniques.
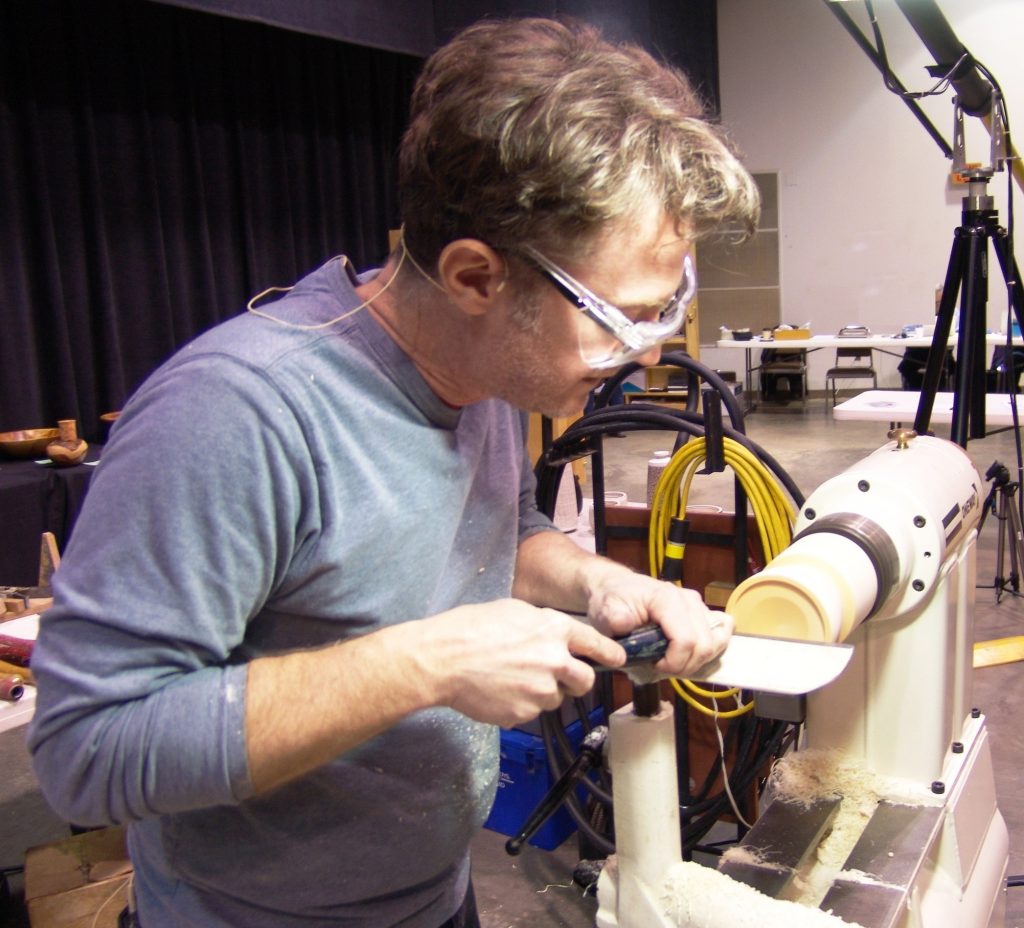
At this point Mark started to make shavings. He likes to turn green wood and today used a blank of quarter sawn red maple. He placed it between centers and since this is spindle type turning used a spindle roughing gouge to turn the blank into a cylinder. He then put a Tenon (slightly dovetailed) on both ends to be used with a chuck. At this point he started to make the shape of the vessel. He uses an “eyeballed” rule of thirds to shape the vessel like a long egg. The cut started just below where the handles will be. He did this with a bowl gouge starting with a V -cut on the left side with a bevel supported cut and went to the right against the grain with a scraping cut. He pointed out that he usually orients the top of the vessel to the headstock. He does essentially the same thing at the bottom of the vessel. He likes the egg shape to be slightly bottom heavy. Once the vessel is fairly well shaped, it is ready to cut. Before doing this he sketches the remainder of the vessel shape on the top and bottom. He has previously removed a little waste wood but has left enough for the handles and to help control vibration when hollowing. He now parts the vessel at the widest point leaving about an inch of material and finishes parting with a Japanese pull saw. He wants the kerf to be as narrow as possible so the grain lines can be as close as possible to line up. The reason to cut at the widest point is that this is the easiest place to make a mortise for gluing back together. At this point Mark went to the drawing board and explained the depth of the cut and shaping necessary for the glue back. The farther away from the widest point the more delicate the cuts because on the curve the mortise becomes quite thin. I suggest watching the video of this demo to fully appreciate. (Also, during Mark’s Demo he occasionally described his tool technique which is basically only understandable with seeing.)
At this point Mark put the top portion of the vessel into the chuck. The first order of business is to prepare the rim. First he makes the end flat with a clean cut. He showed how he places his hand on the tool rest and supports the tool (spindle gouge) with his thumb to make this cut and avoid kickback (well worth watching). He now did a very small amount of hollowing and then with a special homemade tool to cut across the end grain he fashioned the female side of the mortise. This needs to be a precise 90- degree angle so that when glued up the seam will be easy to hide and not gap. Since the thickness of the vessel will be 3/8 of an inch the flange for the mortise should be about 1/2 of that. Now it is time to hollow. Measure the depth, using the drawing on the top of the vessel and then drill a hole to that depth. Mark uses a Crescent wrench and hand held drill bit, but this can be done with the drill in the tailstock. He hollows it with a home- made hollowing tool but any end grain tool will work. You cut from the center out, moving down approximately an inch at a time checking the wall thickness as you go. He is making it 3/8 inch. It needs to be uniform to prevent cracking as the piece dries. At the bottom of the hollowing one guesses at the wall thickness using the establish curve and the center hole.
Now remove the top of the vessel and replace with the bottom in the chuck. Make a female Tenon first in preparation for the glue up. Start with a narrow parting tool. If you mess up and make the Tenon too small you can try again without losing too much wood. The shoulder of the female mortise needs to be a perfect fit with the male so the glue line will be hard to see and not gap upon final shaping. Before cutting the vessel it is good to put “witness” marks so it is easy to keep the grain lined up. If this was not done, do it before gluing to make grain lineup easy. After the bottom is hollowed, using the same technique as the top, glue the parts together and hold between centers. He puts medium CA glue on the corner of the Tenon.
There was now a break for lunch. The afternoon session began with Mark finishing shaping the outside. He first drew a line on the waste wood at the level of the top. He now partially -parted down along that line so as to not lose that level and removed some waste wood. To make the handles he marked the wood remaining on top and used a 3/8 -inch spindle gauge to make a straight cut in at that level. He then proceeded to shape the top. Mark uses a profile gauge (about $10 at Lowe’s) to help visually blend the top with the body of the vessel and uses shear scraping as his blending technique. Mark proceeded to shape the spout and then drilled a hole through the top of the spout. He uses “coat-hanger thickness gauges to be sure the top has the proper thickness and if necessary uses small angles hollowing tools to do any fine tuning.
At the bottom he marks a reference line, turns away the waste wood and shapes the vessel. Then it is time to sand. Use compressed air to blow out free water before sanding. This also helps to keep the wood from discoloring while drying. Sand to 320 0r 400 grit.
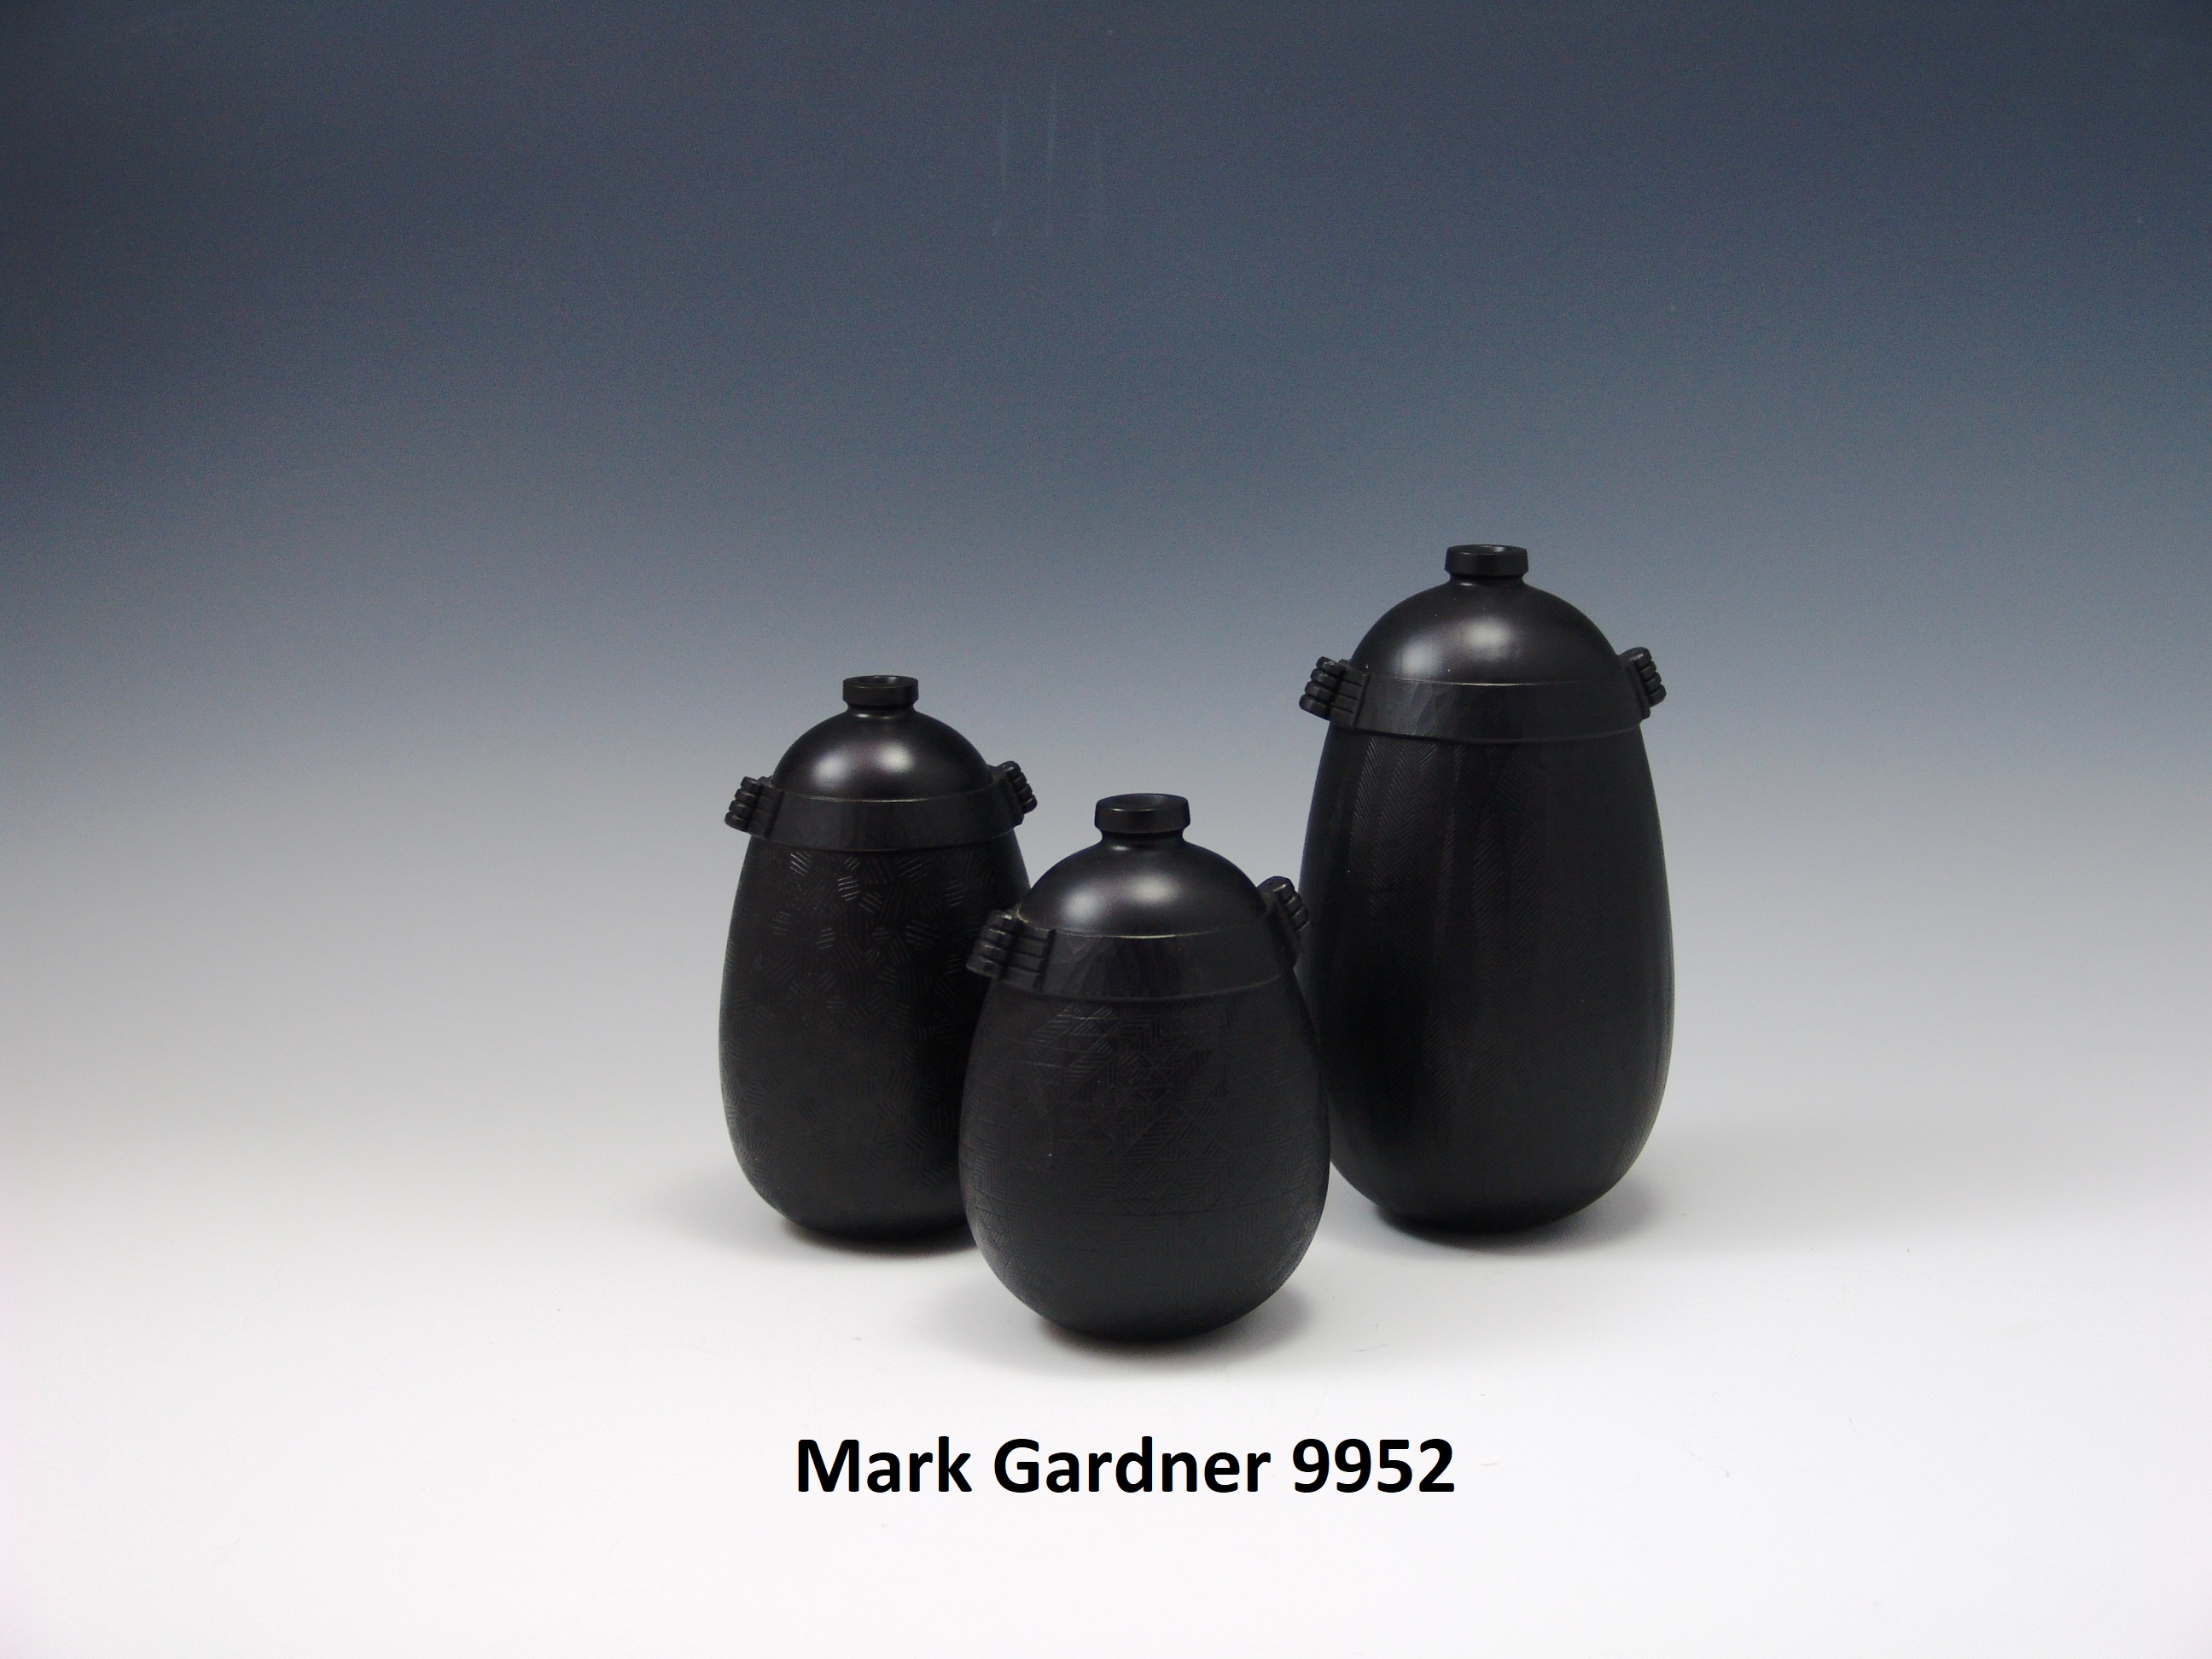
Mark waits to do his embellishing until the vessel is dry. It is frequently dry by the time he gets too it. He jam- chucks the vessel on a block of wood with a spindle in the hole and a small leather pad and the point removed from the live center in the tailstock. Sometime he leaves a nub on the bottom to help line up the center for when he is ready to embellish. A technique he likes is to use a steel brush wheel to create fine lines up and down the vessel. He runs the lathe at about 500 rpm and holds the wheel lightly and perpendicular to the vessel. He then knocks off the fuzz with 600 or 1200 grit sand paper.
He now completes his final turning on the bottom with a demarcation line between the textured area and the bottom. He then removes the waste wood and creates a small concavity in the bottom. He will remove the final nub with a hand carving tool.
To continue embellishing he will remount the vessels in the jam check and lay out patterns by creating grids on the vessel. Again he likes to avoid green pieces before starting embellishing as the grain in the carved patterns will “fuzz-up “ a bit as it dries. He starts with horizontal lines about the width of the handles. He does this by eyeballing all the way down the vessel. He makes them minimally wider at the widest part of the vessel and slightly narrower at the narrower places. Next he creates the vertical lines of the grid. He does this by eyeballing between the two widest horizontal lines. If he is doing an alternately pattern he aims for 14 divisions. Once he is satisfied with the verticals he takes a home- made pencil jig aligned with the lathe center and runs the vertical lines the length of the vessel. He can use the grid straight up and down or right and left or he can draw spirals by using the grid to reference the curved lines.
Once the grid is in place you can embellish in multiple ways. He uses a Dremel engraver like a pencil. It must be used vertically. It makes impactions in the wood and is best on dry wood. He finds the pneumatic engraver pen by Sioux more friendly to use but you must use ear protection. He also likes to carve his patterns using a Ryobi, Proxon, Automach, Foredom, or WeCheer system. He recommends Flexcut blades available at Highland Hardware out of Atlanta.
It is now time to carve the handles. If it is going to be left Natural then place the handles by deciding how the grain looks best. If it is to be dyed, eyeball the vessel from the top and visualize where the handles will look best. Cut some of the excess wood away with the Japanese saw and then finish with hand chisels. Do the band completely then shape the Handles. He showed how he shapes the handles with a sharp carving knife and a cut chipping technique.
He dyes his pieces with Fiebing’s leather dye (USMC Black). You must do the whole piece as this dye is very penetrating. His final finish is with Krylon matte finish acrylic lacquer. 2 light coats and buff, then a third coat and buff from matte to high gloss-your choice.
Mark also uses milk paint. He places the colors he wants and then sands off with 220 or 400 grit sand paper. The last color on will remain in the low spots. The final finish is with the Krylon . To give it more of an antique look use steel wool before the final finish.
Mark finished his demo with a display of a home -made MDF jig used for sharpening carving chisels. You need to see the video for this. At this point the demonstration was adjourned.
Thanks to Ross D. Lynch for writing the above Demonstration Summary.
Thanks to Tina Collison for uploading the photos to the website.
Mark Gardner can be contacted via his email address which is [email protected]
If you would like to renew your membership so you can utilize our library or participate in TLC classes, please visit –
http://z83.628.mywebsitetransfer.com/plans/basic-membership/
Edited and respectfully submitted by Mike Seltzer