
Rudy Lopez demonstrates for CMW – September 14, 2019 – rudolphlopez.com
It was a pleasure having Rudy Lopez from Tampa, Florida as our demonstrator.
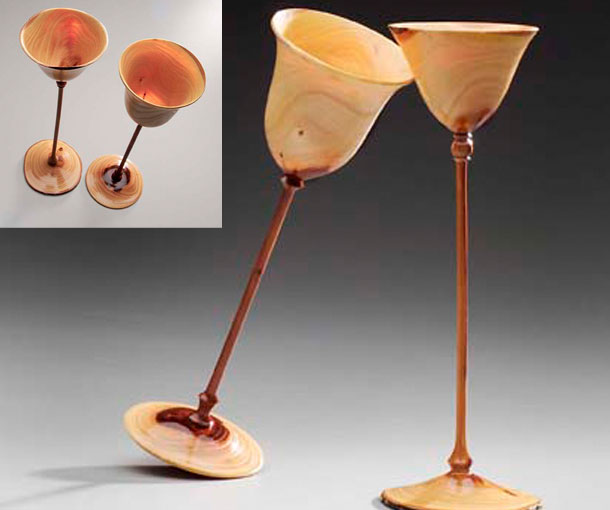
Rudy demonstrated three woodturnings at CMW’s club meeting. The first was a thin-stemmed goblet from green wood. The second was a winged bowl, and the third was a vase with a square top.
Rudy started his demonstration by discussing in some detail that there are many ways to turn. He frequently emphasized that no matter what method you use, sharpening tools is critical.
The first project demonstrated was a thin stemmed goblet from a limb – green wood.

Rudy used oak from a tree that came down during hurricane Irma, which came through Florida two years ago. He cut out pieces from the middle, and ensured there was no checking. He likes to leave a bark edge at the top – and looks for limbs that may provide a color features. He avoids limb that grow out at the base. He stressed how he examines and evaluates the log for protrusions and other imperfections created by limb growth and also coloration. Hopefully this will contribute to creating an interesting piece in the end.
He suggested picking a limb that has a protrusion up toward the top – which may create a continuous S shape. Knowing where the protrusions are will help you decide how the wood will behave when it is turned and subsequently dries. The protrusions will bend. Pith needs to not be in the center of the turning. Choose limbs with pith off center. They usually hang off the tree at an angle and the pith is off-center to support the weight of the limb
It helps to flips the log to view the other end. Sometimes the pith goes diagonally, so check to be sure you know where the pith is. Weak spots cause the bend.
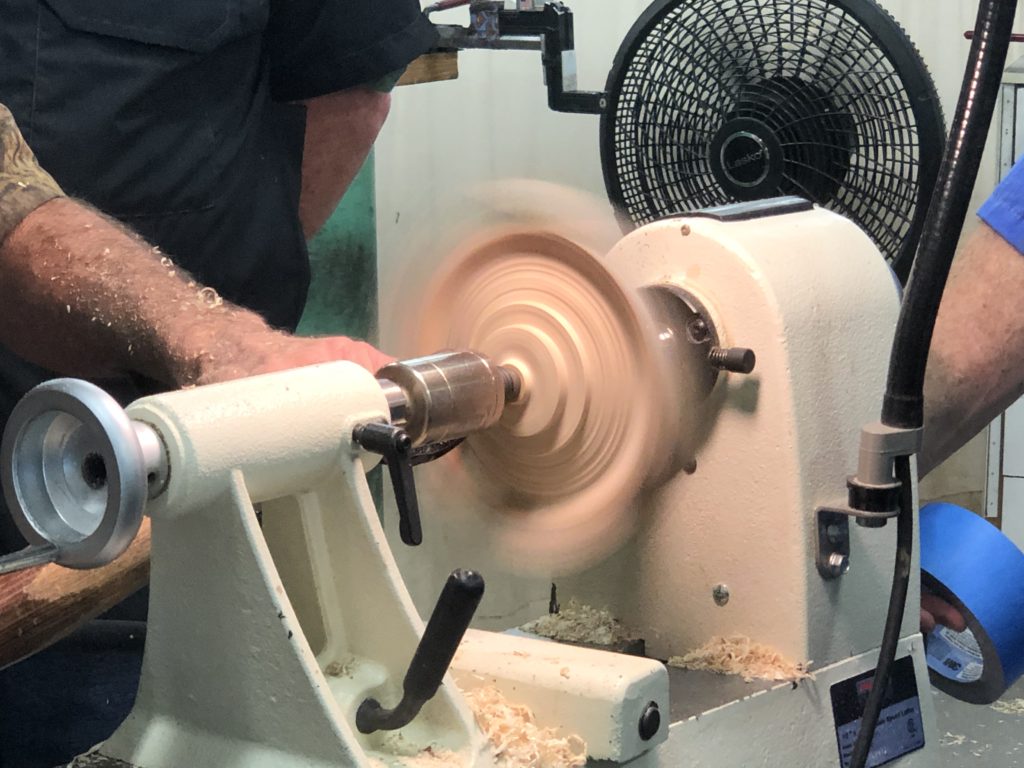
Rudy then mounted the limb, which was approximately 2 ½-3 inches in diameter and 8 inches long, between centers – 1.5” spur drive 4 prong. He demonstrated a technique for mounting the drive spur by using the drive spur as a forstner bit. He emphasized doing this very slowly and cautiously. He cut a tenon on the bottom (towards the tailstock), and used a parting tool creating it large enough to fit in the chuck, but still have room for a shoulder on the piece, making it easier and more stable to turn.
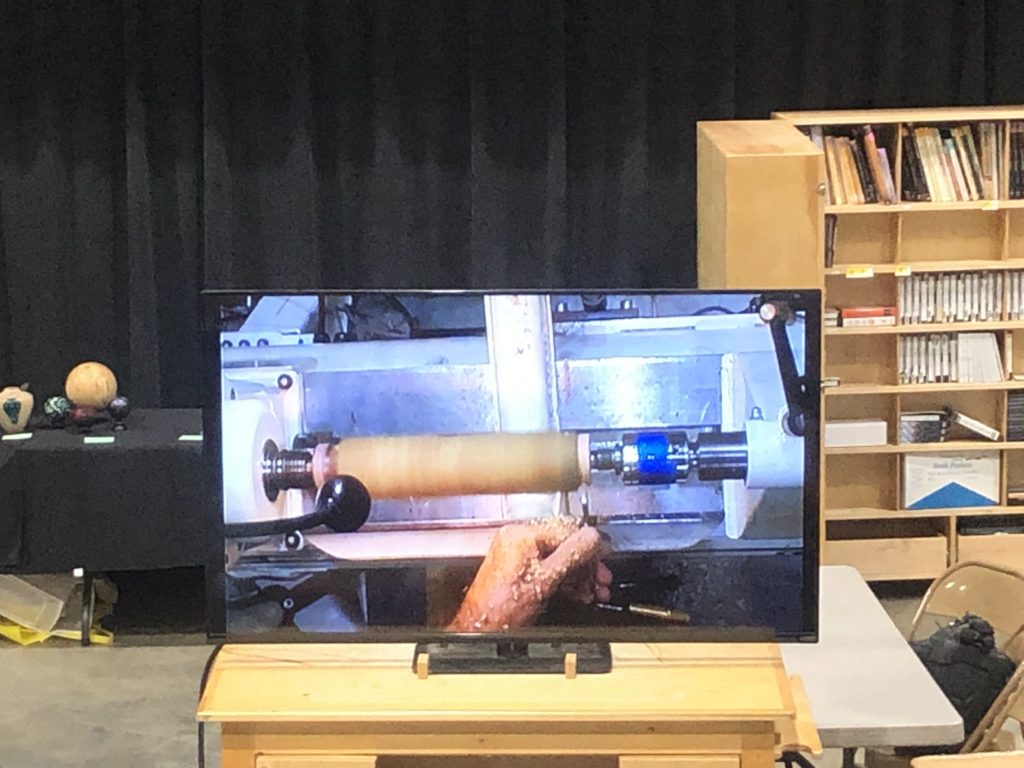
He remounted the piece in the chuck. A big problem with a piece this long and slender is vibration so he left the tail stock in to support the piece as he shaped it. He said 7-9 inches are ok without steady rest. He faced off the bark, shaped the rim to be flared out to get the natural edge. He trimmed off the top. Then formed a third of the outside shape. He used a cove cut to shape the outside of the goblet.
He then hollowed out the cup part. He would use a drill but did not have the morse taper size for our demo lathe. He made an S curve inside the cup, keeping an eye on the exterior curve so it is not too thin. He used a negative rake scraper for the inside to smooth out after using the bowl gouge.
Rudy talked about a bevel supported cut vs non- bevel supported cut, sliding downhill in a controlled cut.
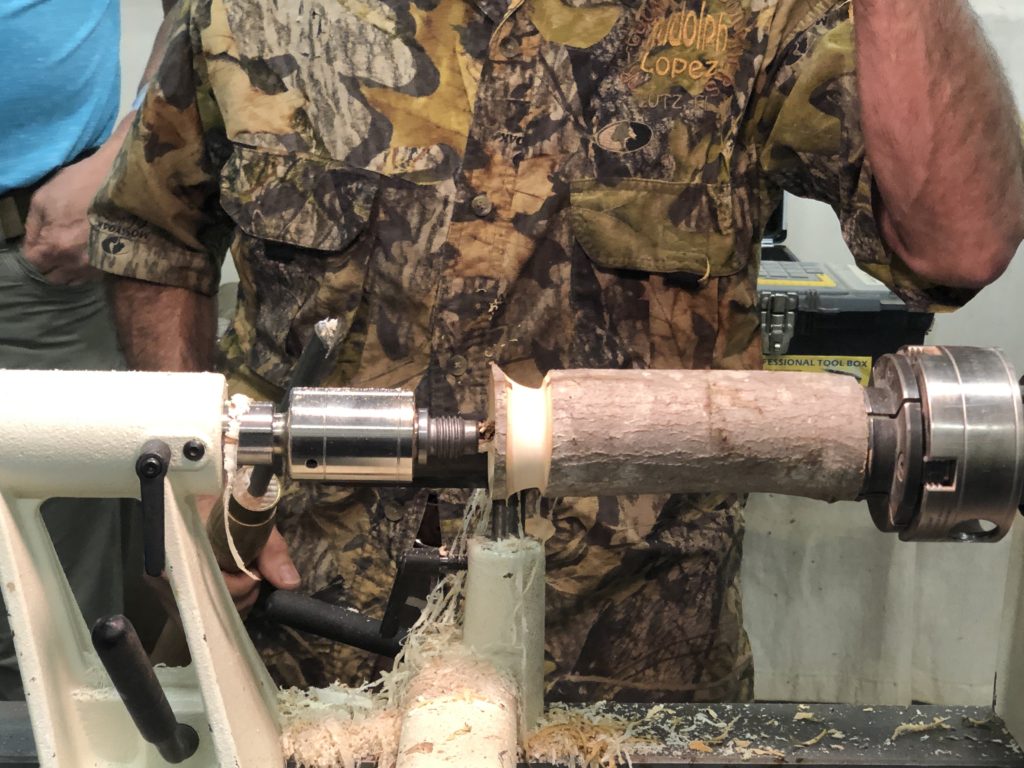
To add support to the cup end, he put the live center back in – he suggests using a styrofoam ball or a chuckie, a type of rubber support piece that mounts to the tail stock and supports the cup. He also suggested taping the piece and then pulling out the tail stock slightly to create tension.
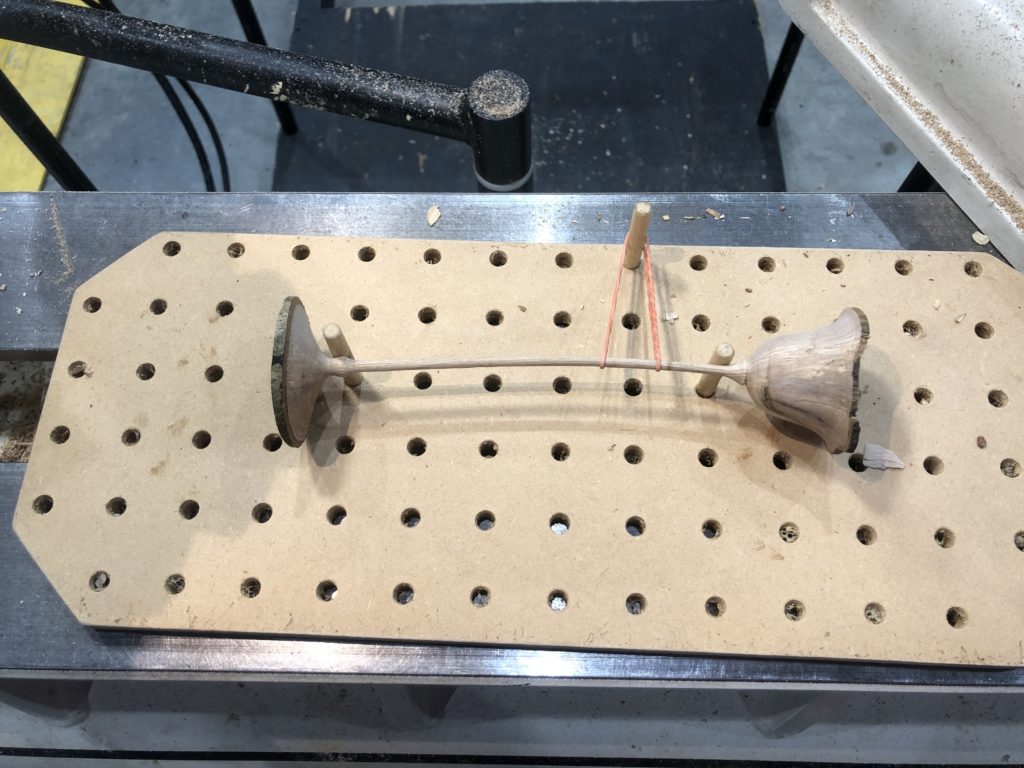
He periodically checked to make sure the pith is outside the center of the stem. He sanded before the stem became too flexible. He created a support piece with a clothespin attached to an arrow shaft to support the stem as he turns the rest of the stem.
When parting off, he made a 45 degree cut to protect the bark. He cleared the bulk of the wood out of the base so that there can be movement in the wood and it won’t crack as it dries. He then placed the thin stemmed goblet on a peg board to aid in the bending of the wood as it dries.
After lunch Rudy turned a crotch piece with feet. He also talked a little bit about chain saw and cutting safely.
He used a drill press to drill a hole larger than the spur – does not try to use just the spur into the wood/bark. He mentioned how careful you have to be when turning wings. Alwayskeep your hands behind the tool rest and double check clearances before turning the lathe on.
He turned the outside and put a recessed tenon in, and then reversed and chucked the piece, using the tailstock live center to give a little supportHe turned away the waste wood, watching the ghost image as the piece turns to help with accurate removal. He worked on the edges toward the center, leaving the center for support.
After completing the winged bowl the remaining time was spent turning a vase with a square top. He started out with a rectangular piece of wood, drew a tapered line out from the center and then made appropriate cuts on the band saw before the piece was ready to be mounted on the lathe.
Please refer to pertinent handouts available on Rudy’s website :
Rudolphlopez.com/handoutshttp://Rudolphlopez.com/handouts.html.html
If you would like to renew your membership please use the following link:
Thanks to Mike Seltzer for taking the time to edit this article.
Thanks to Kaye Schmidt for her assistance with the Instant Gallery ( IG ) photography as well as uploading those photos to the CMW website media library.
This article authored and respectfully submitted by Anne Ogg.