
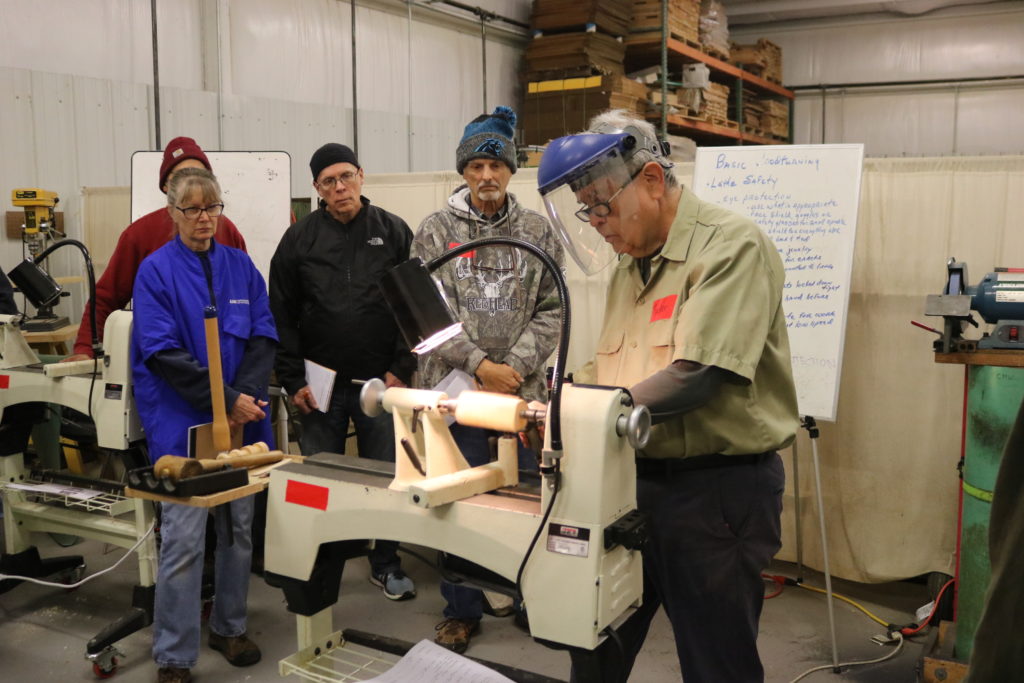

Over the weekend of November 2 – 3, 2019, Tucker Garrison led a packed workshop for novice turners and those wishing to brush up on some technical aspects of turning. The weekend had a waiting list as many wanted to participate. Promising to demonstrate beads, coves, and bowl turning, the club moved in a couple of extra lathes to allow for additional participants.
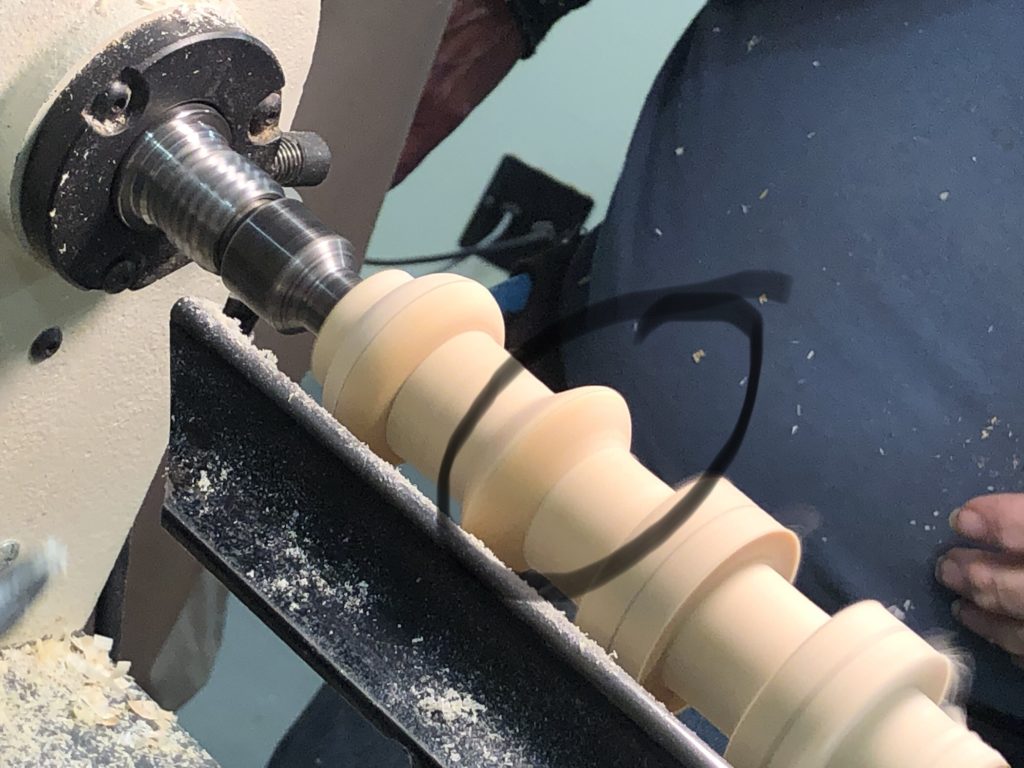
We started Saturday morning at 8:30 watching Tucker demonstrate beads. Using green wood, he carefully trued up the blank and, using tongue depressors as guides, marked lines for the beads and the coves. Then, using the parting tool, removed wood, leaving the rises for the beads. He showed us the way to hold the gouge so that our movements end up completing the bead. In other words, because twisting your arm is needed to complete the bead, beginning with the end in mind can position your arm in a way that makes the cut comfortable. After expertly turning a bead, he showed us the common mistake made by beginners – creating a v shape instead of the round curve.
After sufficient time to try creating beads, Tucker gathered us around the lathe again to learn how to turn coves. It’s essentially doing the opposite.
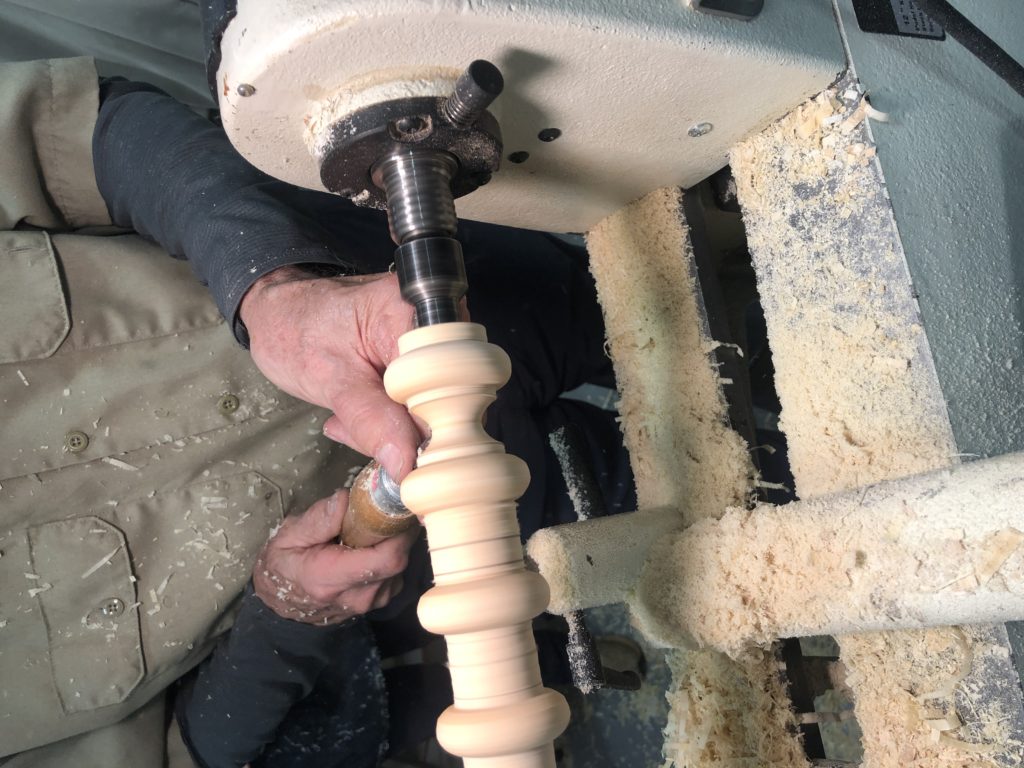
Once the group mastered the beads and coves, they were handed dry wood and shown several examples of candle sticks that were created using beads and coves of various shapes and sizes.
The following day, Tucker demonstrated small bowl turning. He explained that all the cuts in a large bowl are found in turning a small one – but less wood to take out. Randy Swing took great notes and they are copied below:
2nd day – bowl turning
Tucker and Bill Rucker shared the demonstration and instruction
Turning a small greenwood bowl.
· CMW provided pre-cut bowl blanks. These were flat on two sides with centers marked and had been shaped to roughly round on a bandsaw.
· Tucker recommends that the sides and bottom be slightly thinner than the rim so that the green wood will dry with less chance of cracking. He showed an example of a cracked bowl that resulted from the bottom being thicker than the sides. We aimed for ¼” thick rims and 3/16” for the rest of the bowl.
· Bowl design was discussed. A smooth, continuous curve is desired. New turners tend to make bowls that have flat sides (like a flowerpot) and have a flat bottom on the inside.
· We mounted them between centers with a drive center in the headstock and a live center in the tail stock.
· On greenwood, a “jumbo 4-winged” drive center is best. Small drive centers will bore into the soft greenwood blank. The 1.5” “jumbo” size does not drill into the blank as easily.
· We mounted the wood blanks so that the bottom of the bowl will be at the tail stock and the top of the bowl will be at the head of the lathe.
· The shape of the outside of the bowl was made using a ½” bowl gouge with a fingernail grind. As the shape started to form, we added a tenon next to the tailstock. The tenon was sized to fit the provided 4-jaw chuck.
· Rucker demonstrated use of the bowl gouge to shape the outside of the bowl. We cut from the bottom of the bowl toward the top of the bowl so that fibers were supported during the cut. Cutting with fibers supporting the cut produces the smoothest cut.
· Rucker noted that it is important to sand through all grits. He recommends grits of 80, 120, 180, 220, 320, and 400. The idea is to go up about 40 grits with each paper change.
· After completing the shape of the outside of the bowl and refining the tenon, the wood was removed from the lathe. We installed 4-jaw chucks (headstock side) and remounted the wood using the tenon.
· We hollowed out the bowl by starting in the center and “scooping” out the wood. This requires swinging the bowl gouge handle across the lathe bed and away from the turner. The tool handle swings toward the turner as the cut is made.
· It becomes difficult to ride the bevel as the tool transition from the wall of the bowl to the bottom of the bowl. We were introduced to a “bottom feeder” gouge – a bowl gouge grind with an angle of about 50 degrees. This tool is easier to use in the bottom of a bowl than the fingernail grind we had mainly used to that point.
· The bowls were sent home to dry slowly. These bowls will become oval as they dry. We turned them to final thickness so they will not be turned a second time after they dry.
Natural Edge Bowl
· We started with round greenwood blocks of Yellow Birch. One side was the natural edge of the tree with the bark still attached. The other side was cut flat.
· We used 2-wing drive centers. By placing the 2 wings into the bark side of the blank with the wings running across the grain, there is plenty of holding power
· The rim of a natural edge bowl has two high points and two low points due to the natural shape of a tree. The blank needs to be mounted so that a pleasing balance of the points is achieved. Slight adjustments of the location of the live center in the tail stock allows the turner to adjust how evenly the final bowl’s rim will turn out.
· Once mounted between centers, the natural edge bowl is produced the same as the bowl turned in the morning.
· After reversing and mounting the bowl in the 4-jaw chuck, the approach to hollowing out the bowl varies a little from what was used in the morning’s class. Because we are starting out cuts on the bark of the tree, we enter the wood as close to 90 degrees as possible. This allows us to keep the bark on the bowl and it assures that the rim appears to be even thickness even across the two high points and two lows points.
· After forming the rim while keeping the bark on, the interior of the bowl is finished using both the fingernail ground bowl gouge and the bottom gouge.
· The turned bowls were taken home to dry.
Submitted by Anne Ogg and Randy Swing
Thanks to Randy for many of the photos!