

“Joe Dickey has been a professional and nationally recognized woodturner since 1984, and lives on a lovely tends an American Chestnut restoration orchard on his farm in Davidsonville, MD.
He helped establish and currently until recently administered the Woodturning School and Co-op at Maryland Hall for the Creative Arts in Annapolis, MD, www.MdHallArts.org. He is a founding member of the Chesapeake Woodturners, www.ChesapeakeWoodturners.com,; and is currently Treasurer of the American Association of Woodturners.
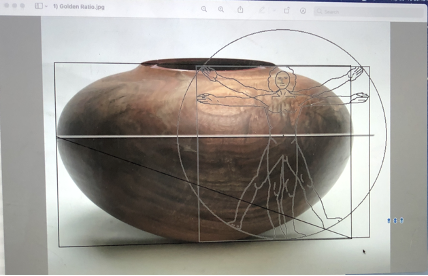
Joe began his demonstration with a slide show of his work. He emphasizes the golden ratio in his work some of which were stained with aniline dyes. In another interesting piece, he sliced his bowl blank on a band saw, inserted a piece of a different wood in several directions, then turned the blank and inserts all together. A fun piece was his collection plate for church which allowed the collection to slide through the piece and out.

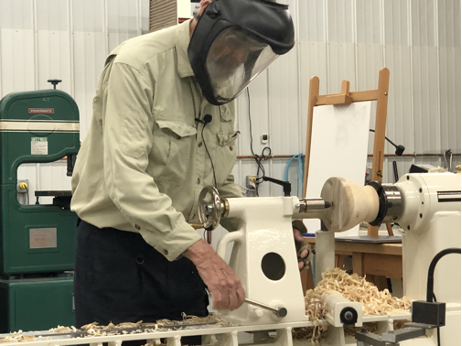
For the demonstration, he showed how to turn a very thin-walled vessel with the aid of a light. This technique is a good one for developing good tool control and is used for other projects such as cowboy hats, lampshades, goblets and other thin-walled turnings. This technique required the use of green fresh wood since dried wood isn’t translucent.
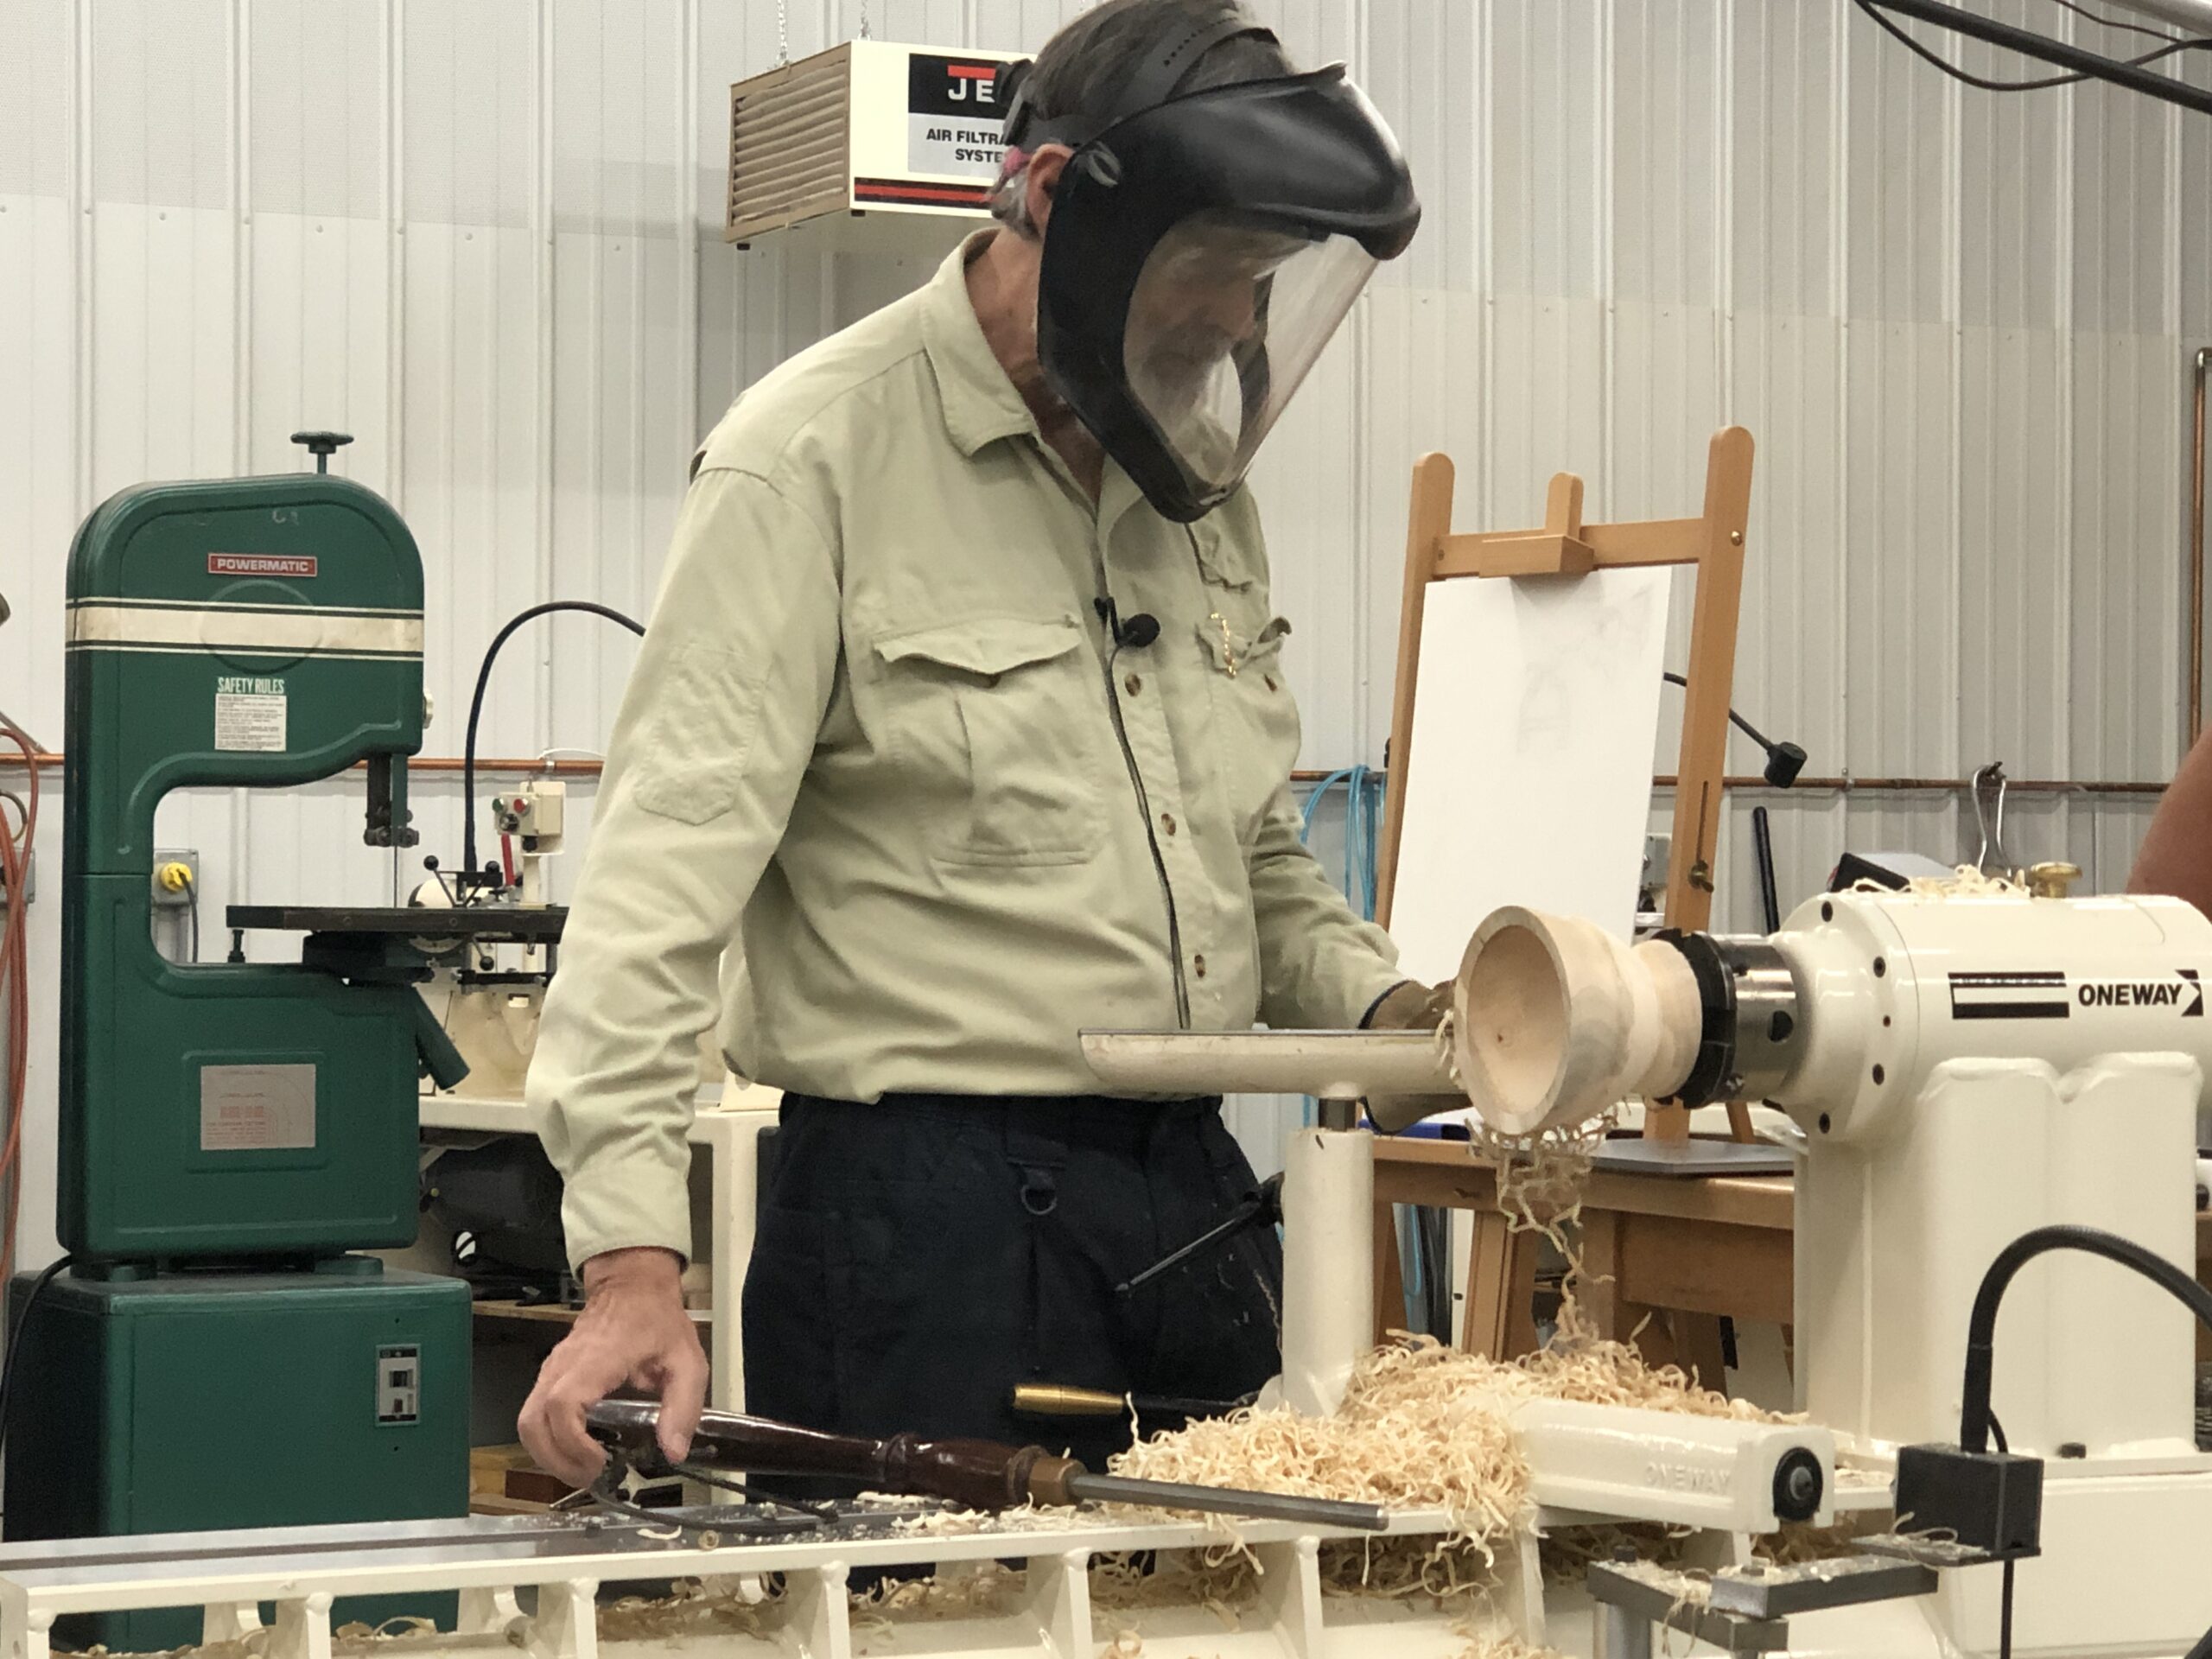
The vessel was turned from a piece of green maple approximately 6 inches in diameter. The blank was turned round using a slow speed, a tenon cut and the top flattened.
The general outside shape was established leaving plenty of wood at the base for stabilization during the hollowing process.
The piece was put in the chuck and hollowed to ~ 1/2-5/8 inches thick with a gentle smooth curve. Because the wood is green, you will need to periodically check to see that the chuck stays tight.
The vessel was then thinned from the outside surface. Begin thinning starting at the rim and leaving a full 1/2 inch thickness at the bottom to support the bowl. Leave the rim a little thicker.
Insert a light into the bowl and continue thinning the outside to ~1/8th -1/16th inch or thinner. The light will help you maintain an even thickness. Use slow even cuts and keep the rim a little thicker for stability. If you use a tungsten light this can dry the wood so you will need to spritz the wood with water to keep it cool. Using an LED light is better but not necessary.
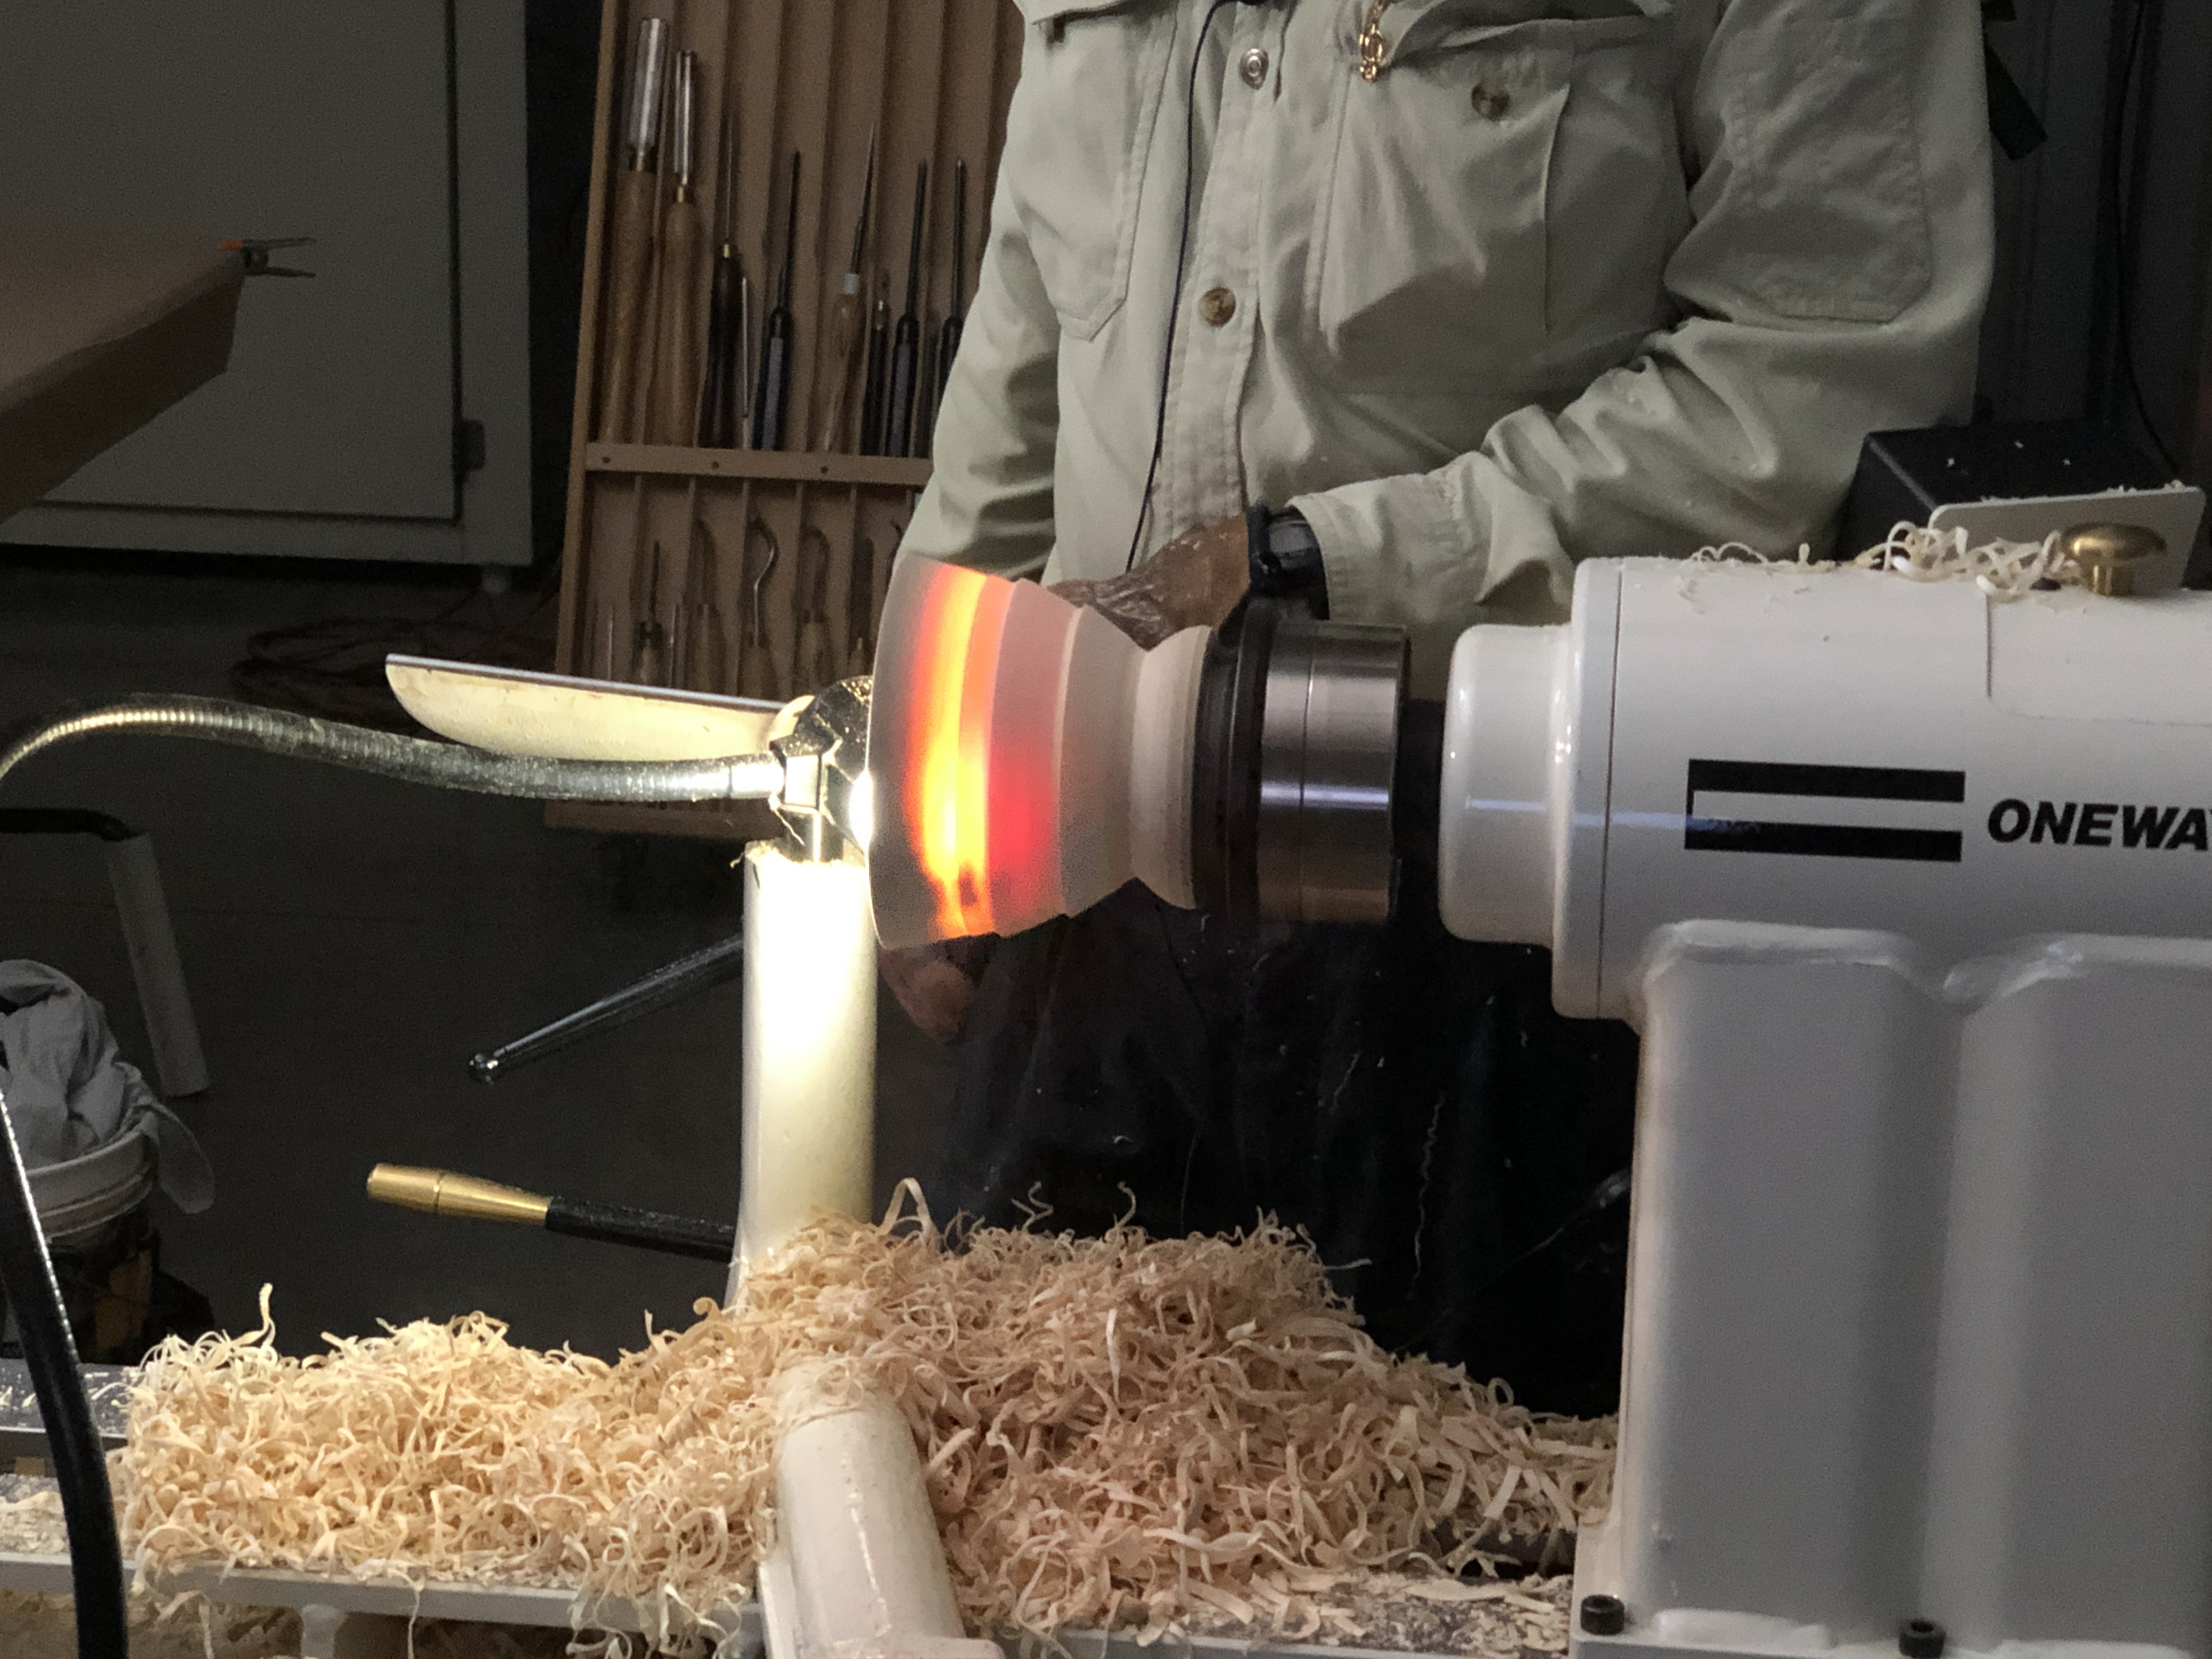

Work down then bowl to the bottom in small increments watching the light to take care of uneven spots. The brightness of the light indicates the thickness – on the right you can see that the rim and area near the bases are a little thicker. Keep some thickness in the base so you don’t go through the bottom of the vessel when it is parted offl
Let the vessel dry before sanding and finishing.