
CMW demonstrator – Mike Sorge – March 17, 2019
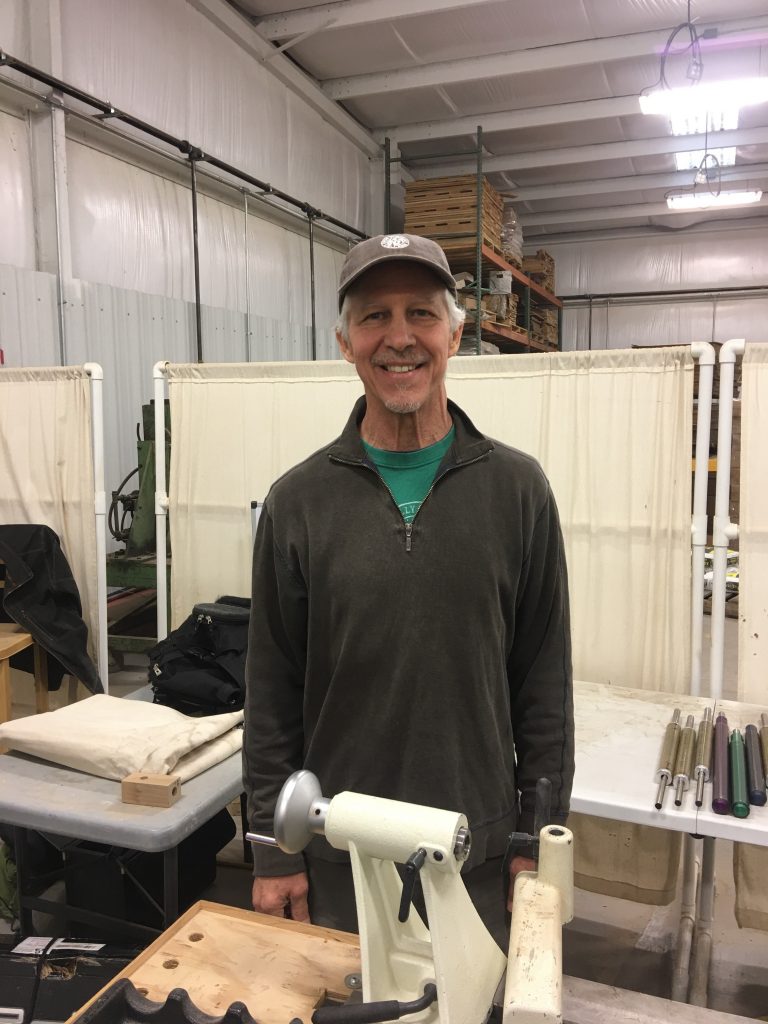
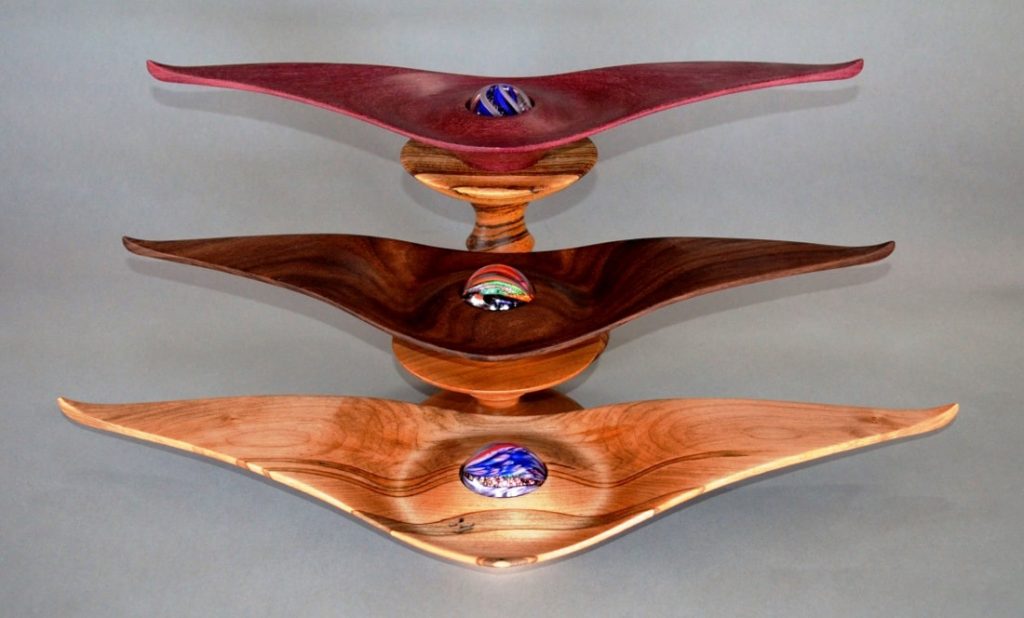
Our March demonstrator was Mike Sorge from Virginia. He began turning 9.5 years ago after attending a spindle turning class followed by a bowl turning class. He loved turning so much he turned, no pun intended, his sales and marketing business over to his partner (his wife) and began turning full time. He then decided to work on more unusual pieces. He has focused on “winged” boxes, bowls, plates and platters in which the extended sections of wood remain visible creating a pleasing presentation. The basic forms he uses are squares, triangles and diamonds – some of which can be stacked into a pagoda shape and some in which he inserts a “captured marble”.
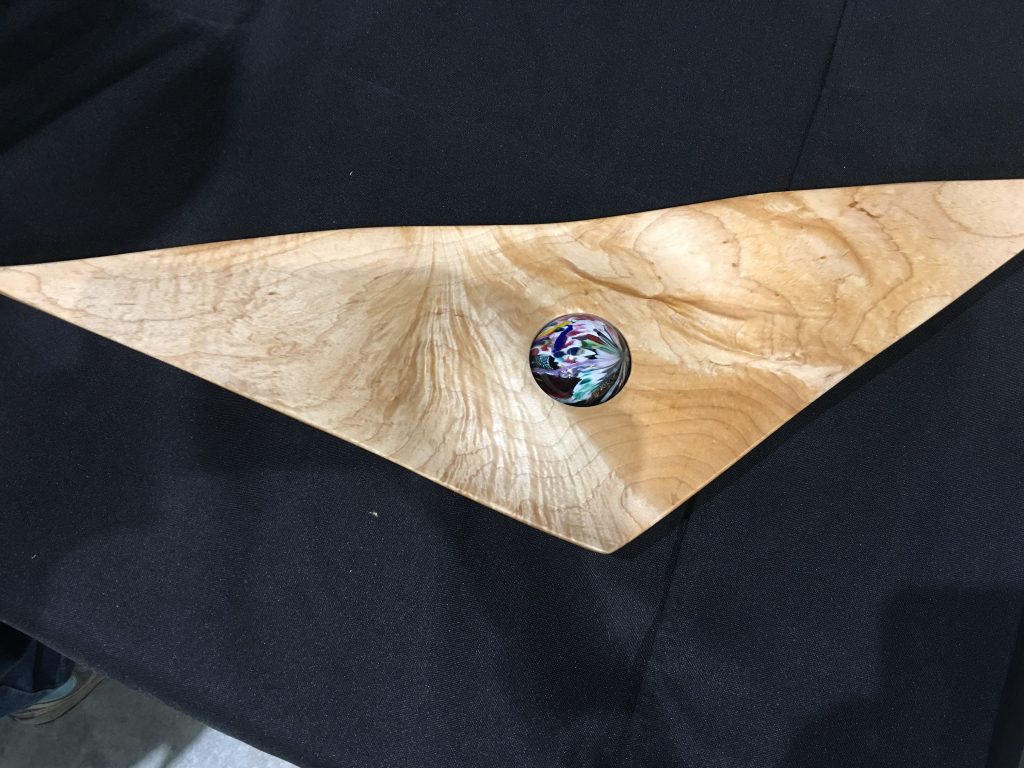
Mike began his demonstration using the diamond shape. The methods used in this shape – the “manta ray” – provided the basis for working with the other shapes including his “spirit bird”. A diamond cut in half lengthwise creates two isosceles triangles which Mike turns into his “spirit birds” with captured marbles.
Several basic techniques/tips were demonstrated and discussed:
- The use of wood planks to cut various sized geometric shapes creates a cost savings vs using individual blanks. Mike has created templates to aid in cutting multiple patterns from a plank and maximize wood usage.
2. Wood blanks should be well balanced for safest turning of large winged timber. Carefully check the dimensions of your block before turning. Mike uses 8/4”-12/4” timber – with no cracks. CA glue can be applied at the wings to prevent trailing edge tear-outs. Mike has used all types of dry wood but does not recommend using green wood for this type of turning – although if you do, rough turn ~ 20% larger than your final shape and let dry completely before final turning. Mike often cuts away a portion of the wing edges of the blank for use in other projects. To do this, he marks the center line on the edge of the blank and the maximum size of the round mass of the bowl. With his band saw, he first cuts to the center line at the edge of the bowl circle (from the flat side of the blank to the center), and then through the edge of the bowl to the first saw line.
3. Lathe speed: Mike uses a lathe speed of around 1800rpm that he finds efficient and also effective for minimizing tear outs. Mike encourages everyone to use the lathe speed that is most comfortable to them – slowing down movement of the tool for slower lathe speeds. Full face shields are necessary for safety!
4. Good lighting is critical for turning winged projects. Excellent LED lighting should be positioned at tool rest level to best illuminate the “ghost image”. If your wood and lathe color are similar, a contrasting piece of cardboard attached behind your chuck can provide an improved contrast. Mike recommends using the Aurora, Quasar or Super Nova Lathe lamp, each have a far reaching 30” nicely adjustable neck.
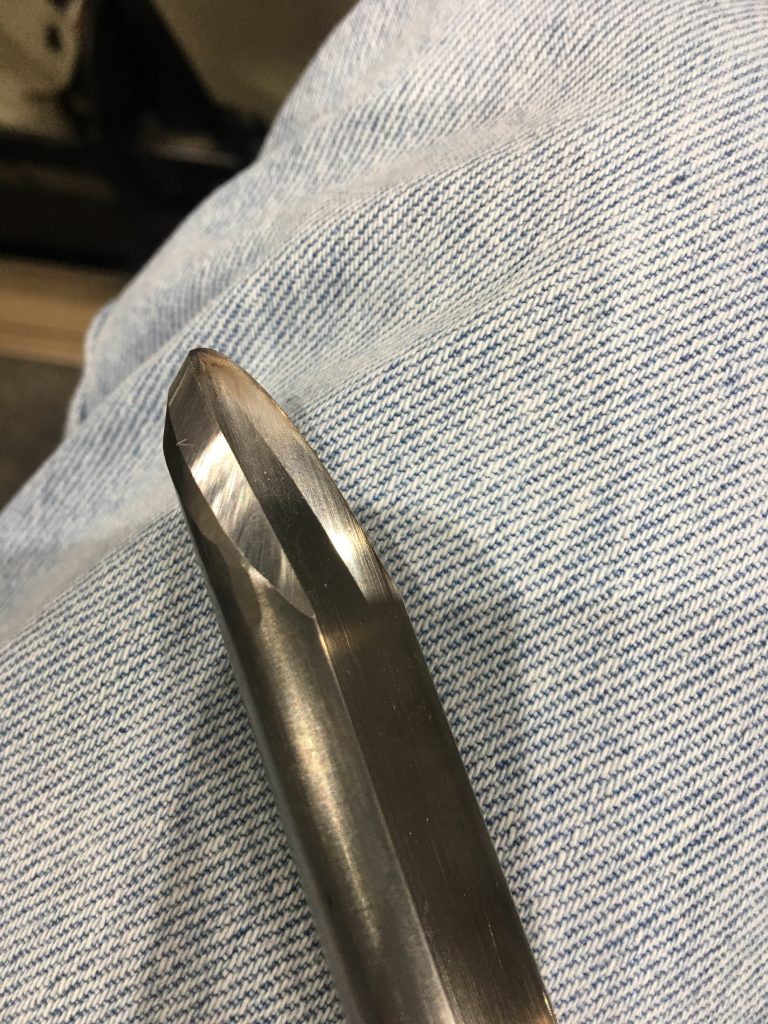
5. Bowl gouge: For efficient versatile big air turning, Mike uses an elliptical (parabolic) flute with a long swept back “Irish Grind” with a slight curve along the swept back wings. This shape allows safe application for creating elegant undulation while reducing the risk of catching. Keep it sharp! For exceptionally safe control while turning the extended wings, Mike uses 16”-20” handles snugly between arm and body, using patient Tai Chi type body movement to control cutting motion/direction, the “Woodturners’ Dance”.
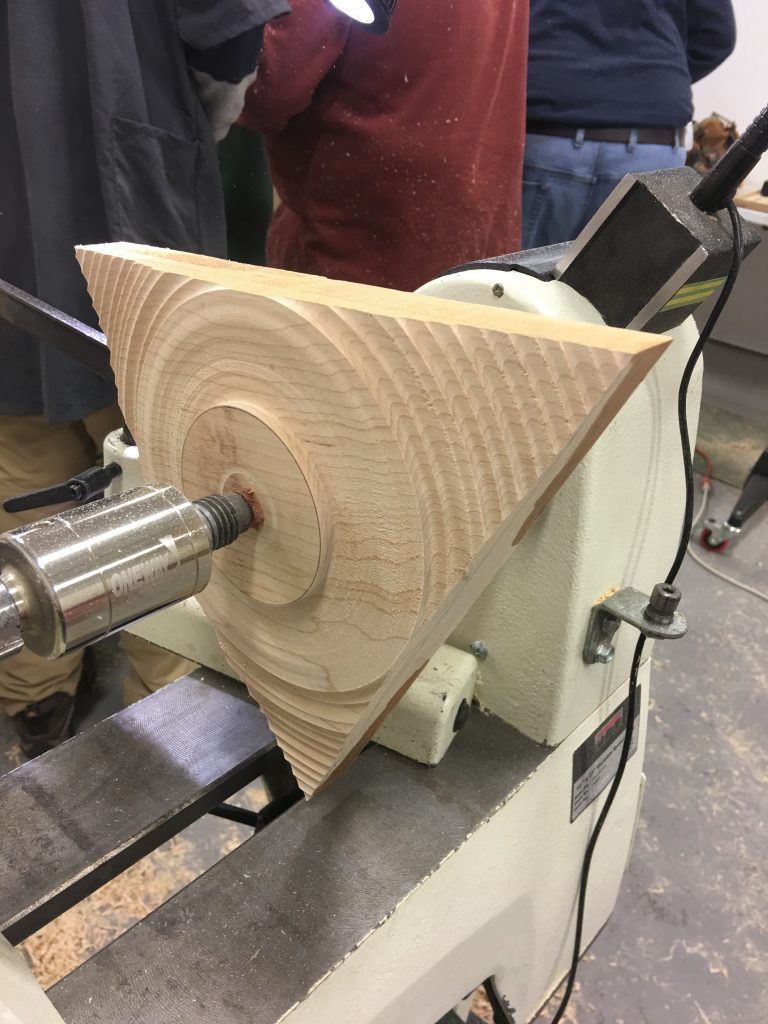
6. Securely Hold Timber: Mike recommends using the “expansion” chuck method supported by a revolving tail center. (Drive centers or screw chucks are not nearly as safe and not recommended for turning large winged timber.) #2 jaws on either a Stronghold or Talon chuck work great. Upon marking the exact balanced center of your geometric turning blank, use your drill-press with Forstner bit to drill a recessed hole about 3/8 in deep and firmly attach your geometric blank to expanding jaws (A 2.5” diameter Forstner bit is perfect for #2 jaws of Stronghold chuck). Mike uses a thin (1/8”) piece of wood with a small hole over the live center to reduce the depth the pin in the live center penetrates the bottom of the piece (the tenon will become the base of the piece).
Steps for turning the “manta ray” – i.e diamond shape:
- Begin your turning: Attach your turning blanks securely using an expansion chuck – double check that the chuck is tightened securely – Mike suggests tightening the chuck at least twice. This is the top of the bowl. On the tail stock side (bottom of bowl), mark a circular line where the mass of the bowl begins and a second circular line inside the first about half way to center for your desired tenon size (a tenon about 50% of the diameter of the solid round mass portion of the bowl is recommended). With excellent lighting well-placed for optimal ghost imaging near tool application and your bowl gauge comfortably held between arm and body, use the “push cut” and take slow, steady, small, light cuts to remove about half the thickness of the extended tips outside the circular mass. Mike prefers a longer tool rest to assist with keeping hand and arm out of the way of the spinning wings. Be careful not to shorten the length of the outer wings. A good hint is to mark the edge of the wing using a mark on the tool rest. Begin your cut just inside this mark. Be exceptionally patient with your tool work out at the tips, slow and steady, and only begin to move your tool work a little quicker after getting a good feel for how well your tool is cutting the extended wings. Stop the lathe often to confirm cutting quality and approach to the shape you’re after.
- Create your tenon: Next, turn away material at bottom mass to create a proper tenon. If using OneWay serrated jaws, turn a perpendicular tenon depth so 3 interior rows of jaw teeth can grab it firmly & securely. If using dovetail jaws, create accurate tenon angle and safe depth. Creating the tenon early at this stage helps visualizing for final shaping and contour of the piece.

- Shaping the top side of the wings: Keeping the blank firmly attached to original expansion chuck, move the banjo to the left side of timber and adjust the tool rest for close/proper support position. Also move/adjust lighting for optimal ghost imaging and increased visual at tool application, and manually spin timber to assure clearance. Carefully apply a light shear cut to true the outer extended tips of the left (top) surface removing barely/only enough material to true the surface. Mike recommends working from the outside in, slowly approaching your bowl gauge to the spinning tip until barely making contact, then slowly sliding your tool in towards the center to true the top wings (left side of timber) – be extremely careful not to cut away more than only what is necessary to “true” this surface. Then if desired, add undulating shaping to the left side (top of wings) using the same “outside-in shear cutting method” to cove the wings. For triangular blanks, Mike prefers to keep the wings straight on the top side, and with diamond and square shapes he prefers the undulating shape. *Once you’ve finished trueing and shaping the extended tips on the left side (top side of bowl), you’ll not need to do more work on that left (top) side of the extended tips after reversing and re-chucking the bowl to finish the top/inside.

de.
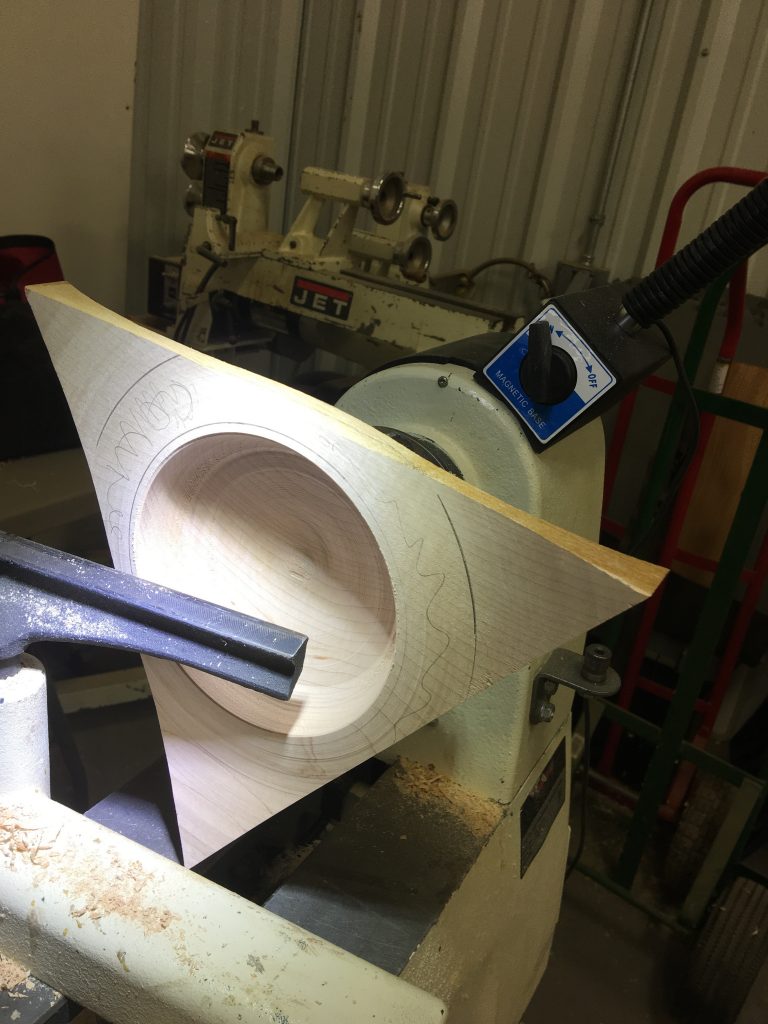
- Finish turning the bottom of bowl: Move banjo back to the tail stock side of the bowl (bottom of bowl), re-adjust tool rest & lighting, and turn/shape the right side (bottom of the bowl) as follows: First turn/shape the outer wings to desired thinness while you have stabilizing mass in the bowl and work your way towards center: A relatively easy and safe tool application to turn the shape you desire is by using a slow “push” cut from right to left to get close to your desired final shape out at the wings, and then use a sliding “shear” cut to refine and smooth out the surface. To help merge the developing wings to the mass of the bowl, begin turning/shaping the mass of the bowl. Using a combination of push and shear cuts from both directions, finish shaping/merging the wings with desired contour of the bowl, leaving the tenon in place. You will completely finish the shape of the wings while the bowl is in the expansion chuck.
- Turn the top/inside mass: Reverse the bowl and mount it on the appropriate sized jaws of chuck. (There should be no need to turn/shape extended wings further.) If desired at this juncture, use your center saver coring tool to cut out a second bowl. Next, turn the top/inside of bowl to match the contoured shape already created on the bottom side, and to the desired thickness.
- Sanding: While still attached to chuck, Mike power sands top/inside and outside edge. (Obviously, do not attempt to sand extended tips with lathe spinning.) There’s a bit more effort and time in the sanding of non-round utilitarian bowls. Yet, patiently achieving a fine finish is worth the effort. For optimum sanding of the curved sections of these undulating forms, Mike recommends using wavy (scalloped) sanding discs on wavy soft gray interface pads; this combo adjusts easily to all undulated surfaces for safe and efficient sanding; 2” for small areas/curves and 3” for larger areas/curves. Also, a short angle sanding drill is much easier to control. Mike uses the Makita DA3010F, which is powerful, has excellent speed, and is very well-balanced. Mike suggest sanding only the flat edges of the bowl to about 320 grit before softening the sharp corner edges. He usually sands to 400 grit, then sprays the piece with water to elevate the grain, letting it dry and then continuing to go to 600 or 800 grit to finish.
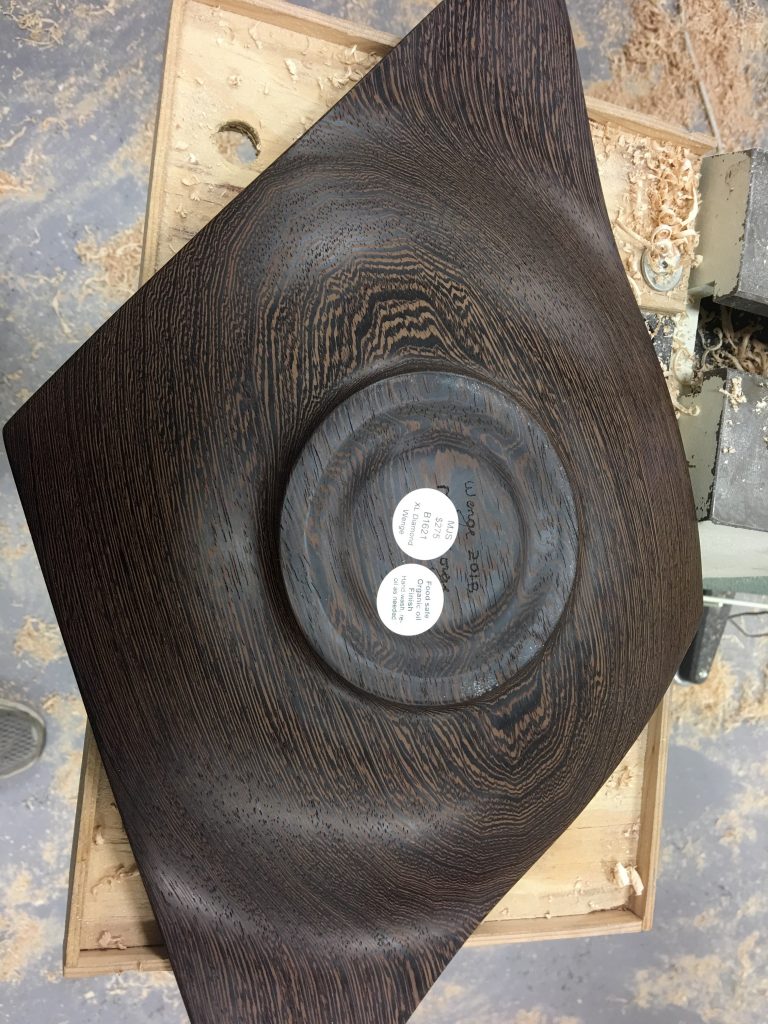
- Turn Tenon into Base: Reverse the bowl using a “jam chuck” or “vacuum chuck”, and turn the tenon into the desired base shape. Mike rounds the edges of the tenon and concaves the interior of the tenon to form the base. Sand the bottom, sign, and apply desired finish. Mike uses 100% organic TY oil.
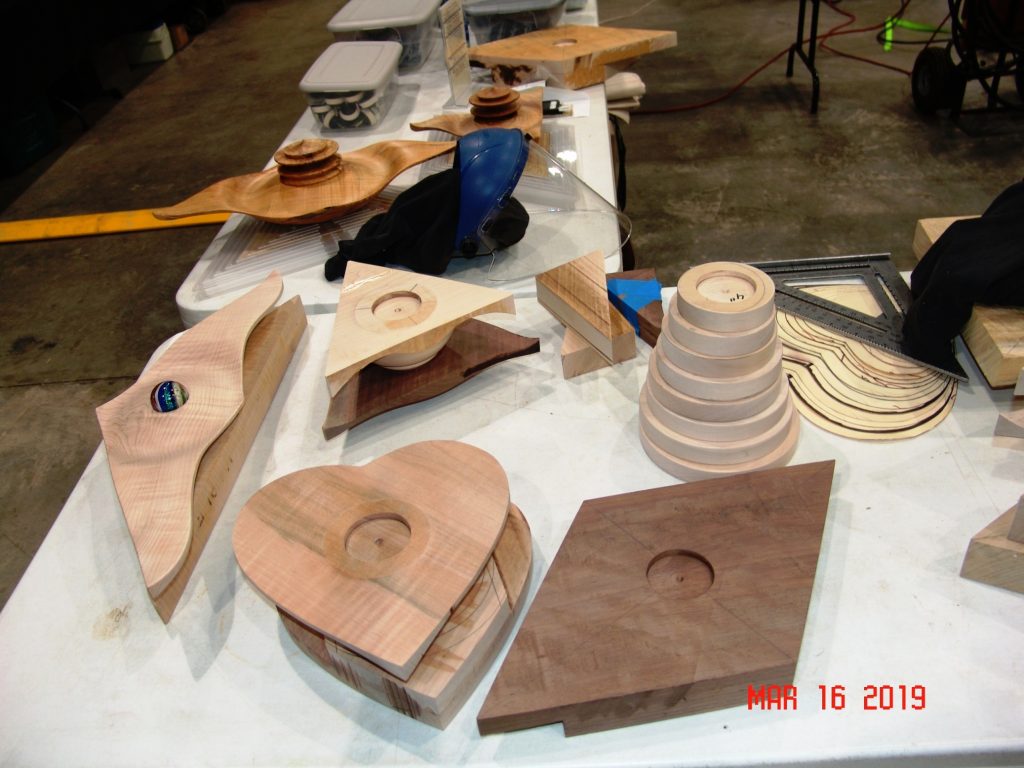
Other Shapes: Use the same approach
Heart

- Attach the blank and mark the largest circle on the heart shaped piece (either a curved or a regular point of the heart will work). Then mark the tenon
- Hearts are out of balance, so select rpm to minimize vibration and only increase speed as the wings are thinned out from turning.
- Shape the bowl to the tenon.
- Move the tool rest and flatten the top of the bowl. Mike doesn’t feel that undulating the top wings of the heart adds anything – but do what you like.
- Reverse the tool rest and shape the wings at the bottom of the bowl to the thickness you like.
- Reverse the bowl in the chuck and hollow the bowl.
- Sand being careful of the “crease” at the top of the heart shape.
Kissing Fish:
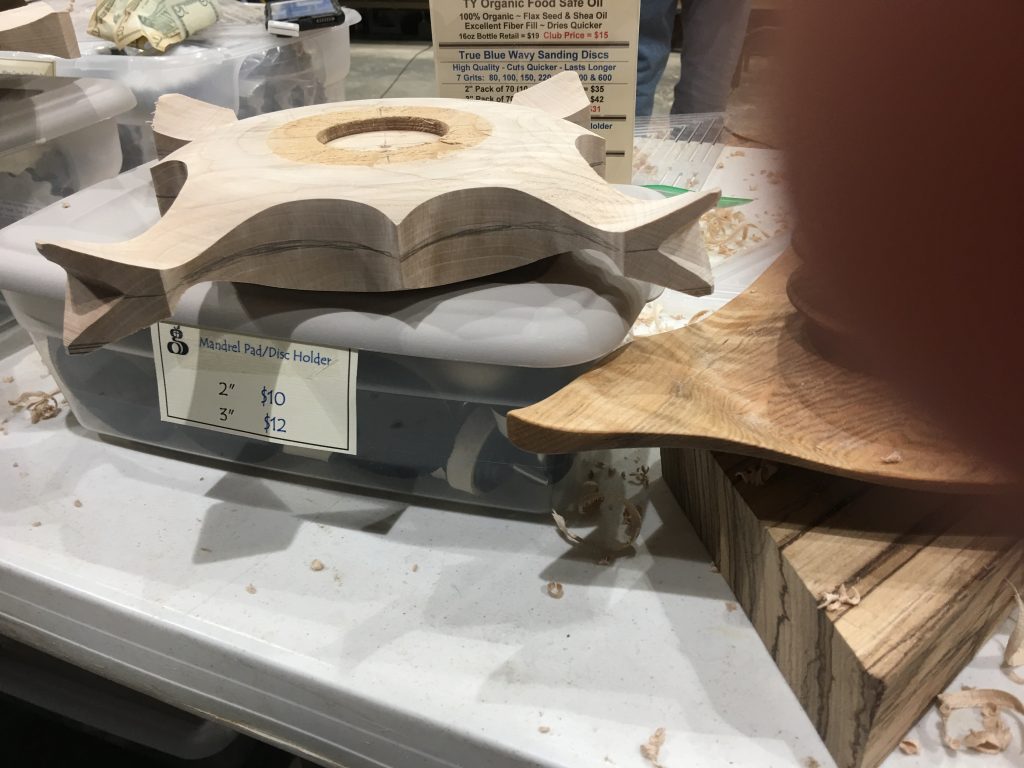
- Begin with a square and pencil in the center of the blank edge and 2 semi-circles at each edge of the square.
- Shape the bottom to the tenon.
- Create fish by turning mirrored coves on each side of the square blank, beginning on the tail-stock side from just inside the 4 tips (fins) to the mass of the blank. Mark the tool rest where the 4 tips of the blank spin around on your tool rest and be sure not to cut off any of the fish tail.
- Move the banjo and turn a mirrored cove on the top (left side) to match the bottom. Don’t worry about making the mouth of the fish meet (kiss) – you will power sand that spot to make them kiss.
- Power sand and finish.
Captured Marble: Mike captures artisan glass marbles in the spirit bird shape and also under the lids of many of his winged boxes as a fun surprise.
- Measure the size of your marble. Mike uses artisan glass marbles (Phillip Nolley marbles – $20-25, and various artisan vortex marbles – $200 +).
- Shape the spirit birds as described above to the point of hollowing the bowl and sand the surfaces of the piece. Do not use any oil in the hole.
- Turn and sand the depth of hollowed bowl and the diameter of its opening per this example: for a 1.75” diameter marble, turn/sand a hole about 1/8th deeper than the radius of the marble and the diameter of the opening to be ever so slightly smaller than the diameter of the marble.
- Begin by hollowing out the hole so that there is about a 1/8th inch under cut rim, which when sanded becomes closer to 1/16”. You want the marble to press through and barely under the opening rim so that it moves freely in the hole.
- Use a rubber chucky on your tail stock (or some other non-abrasive cushion) to push the marble into the hole.
- To finish the back of the bird, use a jam chuck with a hole bigger than the marble. Cover the finished wood on the marble side with paper towels and/or mouse pad type of material so as not to mar the surface.
Finally, Mike likes to encourage wood turners to be regularly curious, imaginative and experimental as part of their woodturning philosophy.
To contact Mike Sorge please use the following email address – [email protected]
If you would like to renew your membership so you can utilize our library or participate in TLC classes, please visit – http://z83.628.mywebsitetransfer.com/…/basic-membership
Thanks very much to Jo Miller for being the author of this article and providing the TLC classroom instruction photos.
Thanks to Tina Collison for her Saturday Demonstration photos.
Edited and respectfully submitted by Mike Seltzer.