
David Ellsworth Demonstrates for CMW – 12-17-22 Ellsworthstudios.com A Master woodturner and founding member of AAW, we are lucky to have David in our midst…
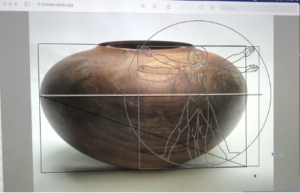
Some of my past work including signature pieces from the Drop Series
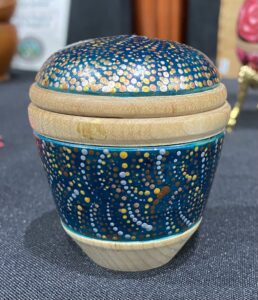
Peggy comes to us from the Atlanta area and demonstrated how to turn a lidded box for embellishment either with her dotting technique or with…
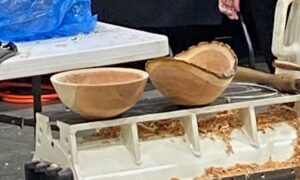
“Joe Dickey has been a professional and nationally recognized woodturner since 1984, and lives on a lovely tends an American Chestnut restoration orchard on his…
by Jo Miller October CMW Virtual Demonstration – Tod Raines N Dallas, Fort Worth area, Texas – woodturningtoolstore.com Our October virtual demo featured Tod Raines…
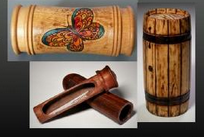
The Carolina Mountain Woodturners was fortunately to have Graeme Priddle and Melissa Engler demonstrate at our last in-person meeting on February 15, 2020. The demonstration…
For larger gallery images, click on the magnifying glass icon on the lower right side of the image. Looking for older Instant Galleries? http://archive2.carolinamountainwoodturners.org/monthly_galleries/browse