
David Ellsworth Demonstrates for CMW – 12-17-22
Ellsworthstudios.com
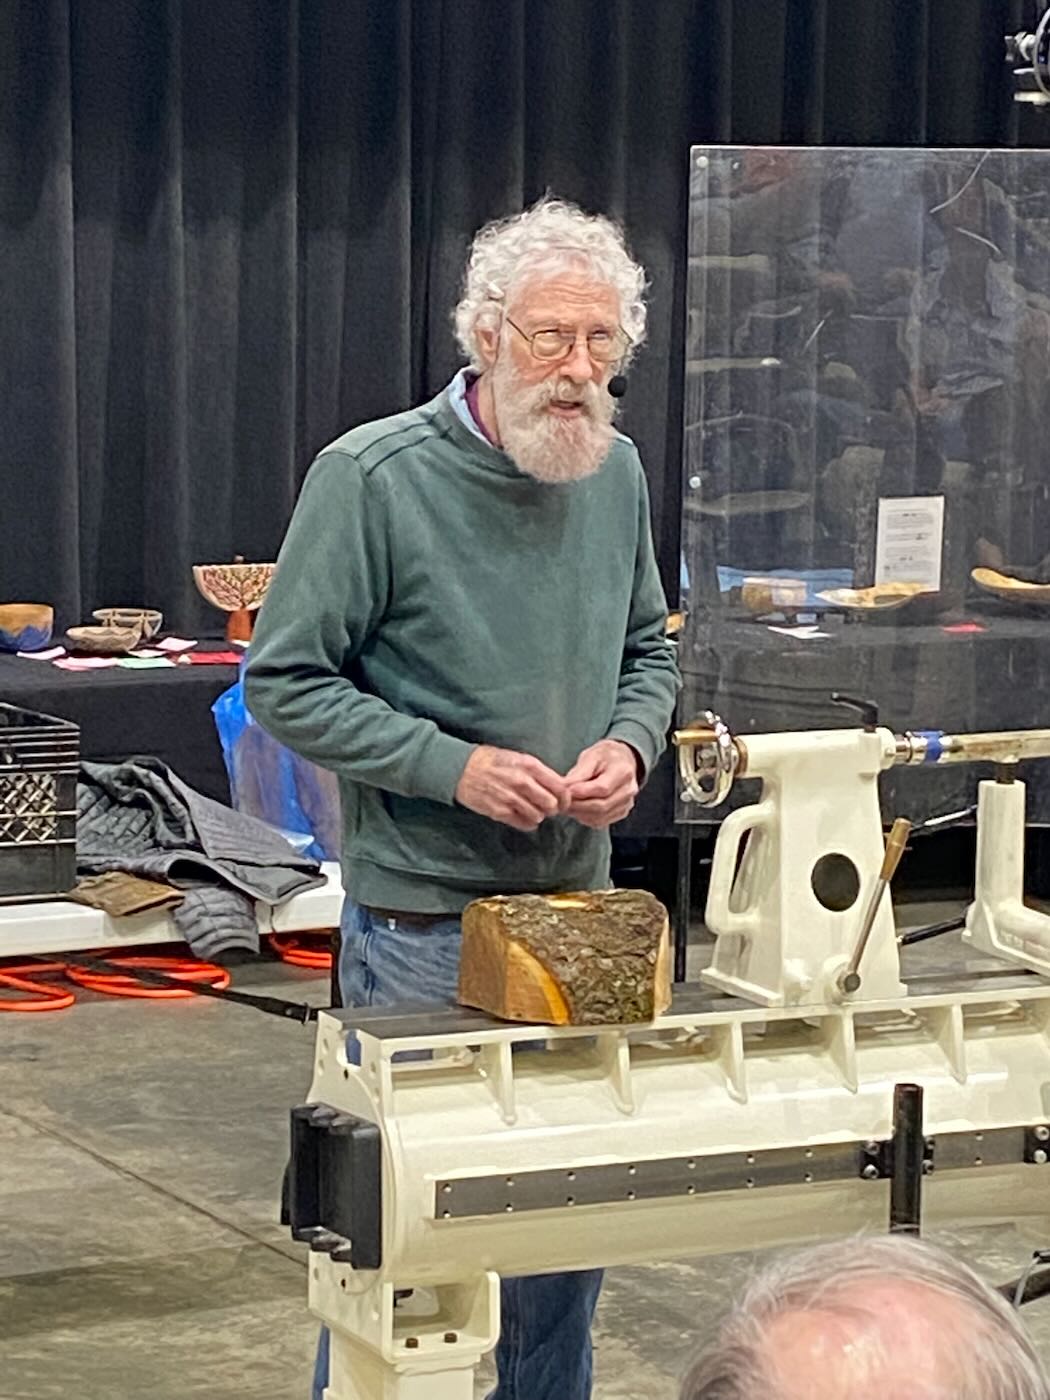
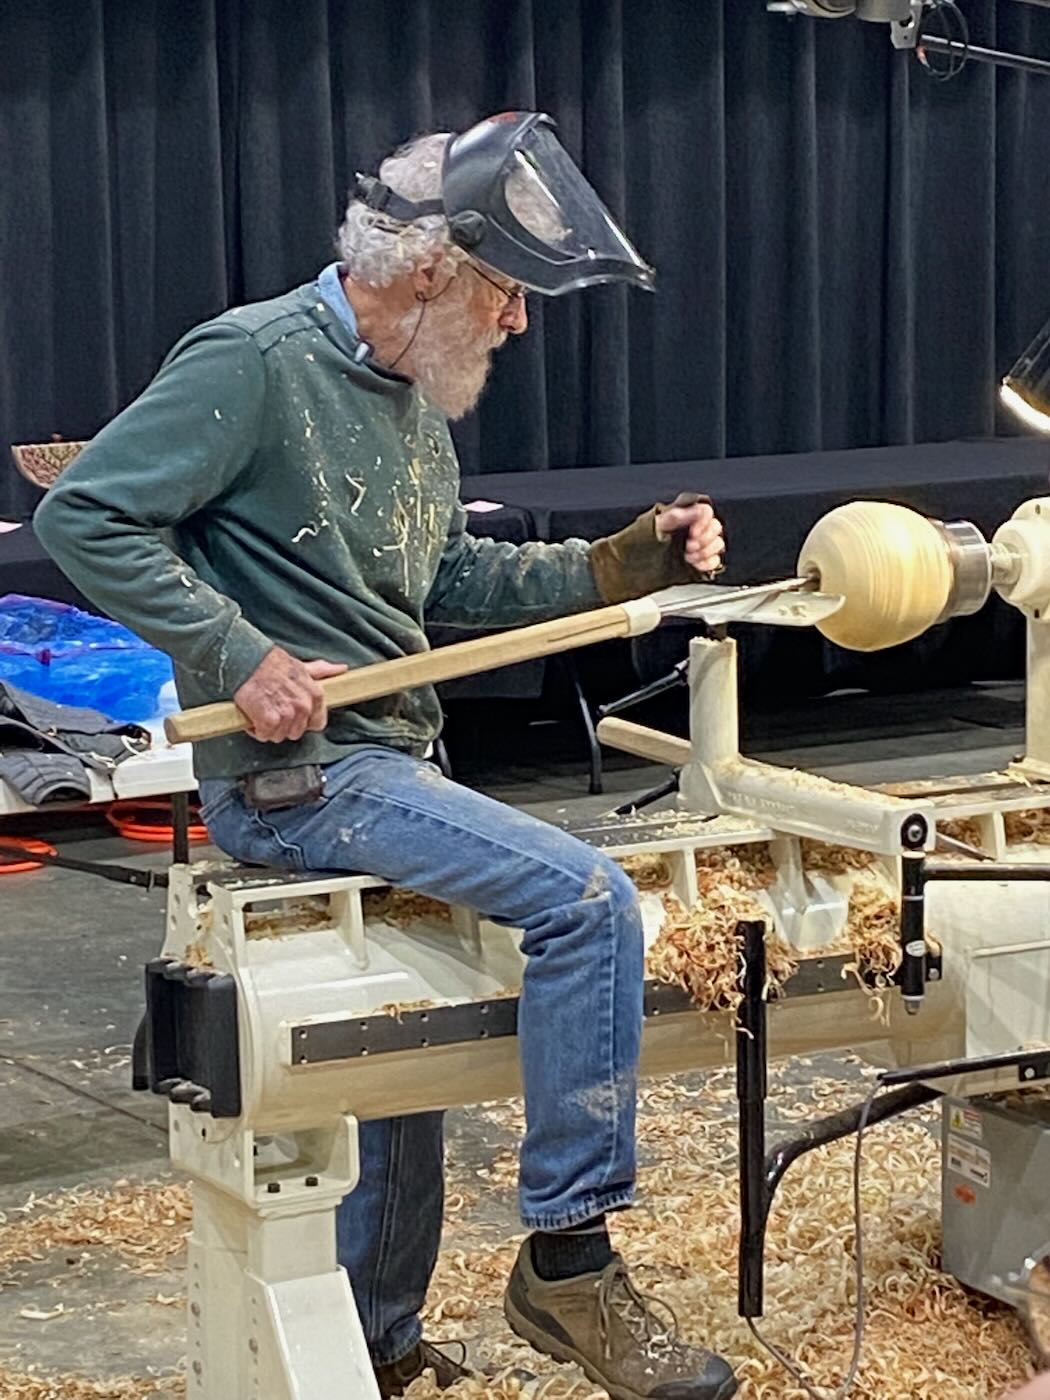
A Master woodturner and founding member of AAW, we are lucky to have David in our midst since his move from Pennsylvania to Weaverville. Not only is he well known for his bowls, pots and hollow forms, but David has also developed tools for woodturning.
- Sharp tools – essential for good bowl turning
- Handle – David’s handles have a soft equilateral triangular shape that is comfortable to use – eliminating over grip
- Gouge metal – is powdered metal steel which is heated casted metal
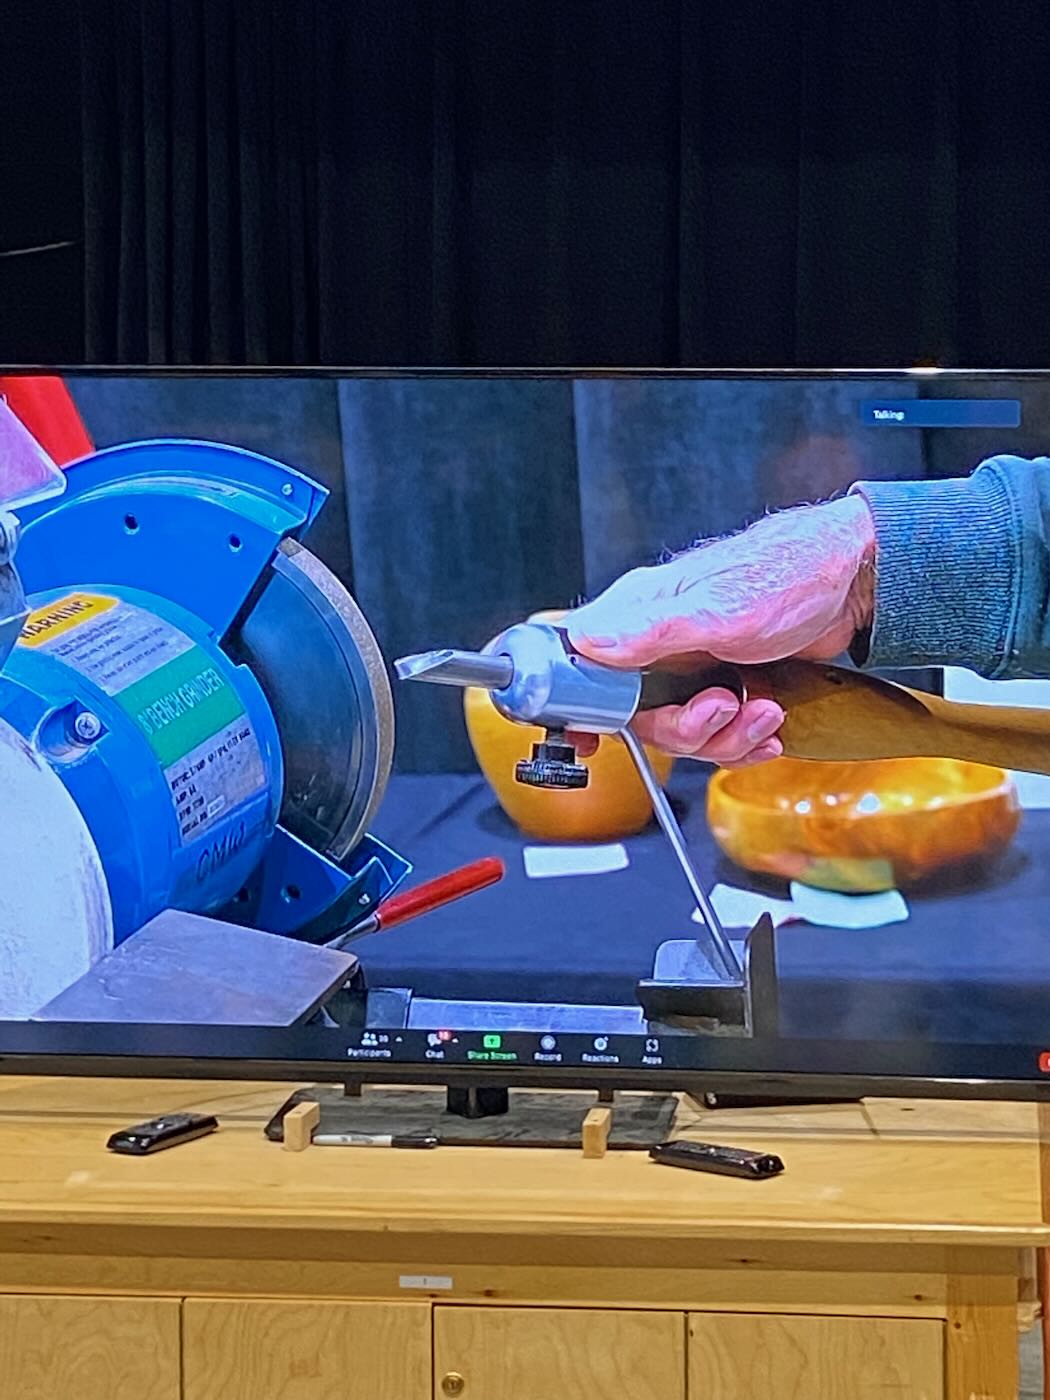
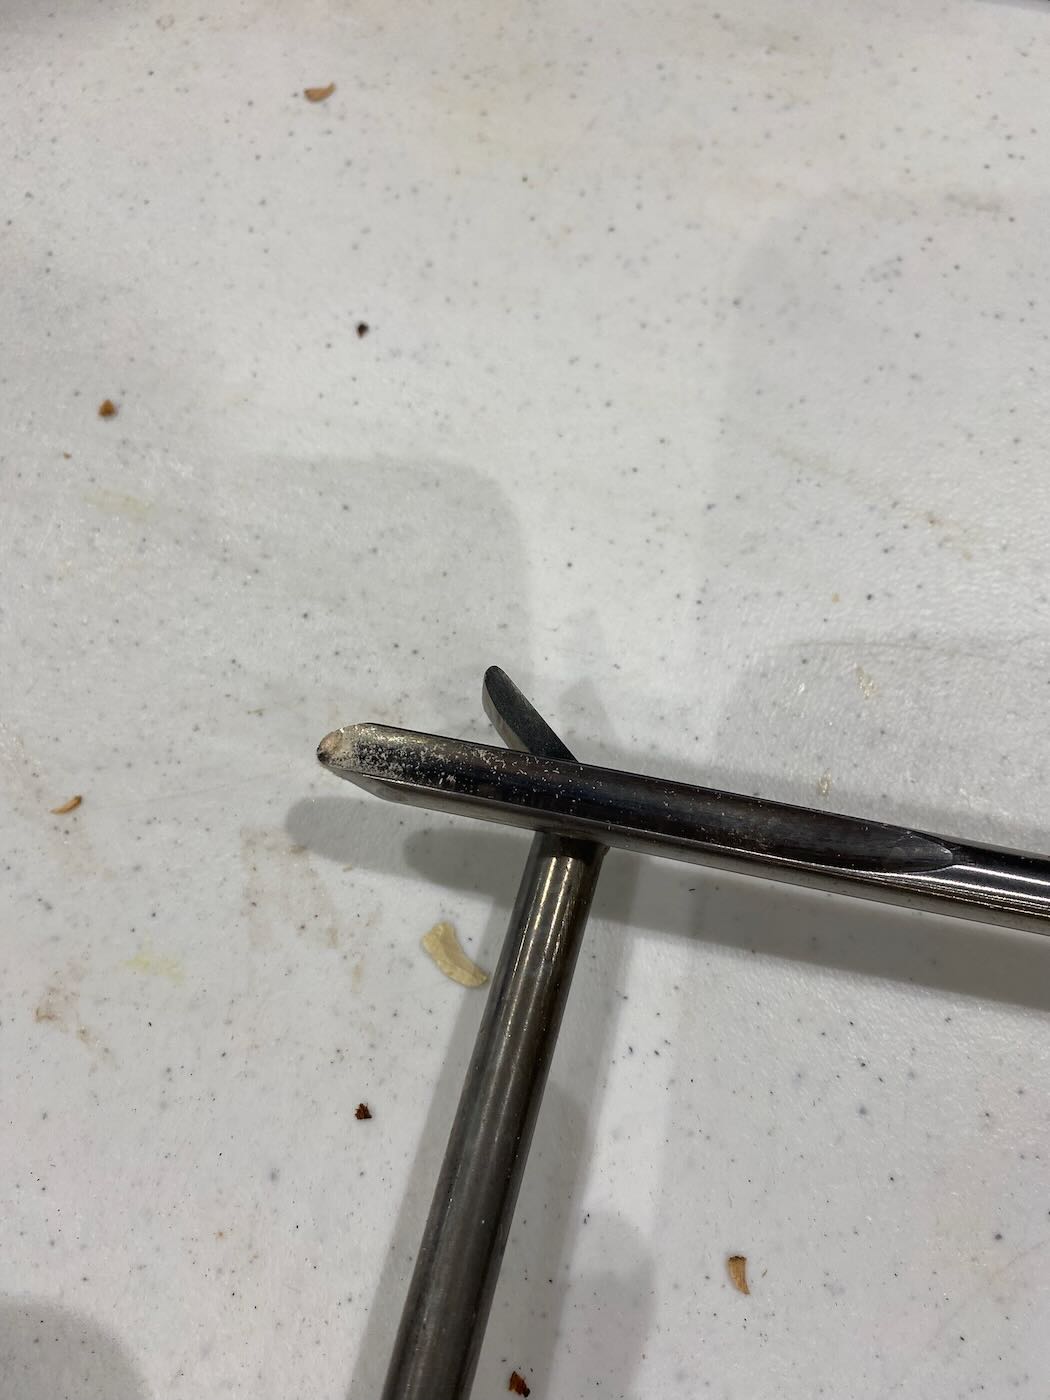
- Sharpening
- Side grind – approximately 7/9 – 1 inch down the side of the gouge
- Bevel is rounded off some so that there is a radius on the top. He does not use a sharp tip on his gouges
- Technique
- 2/4/ 7 methods: the gouge is inserted 2 inches into the jig; the slide is ~7 inches from the face of the wheel to the pivot point so that the handle is approximately 4 inches above the pivot point.
- Shaping – this is basically a shear scraping move. Holding the gouge is important to get the shape symmetrical. The thumb is on the side of the gouge with 3 fingers below and 1 finger is at the tip of the gouge. Movement should come from your hand near the gouge, not by turning the handle.
- Movement – go from one side to the top and over, then move to the other side going from side to top and over
- Wheel grit – David uses a 80 grit wheel to rough cut and a 180 grit CBN wheel to finish. He doesn’t hone his gouges because he wants the burr to remain on the edge.
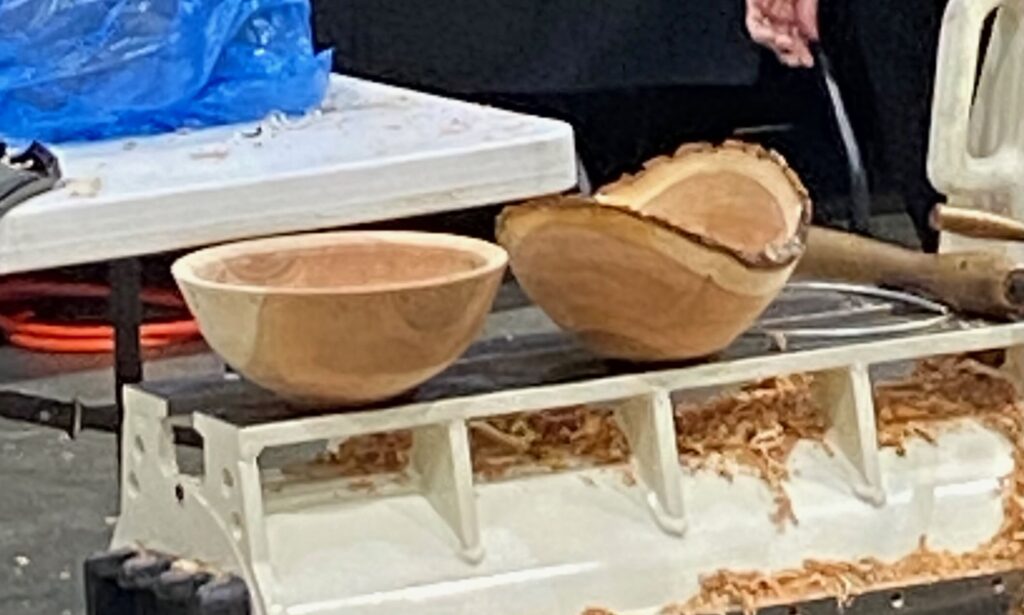
- Popcorn Bowl
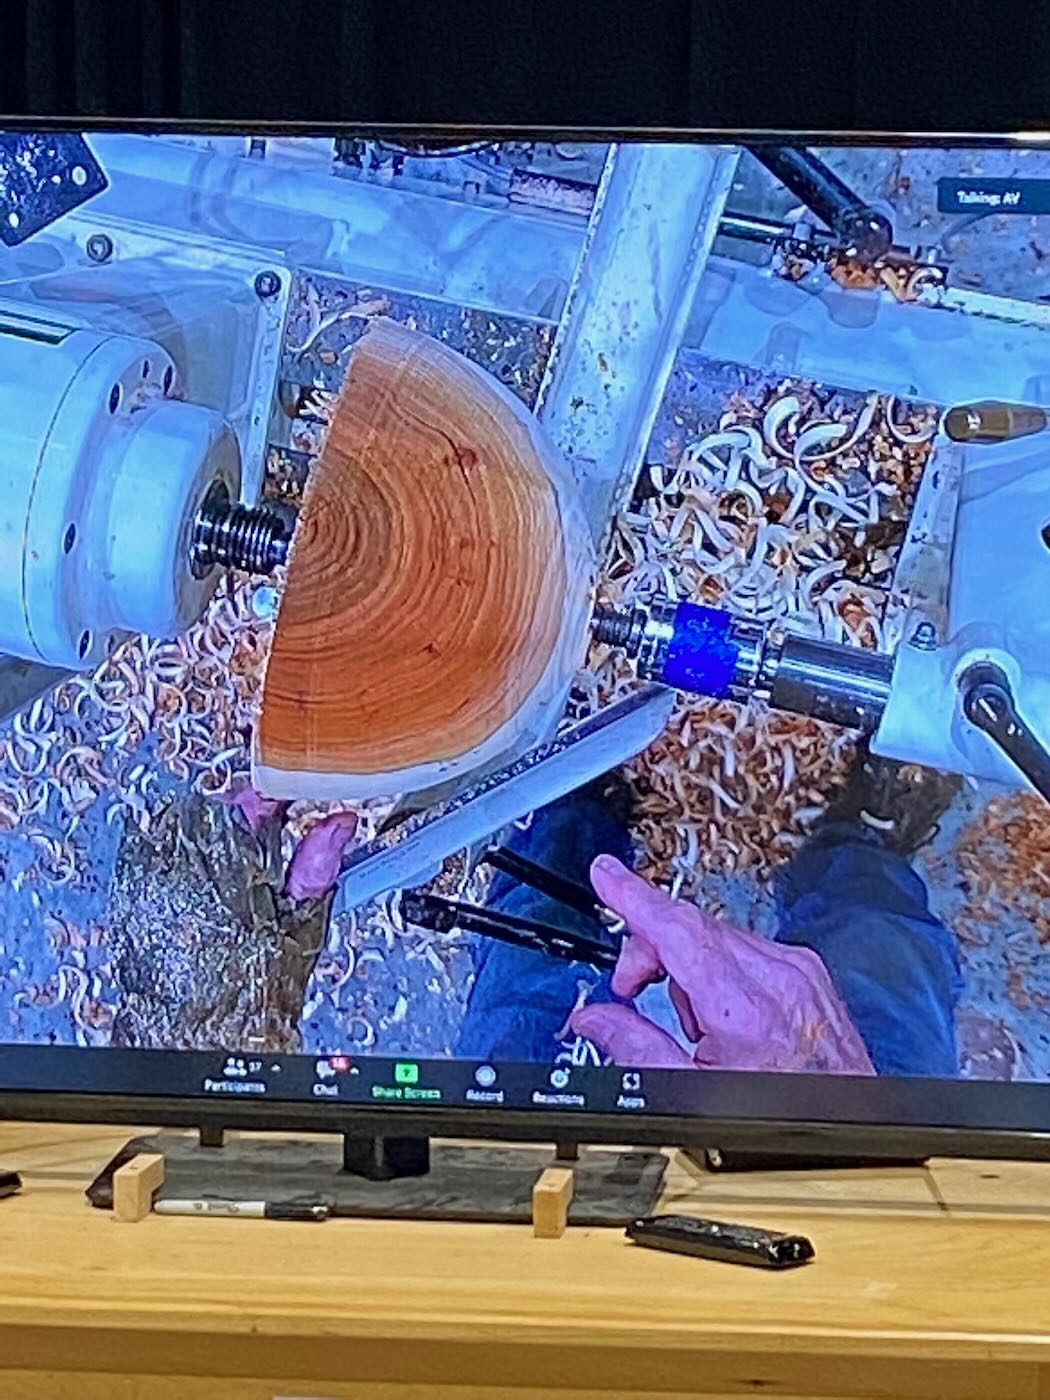
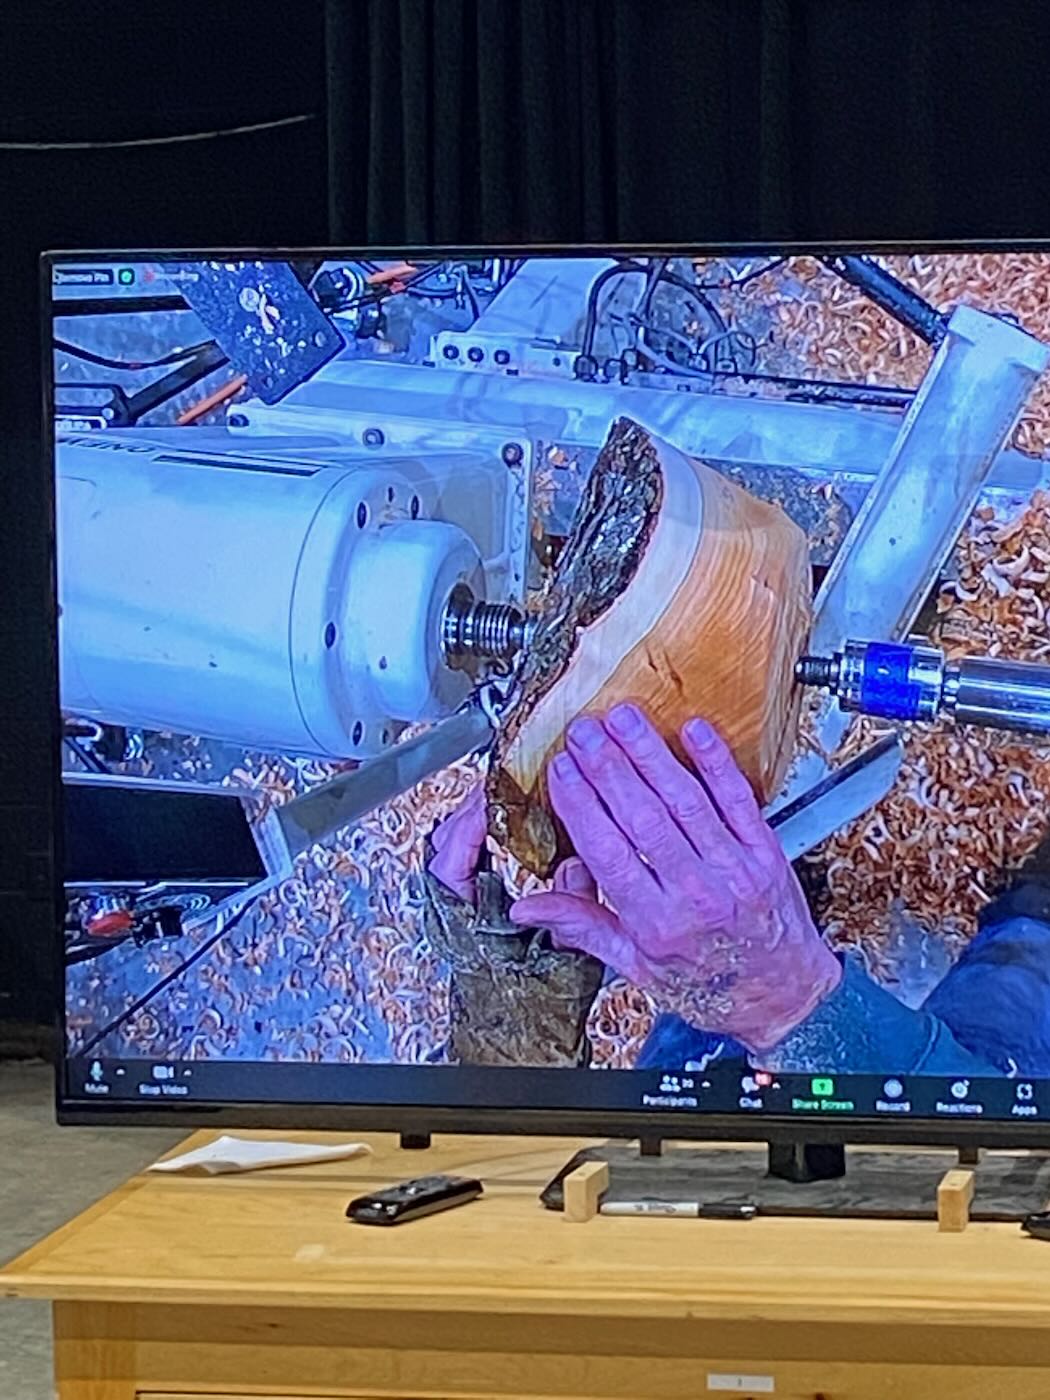
- David uses wet wood and a 4-pronged center spur. A 2-pronged center spur can more easily slip off the lathe. Remember to constantly tighten the tail.
- Tool rest should be set close to the wood with the gouge bevel at the center of the wood. For roughing cuts, the handle should be lower. Make sure you complete the cut by cutting into “air”.
- Check to see that the sap wood and hard wood is even. If not, recenter the piece and make sure the wood is even at the bottom.
- Flatten the bottom of the piece – keep the central stem small so it won’t get in your way later. Create “tenon” for your chuck. It’s important to have a good notch for you chuck to grip – either dove tail or 90 degrees.
- Cut in a higher to make a base cut. Your bowl bottom will be within this wider area. This will also give you some wiggle room to adjust the shape as you go along.
- Begin to shape the bowl – remember that the bottom will come down into the wider area above the tenon
- Put the blank into the chuck making sure that the central stem is not compressed. Everything should be tight and clean.
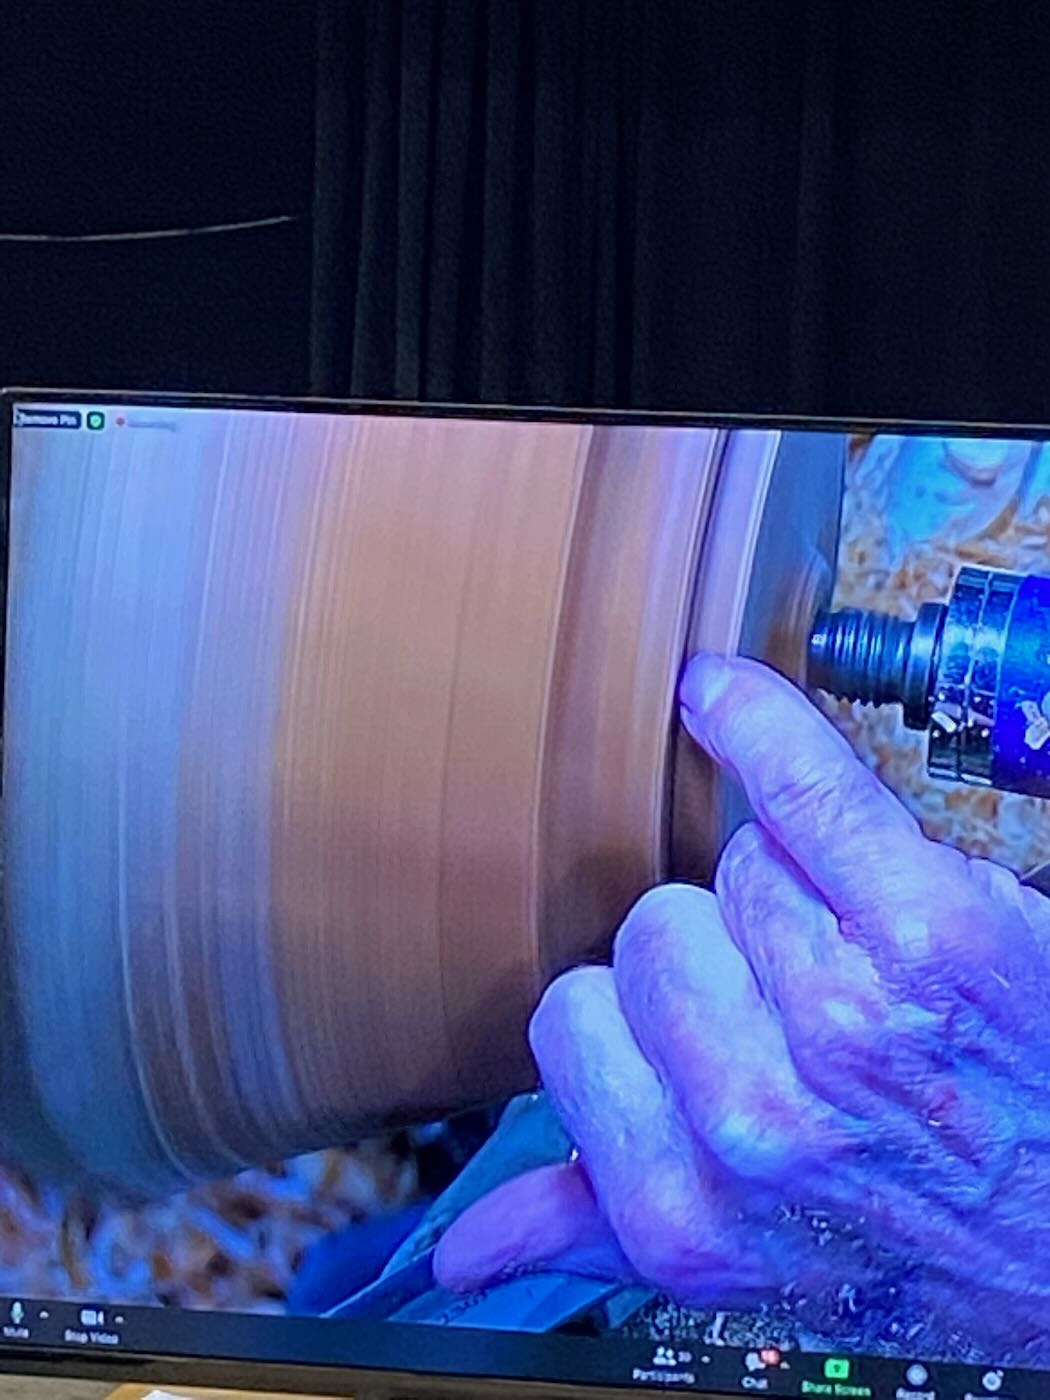
- Even the top surface and reshape the outside. Move from side to side with your 1st finger and thumb on the gouge and cutting ~1/2 inch down from the tip. Use your gouge like a scrapper with the handle down. Slightly concave the top half
- Hollow your bowl with your gouge held from the outside and across center. Shape the rim – invite someone into the bowl.
- Final cut – the apex of the gouge should be pointing toward the center of the bowl. Cut down to ~ 1/8 inch from the top of the jaws. The bowl shape should go into the tenon.
- Remove the tenon using a concave bottom. Keep tapering the tenon down and when you get near the final cut, turn the lathe off and push across to cut off the last piece of the tenon. Use your right hand and push with your left thumb.
- Letting green wood dry:
- Let it warp
- Dry in a kiln – can be created in an old refrigerator
- Store in a paper bag
- Place on a piece of plastic and flip it over daily until there is no condensation on the paper
Natural Edge Bowl
The difference in turning a popcorn bowl vs a natural edge is in the cutting and the wingtips
- Set up
- The tail stock should be at the center of the pith. This will that there will be even rings around the bottom.
- Wingtips: set up your blank so that the wingtips are at the same height and that your sap wood is even
- Turning
- Flatten out the bottom and create a tenon to fit your chuck. Make sure you have either a dove tail or a 90-degree cut for your chuck to fit snugly.
- Go higher and make a base cut deep enough so that the profile of your bowl will curve into this area to the center of the tenon.
- Shape the outside of the bowl. Shape first up to the sap wood from the bottom. Don’t go up to the wingtip area to protect the bark. In cutting through the bark, make a left -handed cut so that you can see the gouge bevel at the bark edge and cut from the top down to the base cuts you have make.
- Reverse and place the piece in the chuck to hollow. Mark your desired depth on the bowl. Check to make sure your wingtips are at the same level. Finish shaping the outside of the bowl
- Hollow to about ¾ inch from the top of the tenon. This will allow you to finish the bowl into the tenon area. Use a roughing cut with the gouge flute at 45-degree angle to the bowl. Use a finishing cut where the flute is straight up (90-degree angle). Don’t use scraping cuts. Use calipers to check the wall thickness so that it is even throughout.
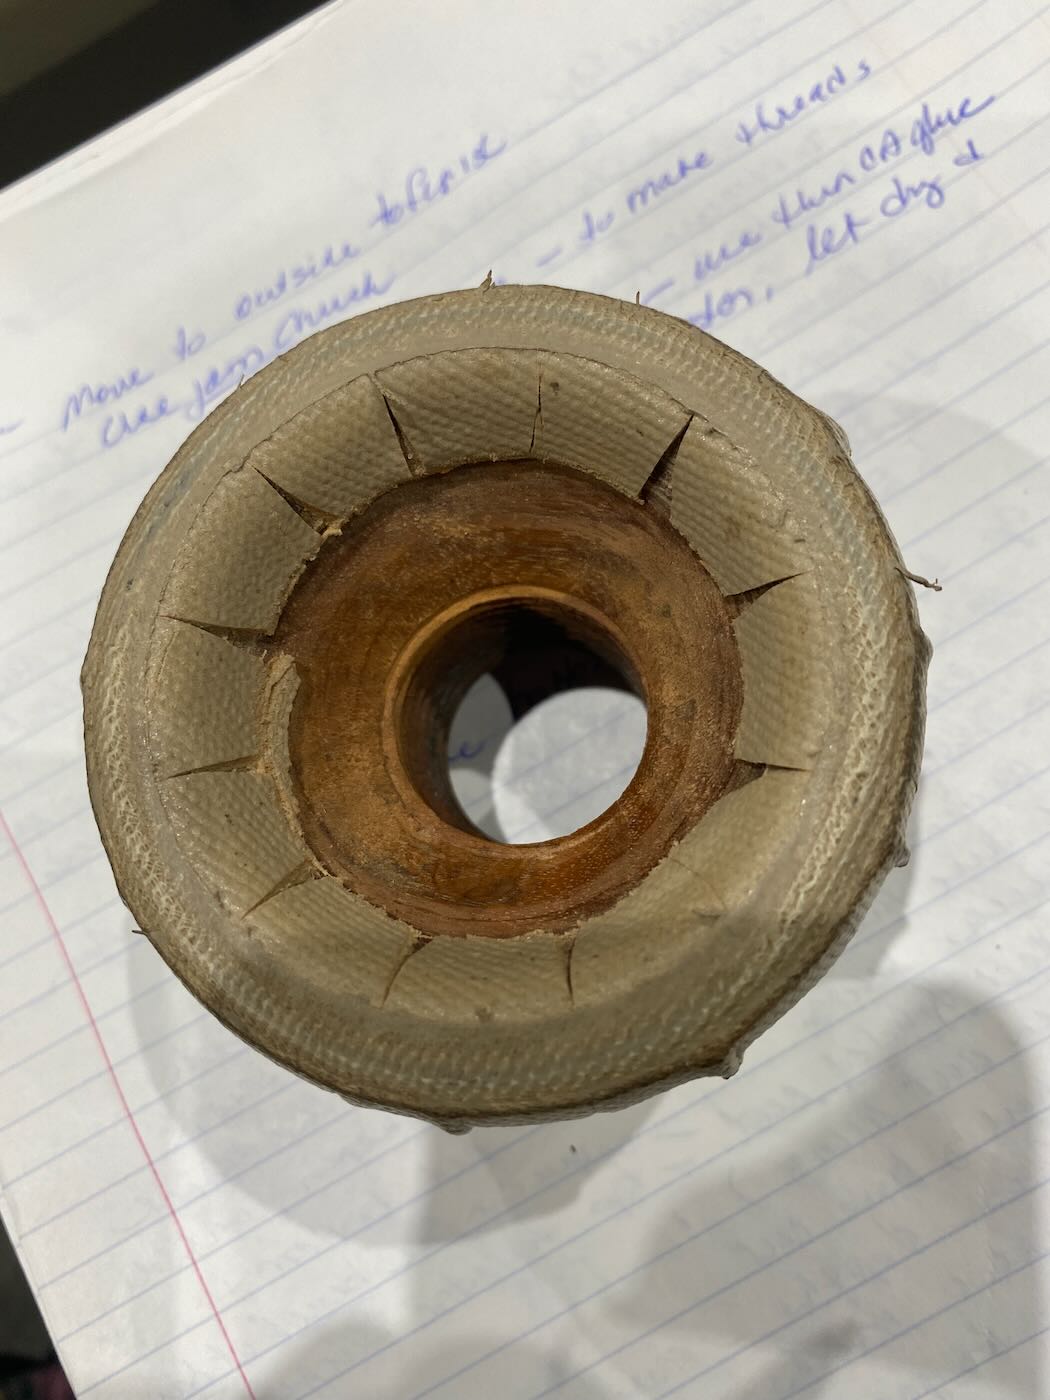
- Use a jam chuck to finish the bottom making sure the bottom is flat and the bottom of the bowl curves in below the bottom of the hollowed portion.
Tips
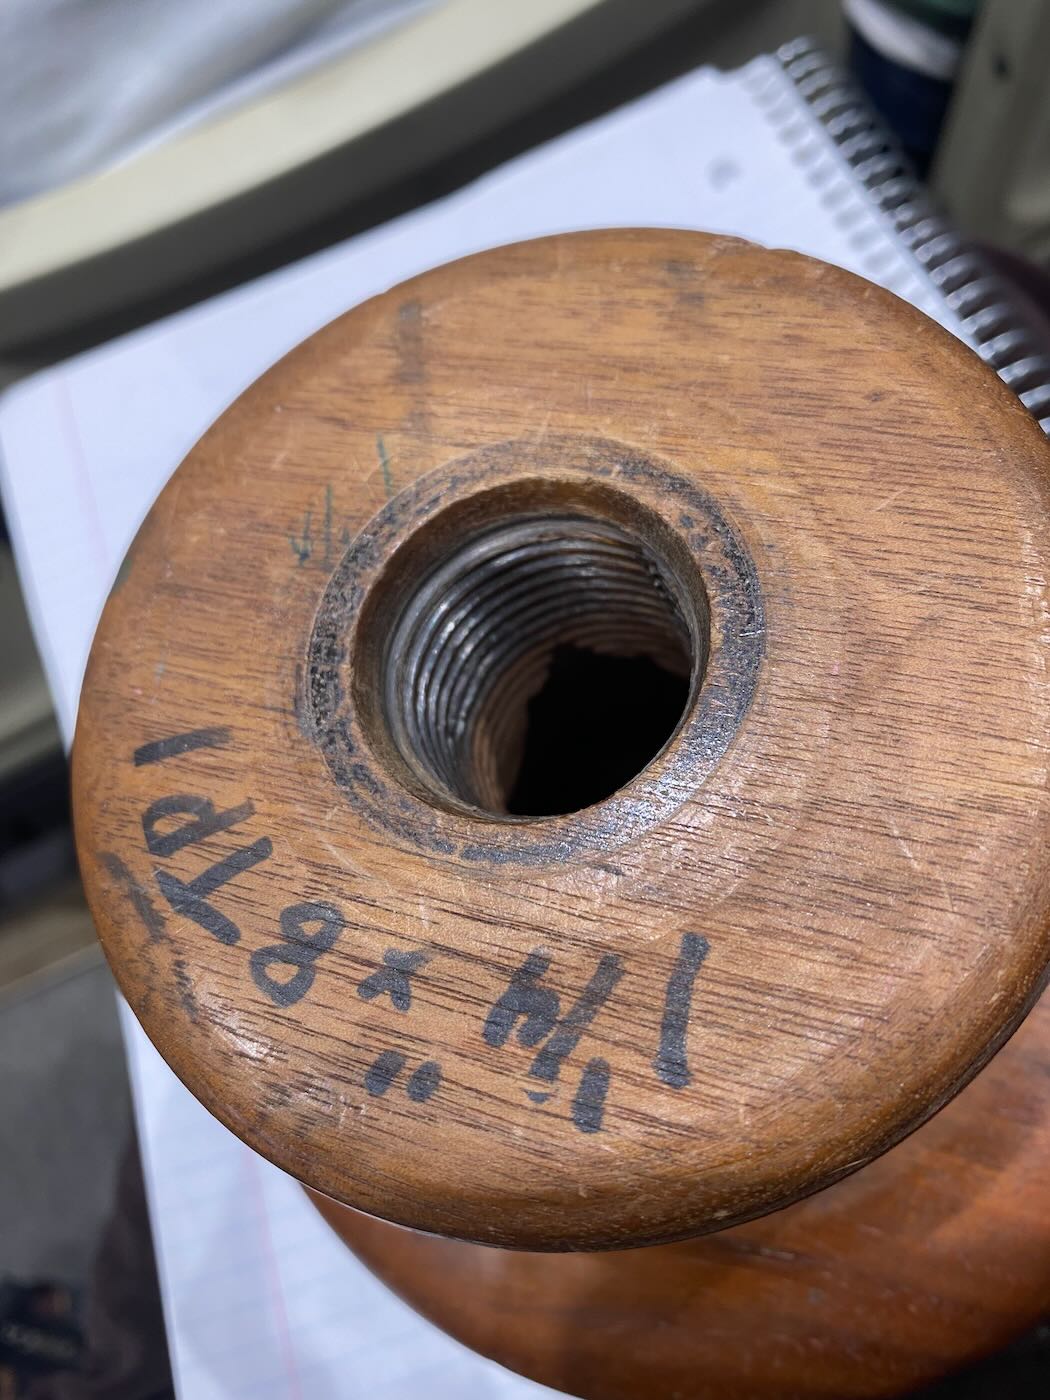
- Making a jam chuck. Use a Packard bead tap to make threads to fit your lathe. When making threads, saturate with thin CA glue, spray with activator, let dry and re-thread. Use rubber along the edge of your jam chuck to protect you piece
To make calipers. Use a zinc-plated rod from Home Depot – 36×3/16 in diameter. Make one end straight. Curve it around so that the ends are slightly off center. Leave ~ 1/8inch air space between the desired wall thickness and the distance between the ends of the rod.
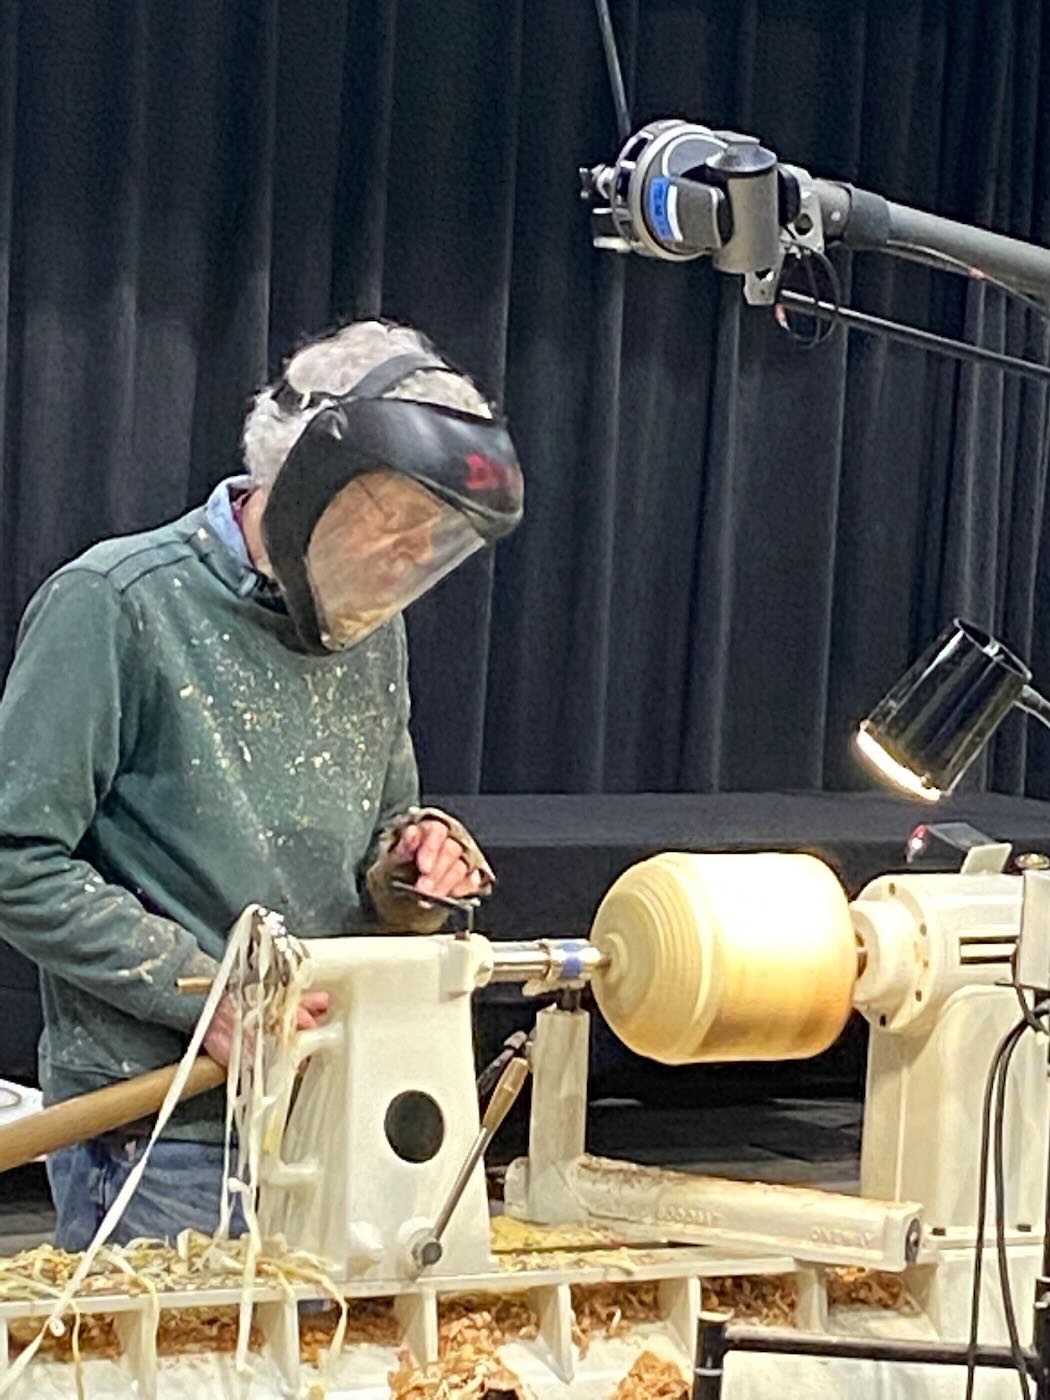
Turning a hollow form
- Put a log between centers and turn to round using a bowl gouge
- Even end and round off the end. Turn around and round off the other side.
- Mark the center and decide which is the top or bottom of the vessel. For a vase you would want the grain to go parallel to the height of the vase. If you are making a vessel, you would want the grain to go perpendicular to the opening. Reposition you blank on the center line depending on the type of vessel you will be making.
- Turn off any “nubs” left from positioning. Make sure that the blank is even then flatten out the base and make a tenon.
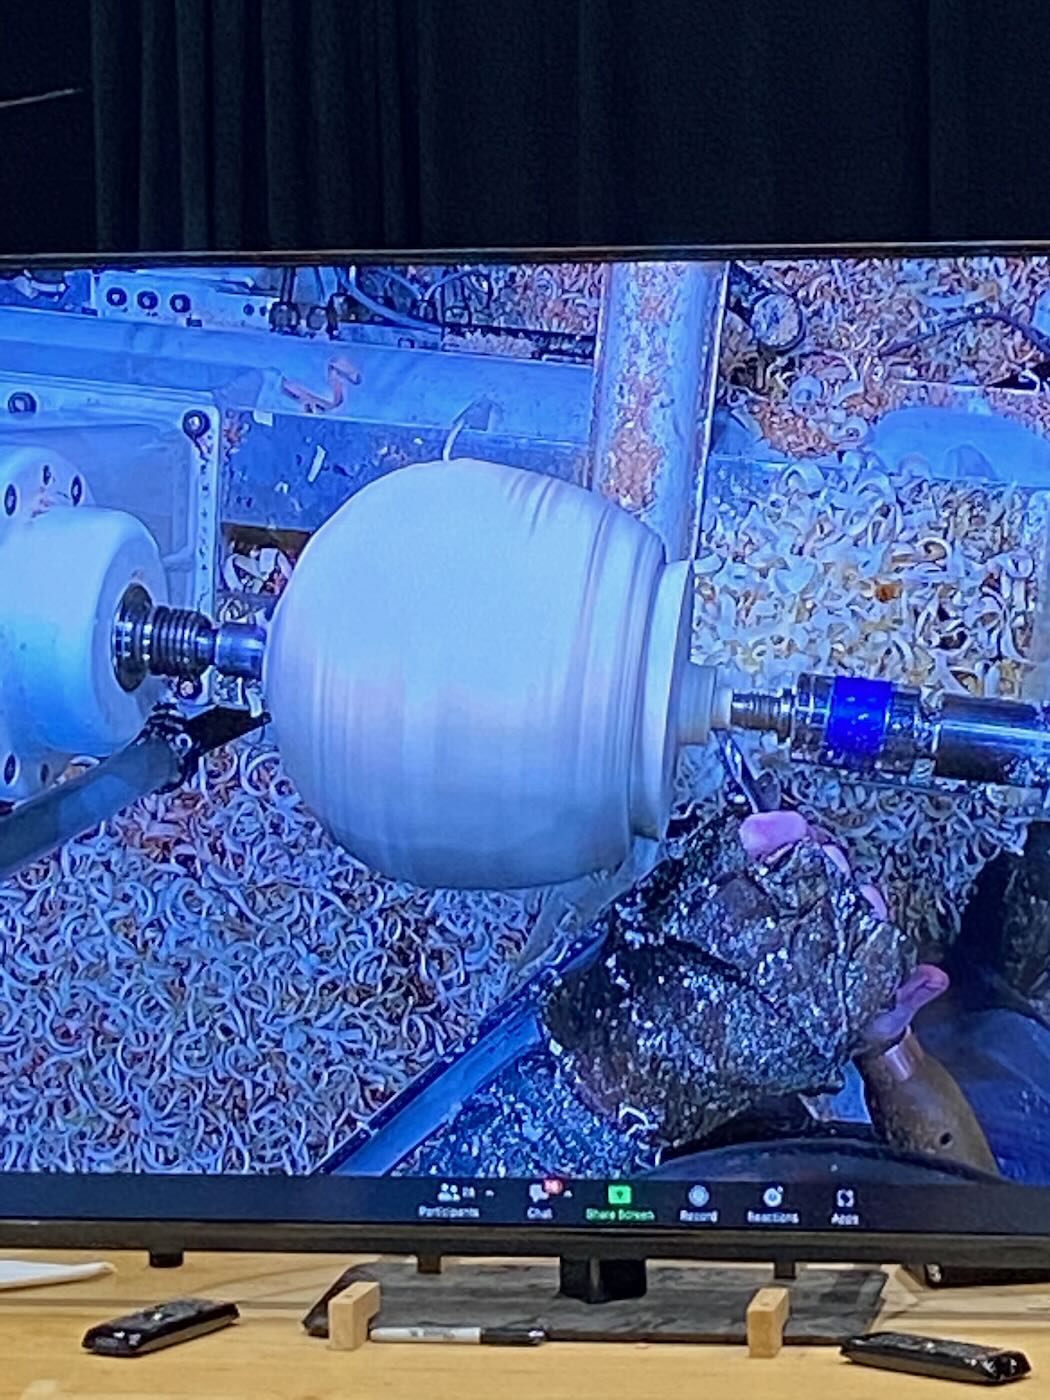
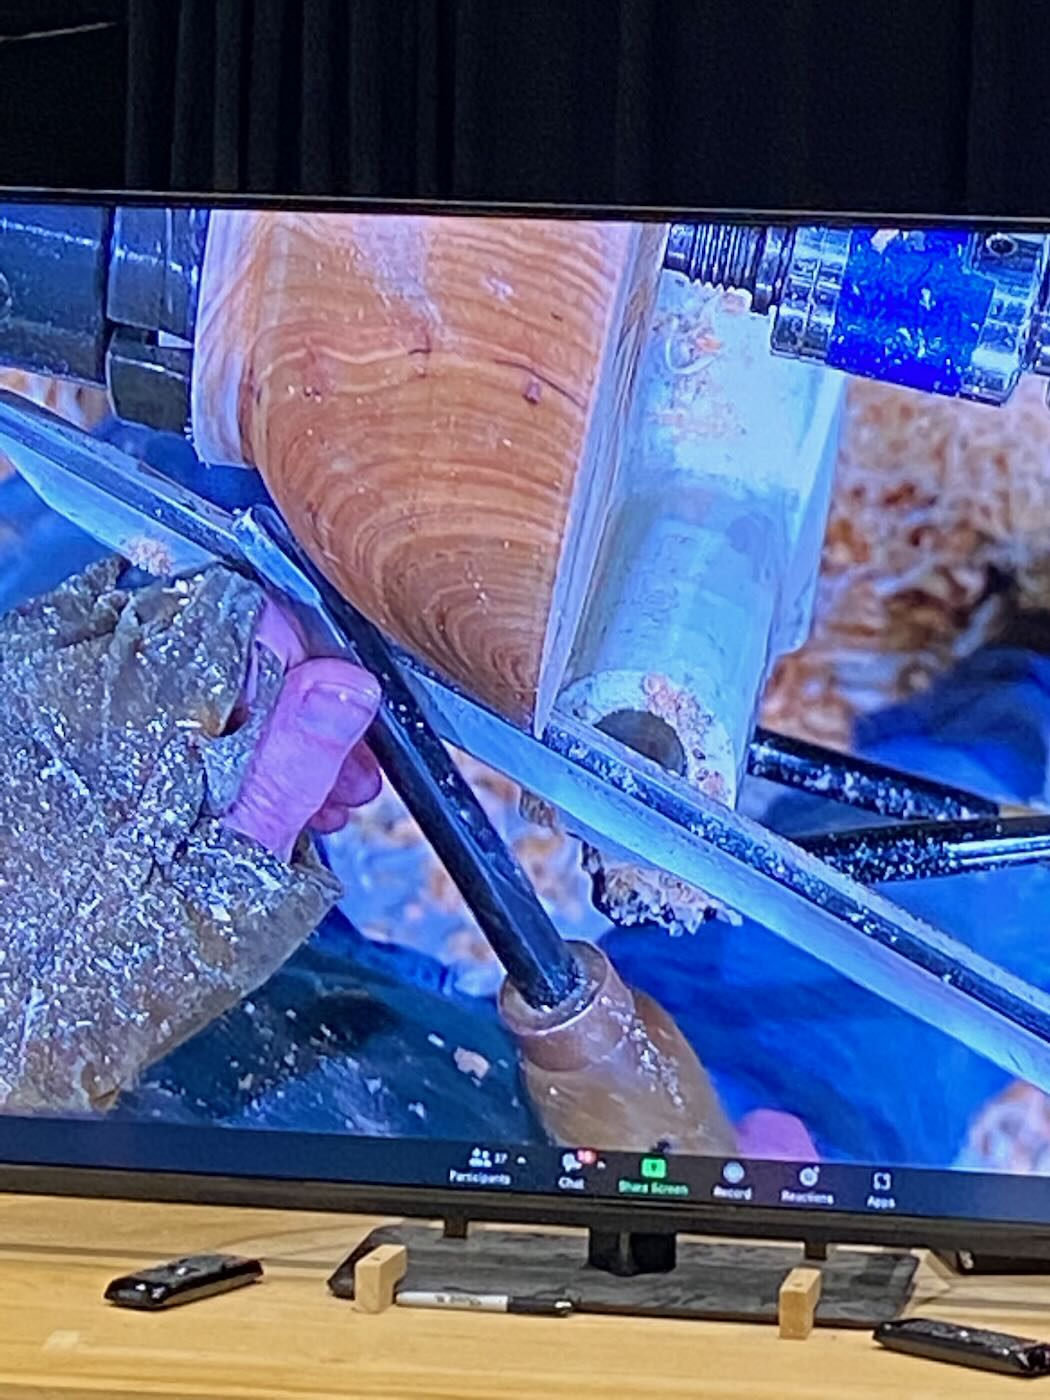
- Use a boring bar to push straight into the depth you want. David does not use a drill because a drill tip will get hot, and the heat can crack the wood.
- Once you have your depth, David uses a gouge with cutting tip of 10% high speed steel from Manhattan Supply Corp. He positions it slightly below horizontal, then raises the tip to horizontal to hollow.