
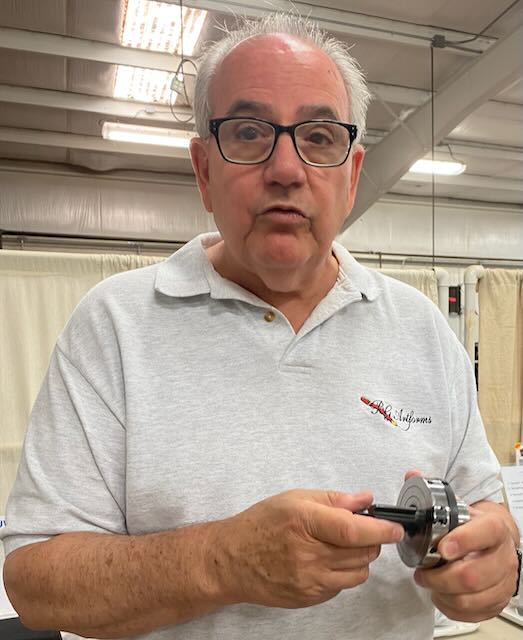
Barry comes to us from Pennsylvania and is an eclectic penmaker. He has published many books and articles on pen making and is known for creating fine writing instruments from re-cycled materials.
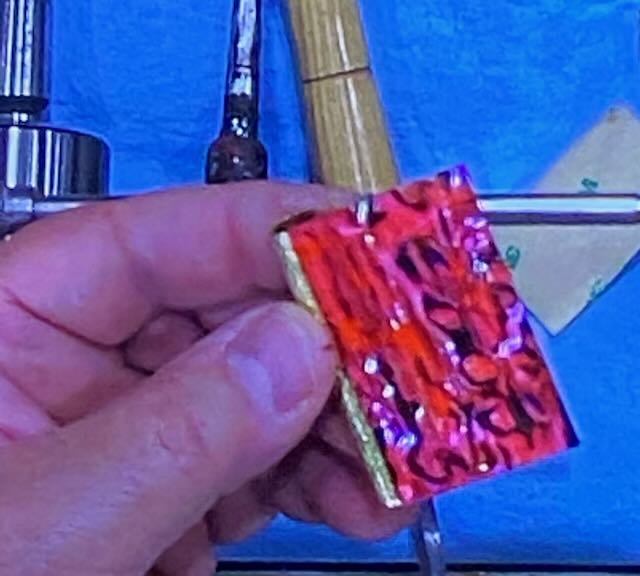
After an informative and illustrative slide presentation, Barry demonstrated the process of creating a pen using an abalone shell. The abalone shell comes with an adhesive backing to adhere to the pen tube.
The Abalone Pen with a UV resin:
- For these pens, you would want to use a larger size pen kit – ex 27/64 tube found in the Sierra, or Gadsby pens.
- You will need to rough up the pen tube prior to adhering the abalone shell sheet
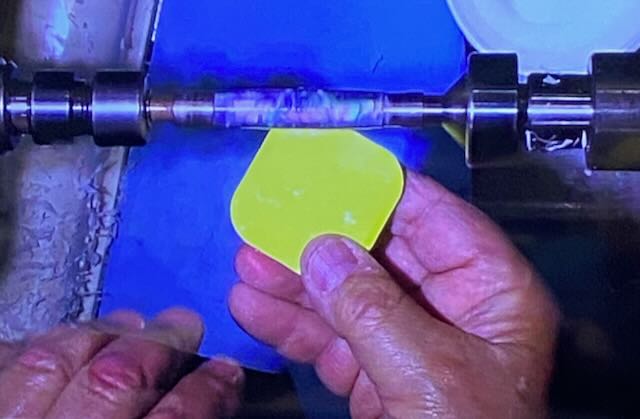
- Use a paint marker to color the tube – Barry uses Daco Color markers that can be obtained from Blicks, Michaels etc. Many colors are available so pick one that provides a good background for the abalone shell sheet you have. Some abalone shells look good with a gold-colored tube so for these you will not need to color your tube
- If you see any holes, they can be filled in with UV resin as you go.
- Once the marker is dried (can use a hair dryer), carefully adhere the abalone sheet to your tube. The adhesive is very sticky so you will need to be careful to get the edge on straight. Then roll the abalone sheet around the tube and press with your fingers to get it tight. If there is any overlap at the ends, these can be clipped off with scissors.
- Place the tube on your mandrel between bushings. A mandrel saver is a helpful accessory.
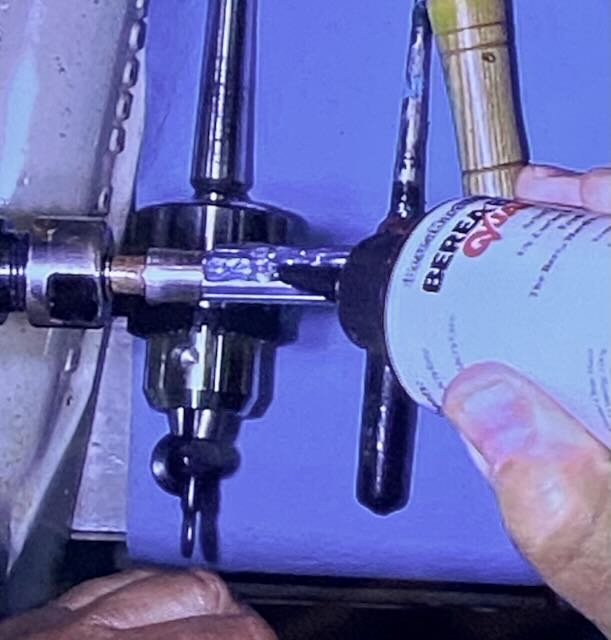
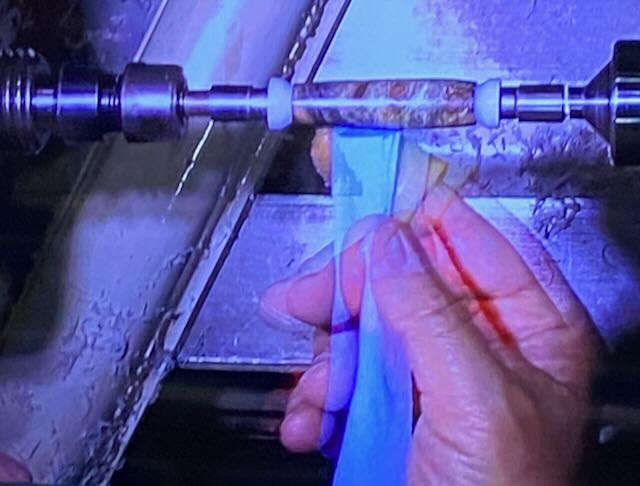
- Barry used a UV resin to coat the tube. Most brands will work well. The resin is slowly applied to the tube a little at a time and a UV light (comes with the resin) is used to harden the resin. Look for any missing spots and use the resin to fill them in.
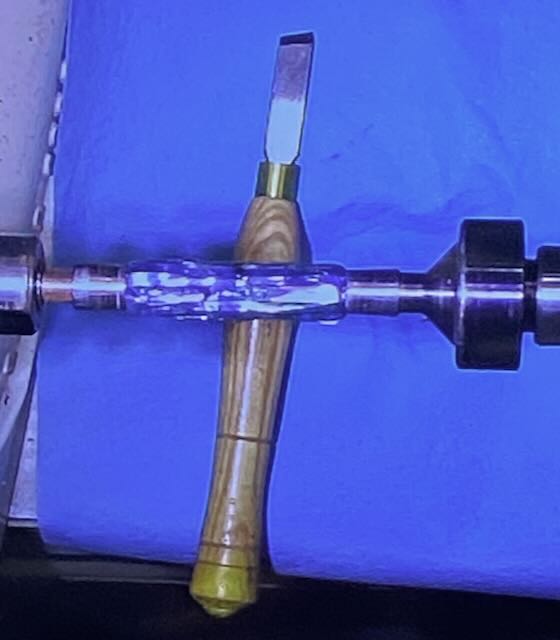
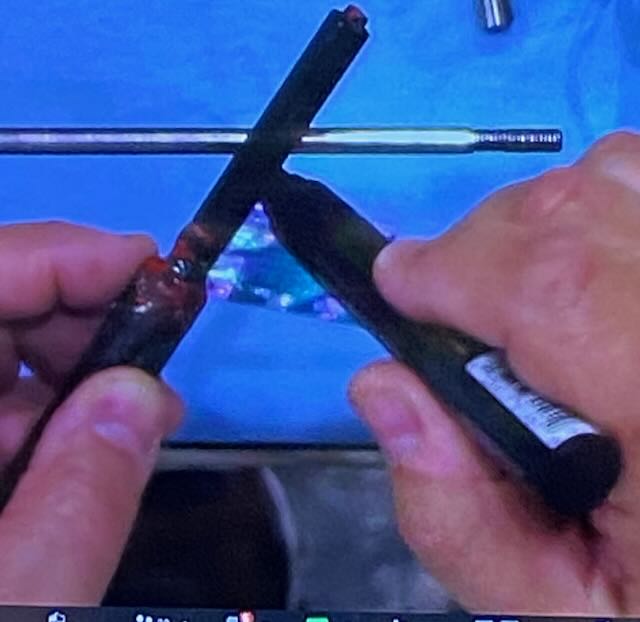
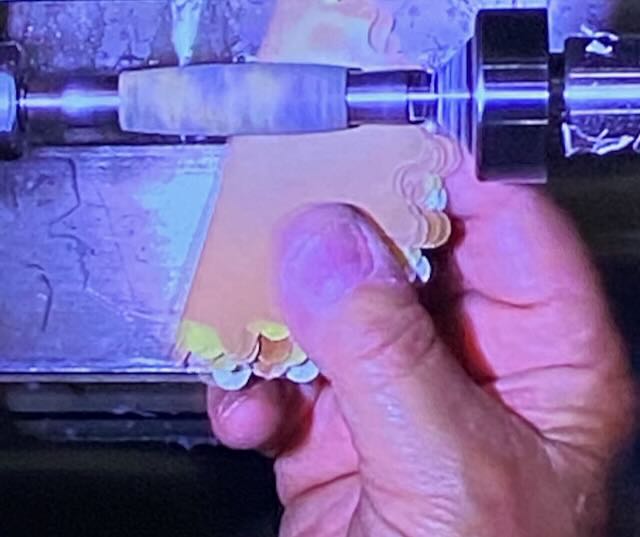
Use a small tool rest placed as close as possible to the tube. Barry prefers using a skew at high speeds (1-2000 RPM), keeping the tip pointed down. Go from center to each end until the final finishing cut where the skew is held more horizontally. If easy wood tools are used, choose the round tip – not the square one and lower the tool rest so that the tool goes straight into the center of the blank.
- Barry suggests twisting the tube on the mandrel during the turning process in case the mandrel is slightly off center.
- If you see any holes, they can be filled in with UV resin as you go.
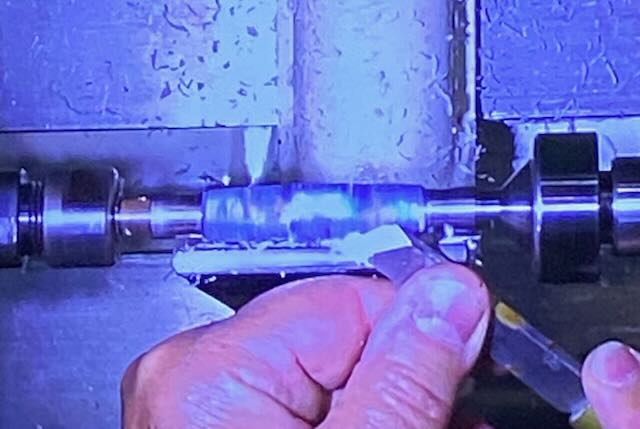
- Holes can also be filled in with turquoise or other contrasting materials by placing the mineral chip in the hole (don’t use powdered turquoise) and filling the hole with thin CA glue. Sand lightly to even out the surface.
- Once the blank has been turned to the bushings, trim off any excess at the ends. Barry prefers using a disc sander for this since barrel sanders may chip the ends.
Finishing
- Sanding: Barry suggests using sandpaper from 150-800 grit with the lathe spinning, then use Abralon pads 500,1000, 2000, and 4000 rubbing lengthwise.
- Friction finishes – best for working with kids. These are put on at high speeds and best to use a towel with a foam pad to prevent burning your fingers. Barry doesn’t think Mylars friction polish holds up very well but Aussi Oil will hold up for at least a year. Hand sanitizer may dull a friction polish.
- CA finish – this will last forever.
- For a CA finish, use sandpaper and Avalon pads as above.
- Blow off any dust and change to silicon bushings and a speed of less than 500 RPM.
- Use medium CA glue on a paper towel. Use a finger cot or glove to prevent sticking to your fingers. Use 6 coats with a quick sprits of accelerator in between.
- Sand with 320 grit sandpaper at high speed (2000 RPM). Check to see that there are no high spots on the blank.
- Wet sand from 600-12000 grit.
- If there is any CA on the ends of the blank, these can be removed with a paper nail file.
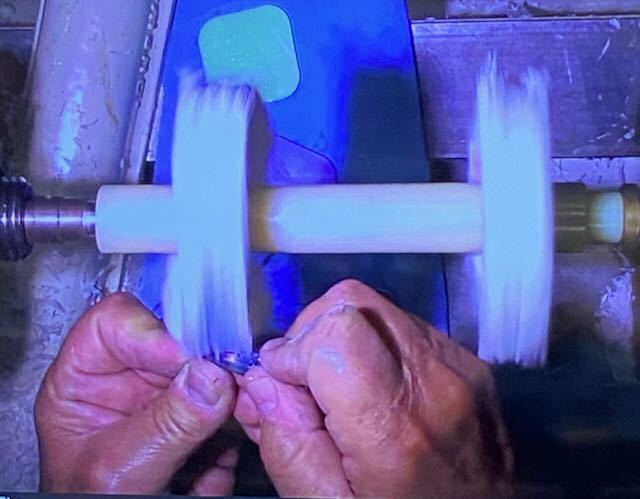
- Buff with a cotton/muslin wheel with blue rouge, followed by a cotton flannel wheel. Hold the blank vertically and go in both directions while the wheel is spinning.
Acrylic Pens blanks
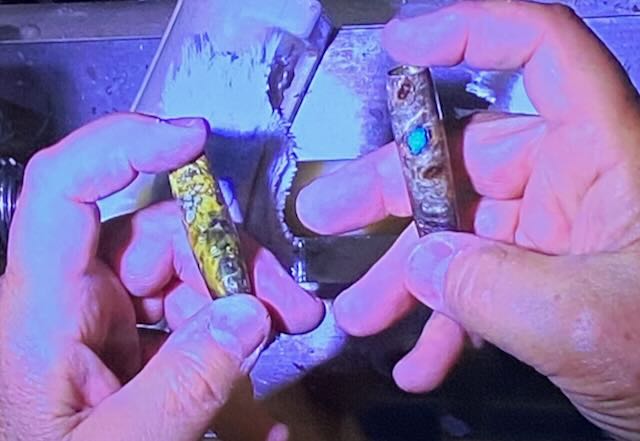
- You imagination is the limit when using resin to cast pen blanks. Barry discussed two categories: flat casting where anything flat is wrapped around the pen tube (labels, pictures, abalone strips) and bulk casting where 3D items are incorporated in the pen blank (watch parts, shells, or stone pieces)
- Several types resins are available for your casting that vary by the need to use a pressure pot (not needed with polyester resins; needed with epoxy, liquid diamonds, royal palm and alumilite) and the time required for setting up the blank.
- For a flat casting, you will probably want to use a pen with a larger tube 27/64 tubes so that the picture is more visible – i.e. not the 7mm pens.
- You can make your own labels using waterproof paper and an ink-jet printer (a laser printer ink will run in the resins). These can be purchased from Online labels.com – weatherproof Matte for Inkjet.
- If you find any holes in your acrylic blanks, you can fill them with CA glue and sand it down.
- Shape the blanks anyway you like – Barry likes to have the blanks slightly thicker in the middle.
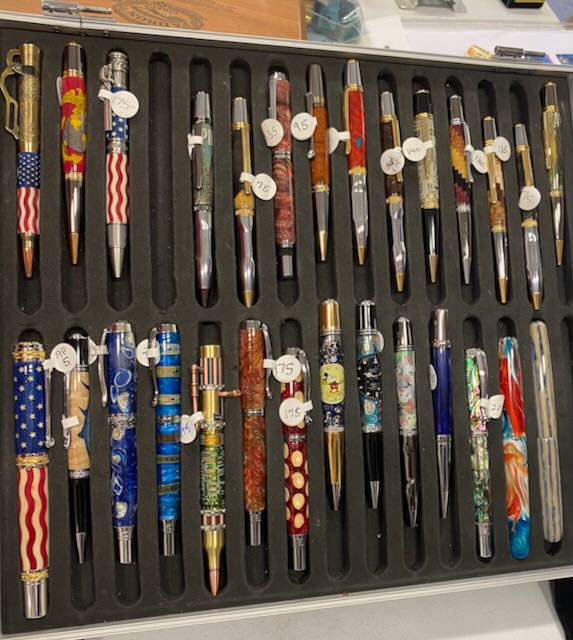
Once your blanks are completed, assemble the pen parts. Marketing tips from Barry include participating in high end craft fairs, add an engraved cherry box, use of copyrighted, individualized or signed elements in your pen castings.