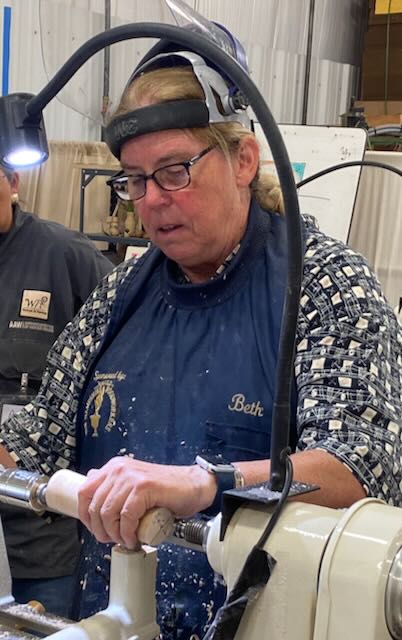
This month’s demonstrator comes to us from St Petersburg, Florida. A woman of incredible versatility and creativity, living the moto if you can imagine it, you can figure out how to do it. She began her career as a furniture and cabinetry maker and in 1986 learned woodturning to add turned aspects to her furniture. Many of her pieces (columns) were large creating the need for a huge lathe – with a 5 ft tool rest and a “lift” to get the blank onto the lathe. In 2007 she went back to school and got a degree in sculpture to add carving to her architectural pieces. She enjoys teaching and when she learned that many of her classmates did not know how to turn, she taught them. As part of her interest in designing for tiny living spaces, she redesigned a Chevy Express Cargo Van as both a living and teaching studio and spent a year traveling around the US to teach people how to make things out of wood. In addition, she participated in an international turning exchange where she spent 2 months in Guatemala teaching the community to use hand tools. In 2013 she started the Strum Factory as a side project with her sister to make affordable, small batch, one-of-a-kind instruments that are easy for anyone to play. After designing them she started teaching people how to make them in schools all over the US.
During the demonstration, she emphasized the value of making “perfect” cylinders, ellipses, and triangles. These basic shapes can be used in all aspects of furniture making and can be carved and modified for many projects.
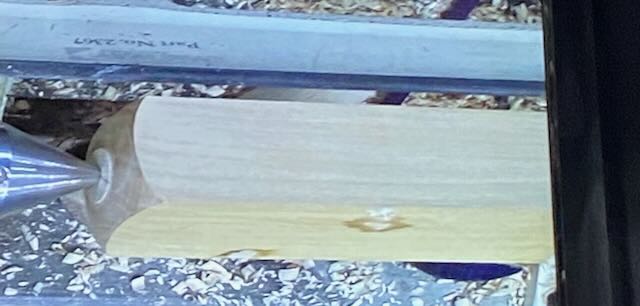
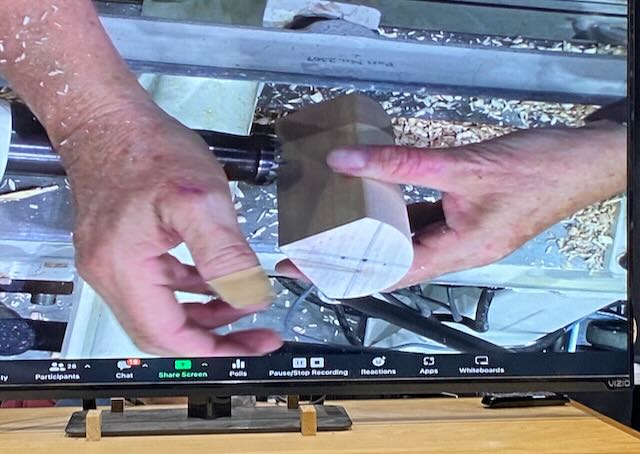
The Perfect Cylinder
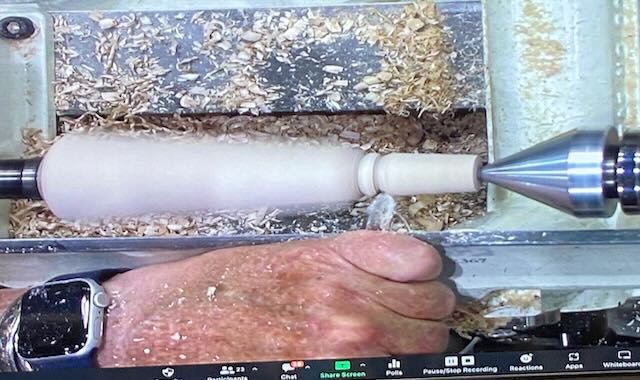
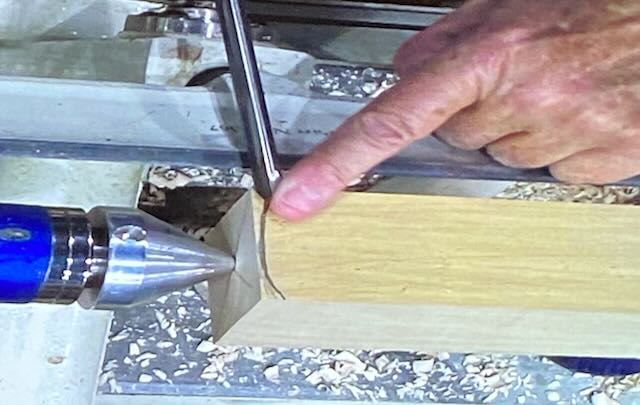
- The blank is turned between centers using a spring-loaded Step Center and a cone in the live center. The step center helps prevents bowing of the cylinder
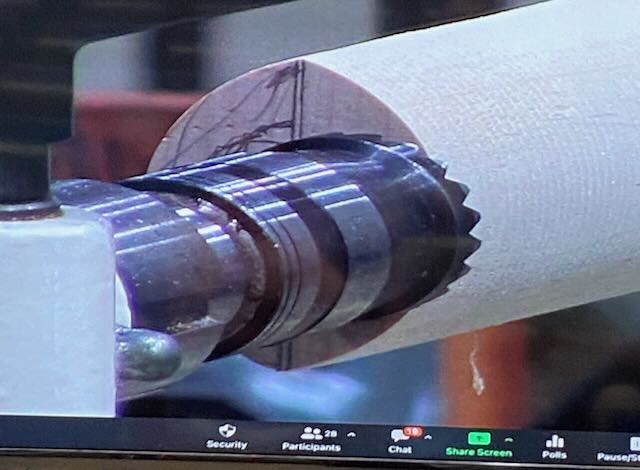
- The tool rest should be in the center of the piece, approximately 1/8th inch from the tool rest and parallel to the lathe.
- Use a roughing gouge at center or slightly above center of the piece. Use the whole cutting edge and move from foot to foot, keeping your finger on the tool rest and arms at your side. Its key is to move comfortably. Use the edge of the roughing gouge at 90 degrees to get your finishing cut.
- To make a tapered cylinder – which is a good shape for table legs, mark the widest and narrowest parts of the cylinder. Angle the tool rest so that it is the same distance from the narrowest and widest part of the cylinder. Use the same foot to foot motion to taper the cylinder. This technique can be used for making a morse taper drive center (measure the width of the widest and narrowest parts) or a jam chuck for a small opening like a weed pot where you need a compression fit to finish off the bottom.
The Perfect Ellipse
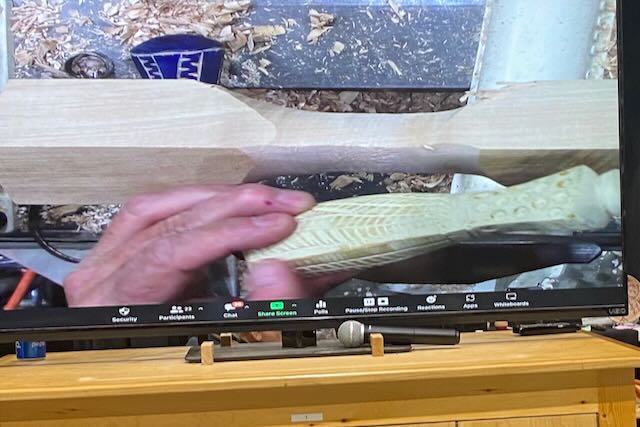
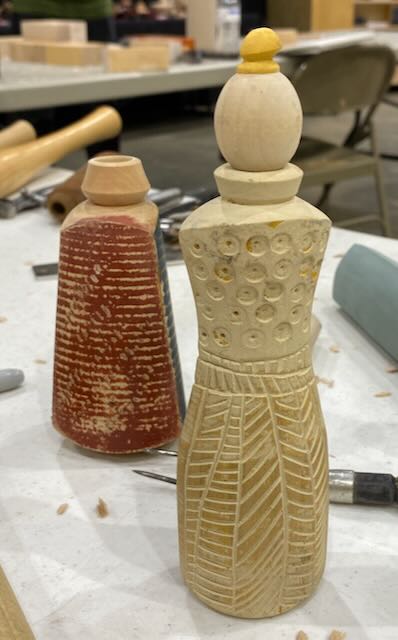
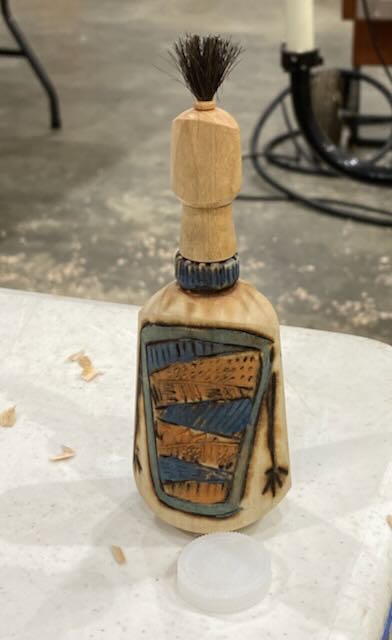
- This shape is the basis for many things – the neck of a guitar, boxes, knobs, finials
- Mark the center of your blank at each end and extend the axes to the corners. Label the axis A and B to prevent confusion. Using a compass, decide on the shape you want by moving the point of the compass away from the center and marking an arc using the radius of the blank. The farther from the center you are, the more curved the ellipse. You want to have crisp corners. Mark the other half of the ellipse by marking the arc using the same distance from the center point on the other side of the axis line. You want to make sure you have enough room for the step center to grab the wood
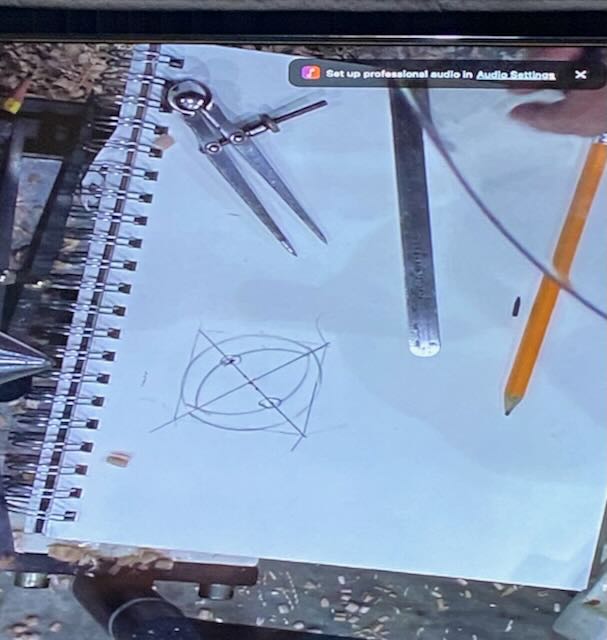
- Mark the same elliptical line on the other end of your blank – making sure you are using the same axis on both sides
- It’s helpful to drill small holes on the points you will be using
- Creating a cylinder using the center points. Make a pencil line along the length of your cylinder connecting each axis lines
- Move you centers to one of the off-set centers. Both the tail stock and head stock will be off-set on the same axis line.
- Round you blank using a roughing gouge as you did for the cylinder. One of your pencil lines will be removed but turn only until you get to the opposite pencil line.
- Move your blank to the second off-set center mark and turn until you reach the remaining pencil mark
- The ellipse can also be tapered by moving back to the center marks.
- You can make a “helicopter” by creating an ellipse on half of the cylinder as above. Then mark your off-set centers using the second axis, the same distance you used in the first axis. Turn your ellipse on the other half of your blank. Your 2 ellipses will be 90 degrees from each other.
- You can make a “soft” square using this technique if you move your turning holes close to the edge of the blank. This will just slightly round the edges of the square blank.
The Pommel Cut
- This cut takes any odd shape and makes a rounded end
- Mark the shape you want and set the bevel of your spindle sgouge to the angle of the curve. At the beginning of the cut, you will not be on your bevel so hold your gouge firmly
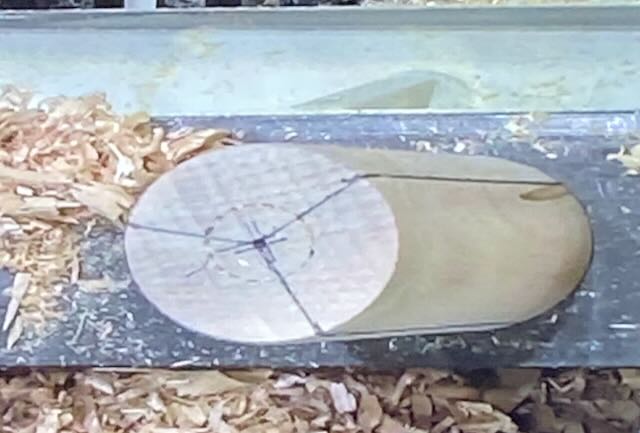
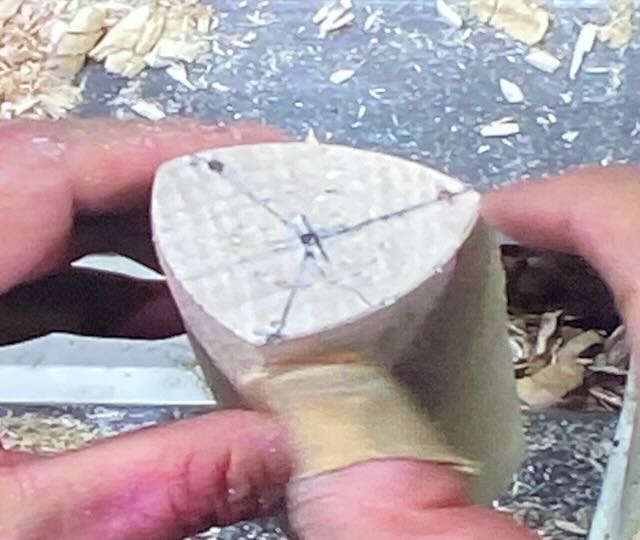
The Perfect Triangle
- This can be used to make various triangular shapes: rounded on one surface, or an equilateral triangle
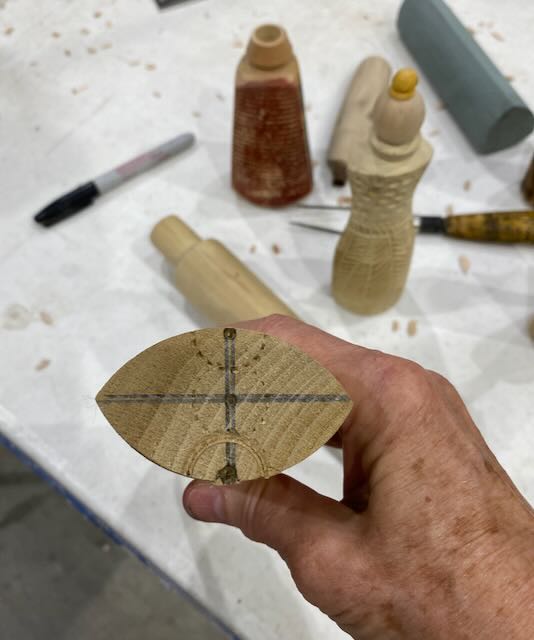
- Mark the center of your blank and draw circle the maximum size of your blank. Measure the radius of your cylinder and mark around the edge your circle. You will have 6 marks. Connect every other mark to the center of your blank.
- Make a cylinder using the center points as above
- Use your compass move the point down one “y” line and mark an arc between the opposite “Y” marks – much like making an ellipse. This will help you tell the shape of the final triangle and make sure that you have enough room for your step center to grab your blank. Half of the radius is a good starting point. You can choose to make one arc more rounded by bringing the point closer to the center or make the arcs all the same. Make the same markings on the opposite side of your blank.
- Mark the axis along the length of your cylinder as in making the ellipse. These will be your “stopping” marks as you turn each side of the triangle
- Move your blank to the same center marks on both sides of your cylinder as is making the ellipse. Turn just until you reach the pencil lines. Continue with the other 2 axis center marks.
- If you off set one end of your cylinder by 1 axis – i.e., put the tail stock on one axis and the head stock on the adjacent axis, you will create a spiral.
- You can use a triangular piece for an interesting box.